Contents
Centauri Carbon: classification and device category
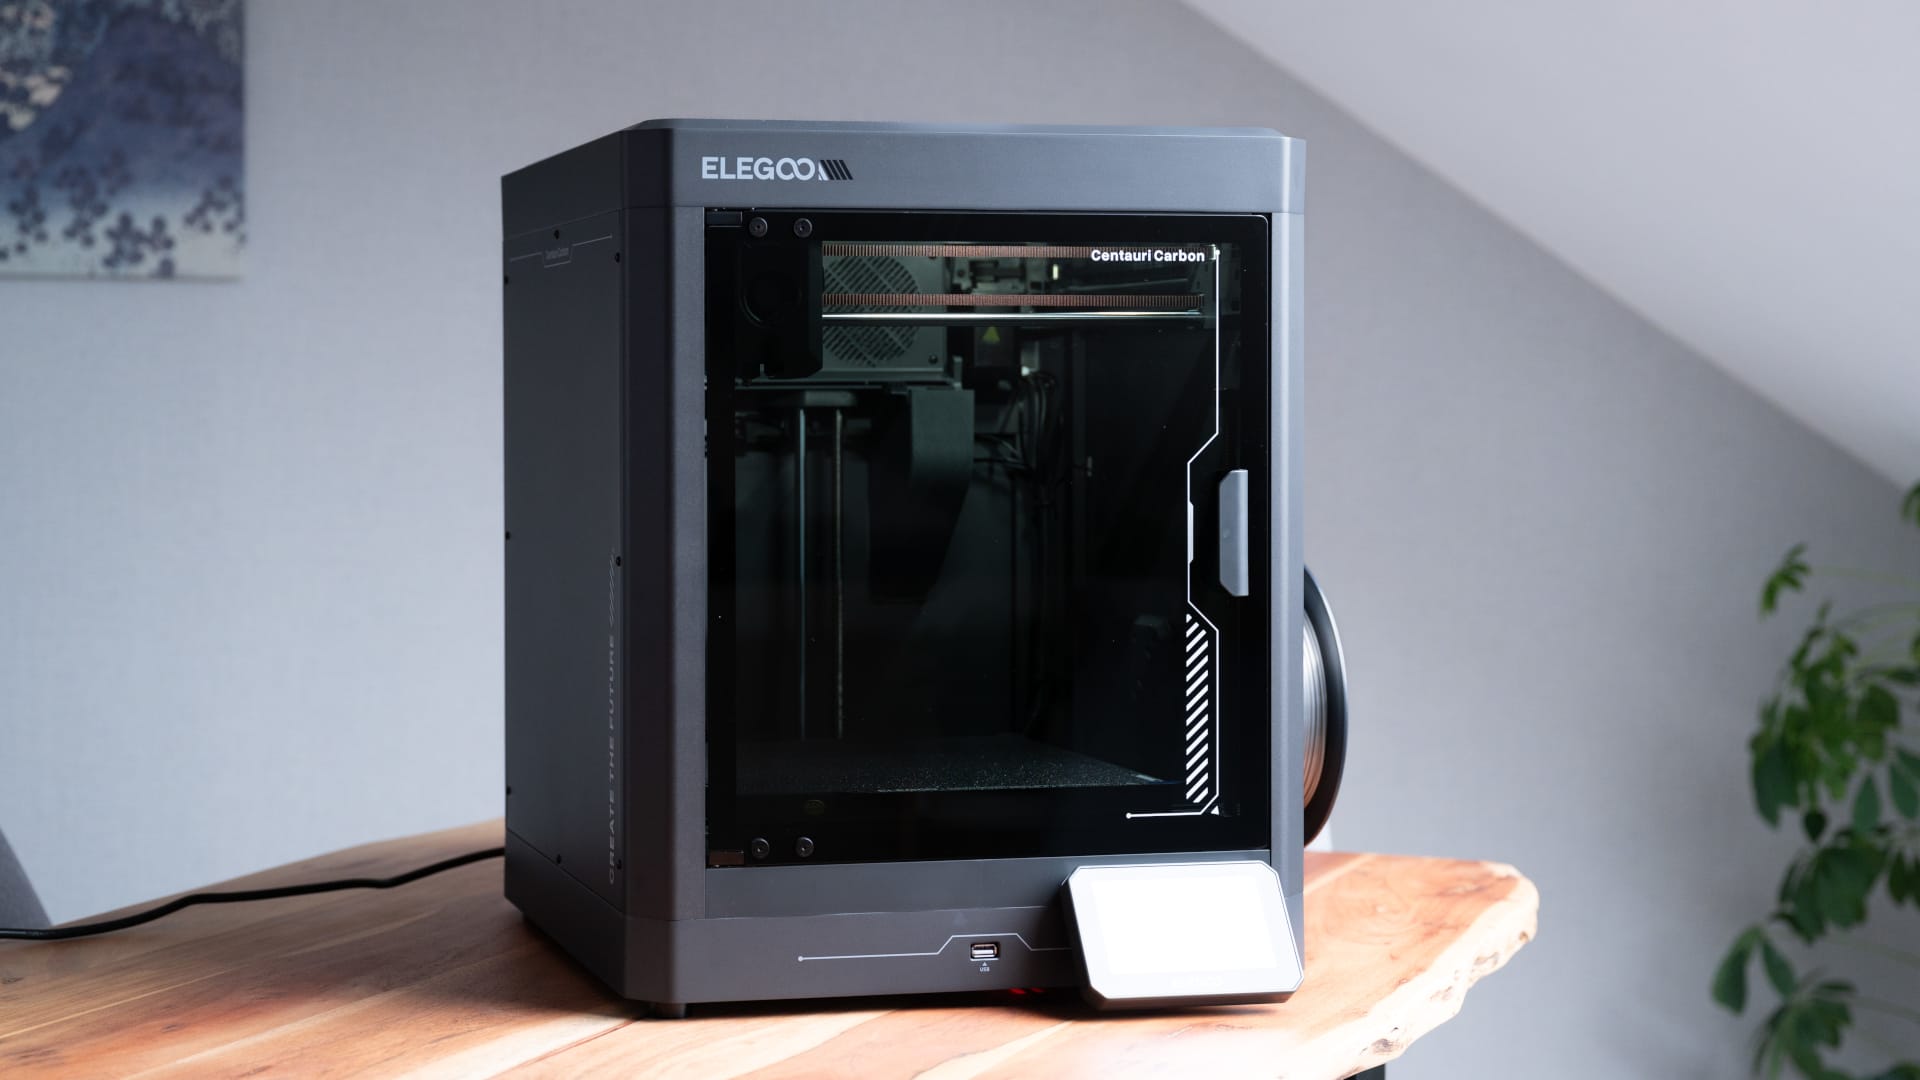
The ELEGOO Centauri Carbon has been available since the beginning of the year, but has only now made its way into our test lab. The timing is interesting, as an active community has formed around the printer in the meantime, optimising profiles, analysing faults and even developing its own modding firmware, OpenCentauri. At the same time, ELEGOO has released several updates that are said to have improved usability, calibration and stability. This makes it an ideal time for us to test the printer in its “mature” state.
On paper, the Centauri Carbon, priced at around 350 euros, is firmly positioned in the budget segment, but its technology goes well beyond that of typical entry-level models. A CoreXY drive with a top speed of 500 millimetres per second, a 320-degree hotend, a 110-degree heated bed and a fully enclosed housing are far from standard at this price. Even Bambu Lab, currently one of the dominant manufacturers in the consumer market, only offers comparable hardware at higher prices.
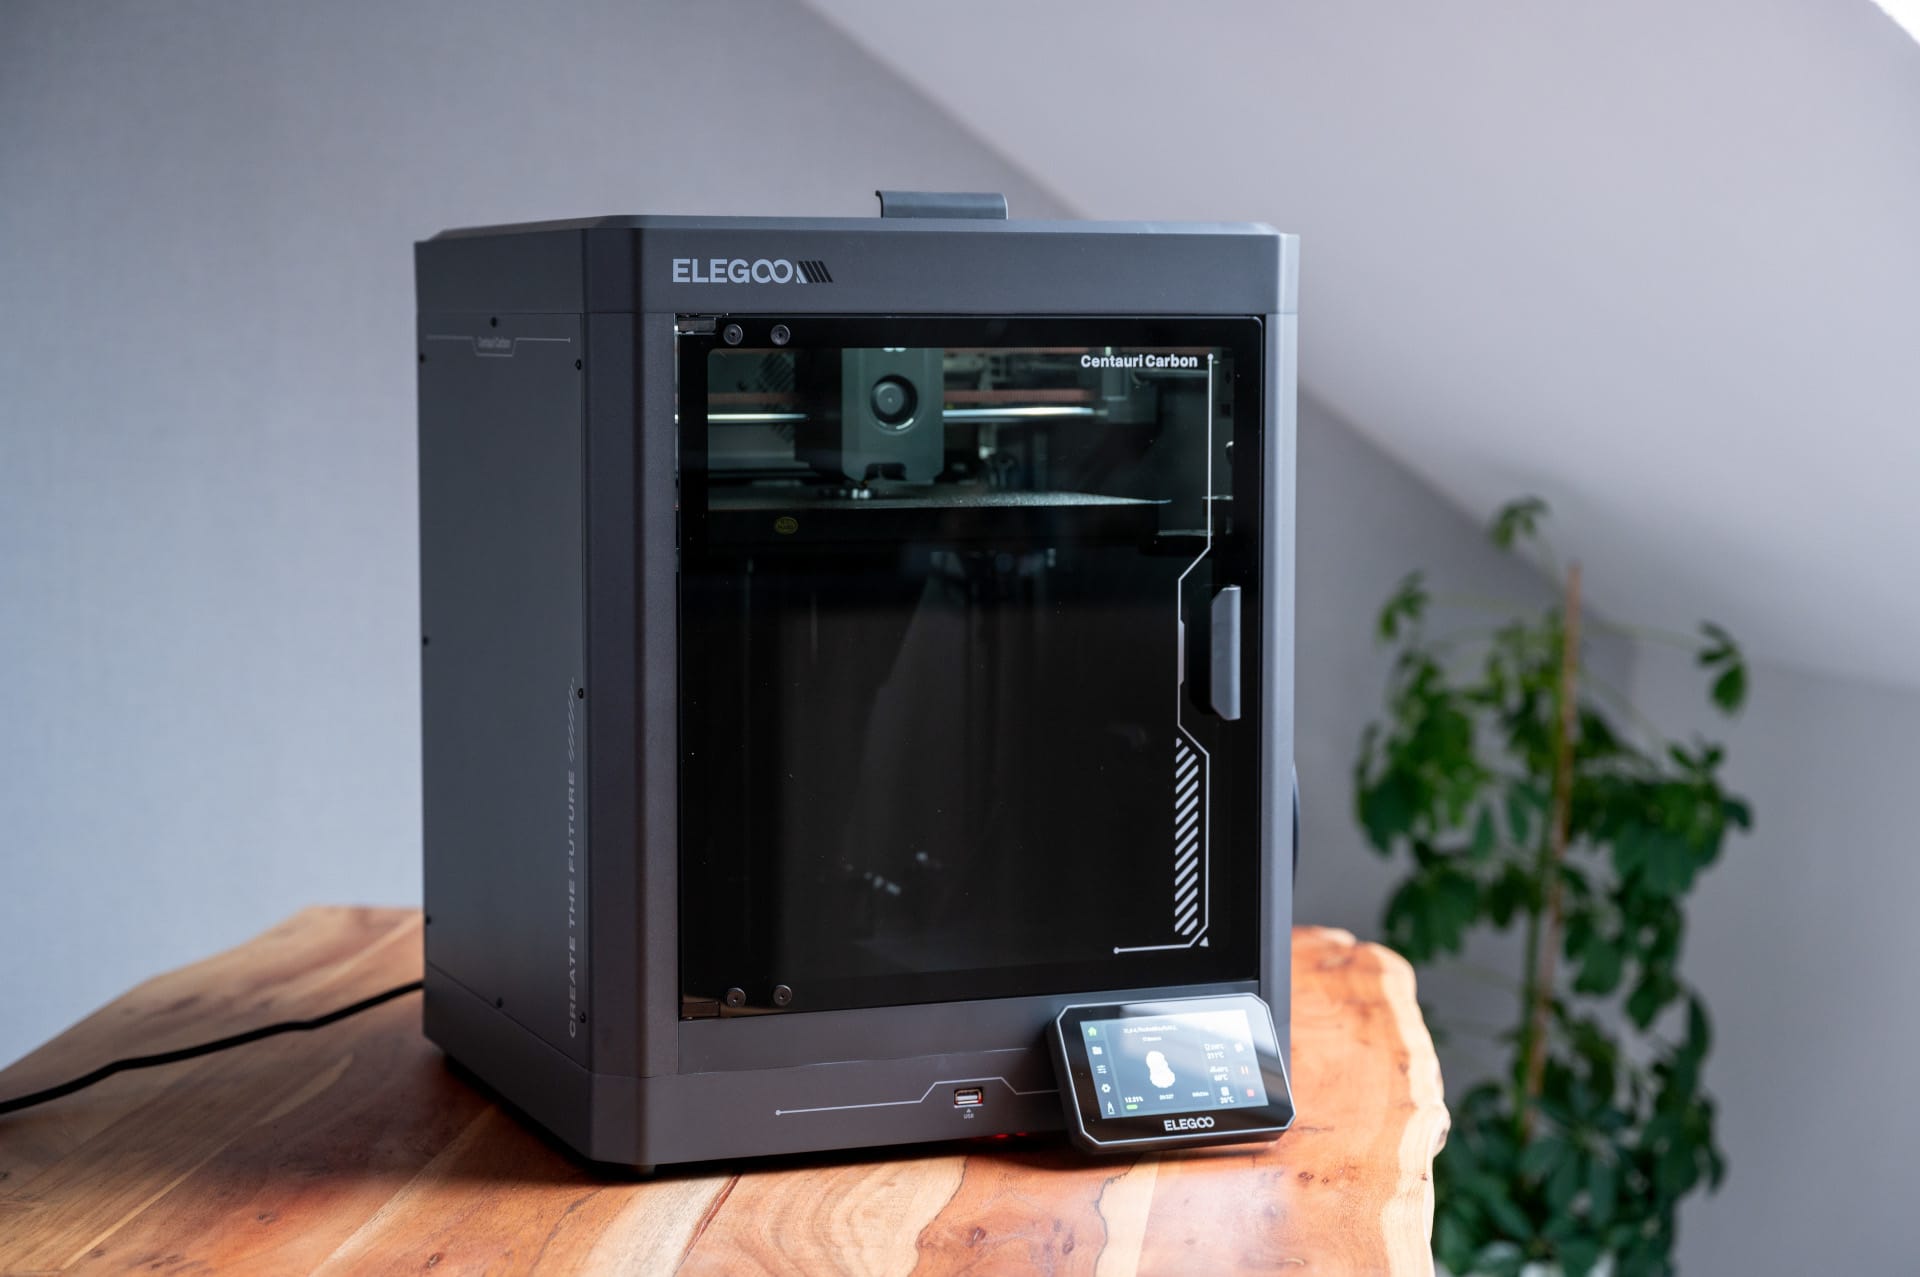
Another interesting aspect is the approach of making the Centauri Carbon as ready to use out of the box as possible. The printer arrives pre-assembled, sets itself up when switched on for the first time, and guides users through calibration and levelling automatically. It is aimed both at beginners with little experience and at makers who want to get their first results as quickly as possible while still having plenty of room to experiment.
We tested the printer with exactly this claim in mind, from unboxing and setup to several PLA and ABS prints. And above all: Can the Centauri Carbon actually keep up with Bambu models like the P1S or A1 in practice?
Centauri Carbon: Unboxing and first impressions
The Centauri Carbon comes in a surprisingly compact box, which looks significantly smaller than you would expect for an enclosed CoreXY printer. ELEGOO has packed the device very neatly. Dense foam, secured axes and transport locks on the bed. You can tell straight away that nothing is meant to suffer during transport.
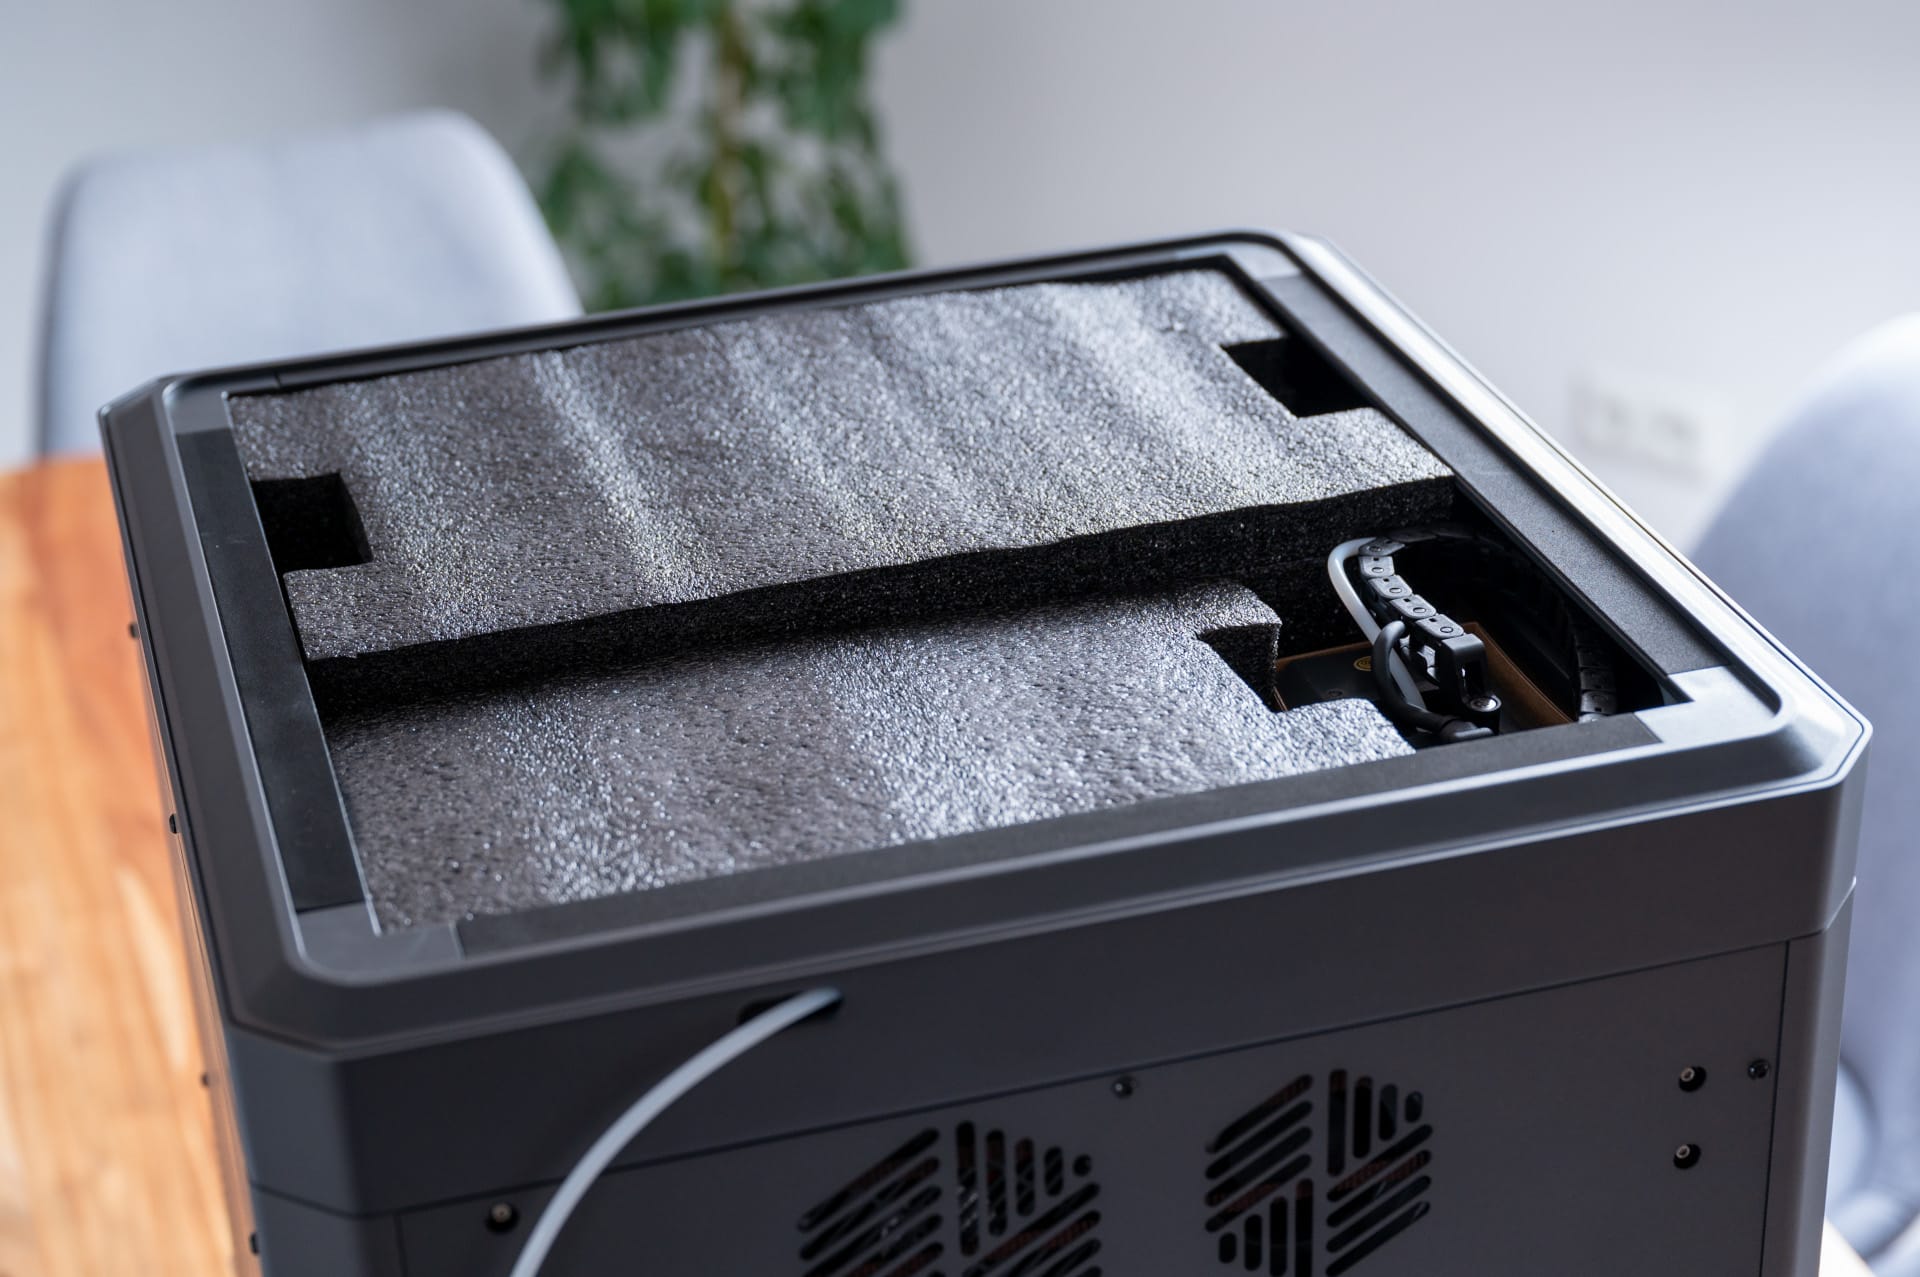
Once unpacked, you’re looking at an almost fully pre-assembled 3D printer. You only need to remove three transport screws on the heated bed, connect the 4.3-inch display to the flex cables, and screw in the side-mounted spool holder. That’s all there is to it.
No need to screw the frame together, align the axes or deal with dangling cables. Even the linear rails are properly greased at the factory and have no play. This makes setup virtually foolproof, even for complete beginners.

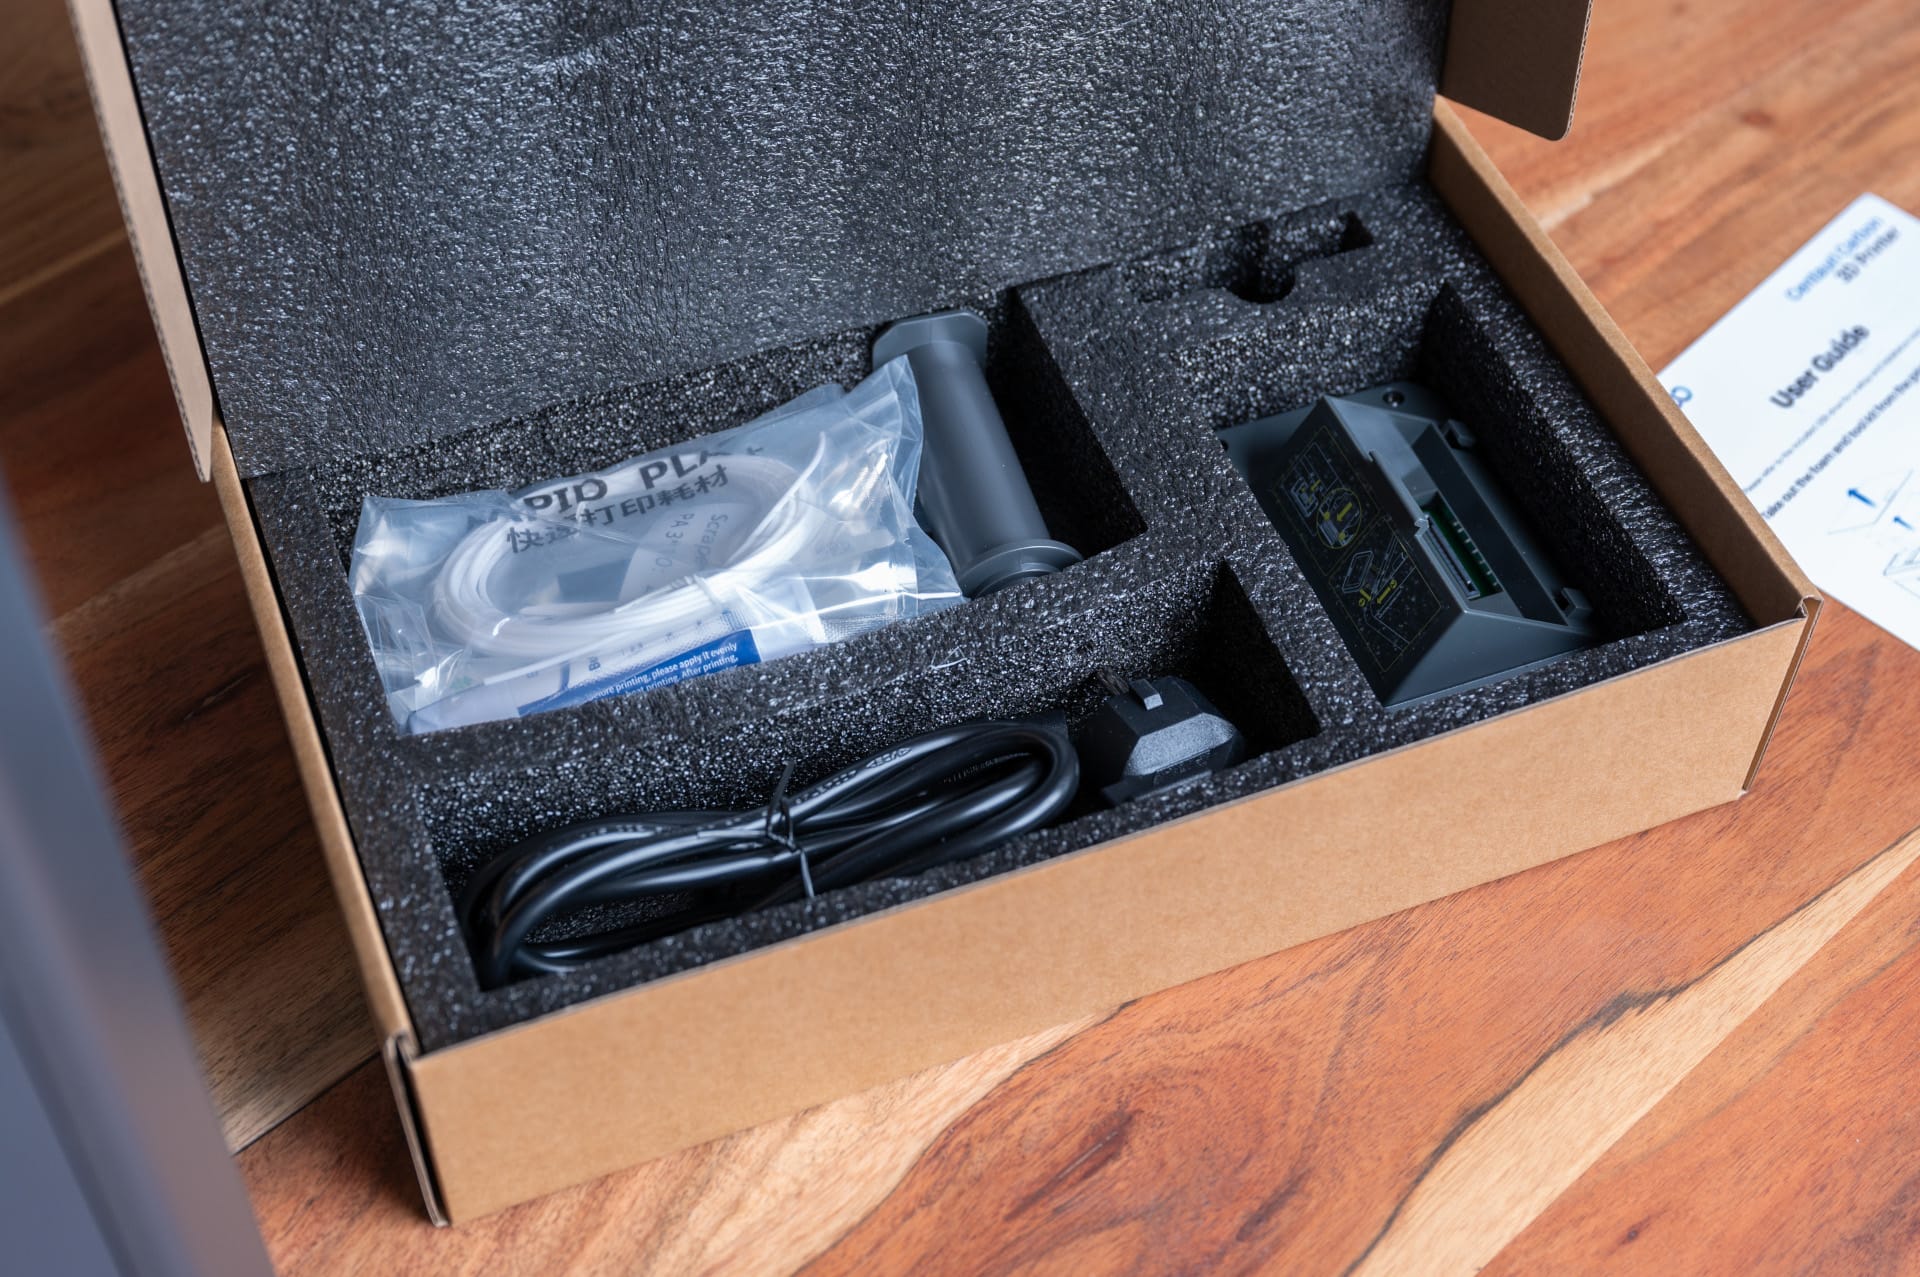
The box contents include a small tool kit, a USB stick with software and test models, a glue stick for difficult materials, and the multilingual (and surprisingly well-structured) manual. When removing the glass and metal panels, it is immediately clear that nothing about this “screams budget”.
The doors sit neatly in the frame, the hinges feel sturdy, and the tinted acrylic side panels show no signs of stress or uneven edges.
ELEGOO made several minor production improvements over the course of the year. Earlier user reports of loose door handles, screws in the inner frame being tightened too much or unevenly adjusted belts no longer apply to the current model. The test unit appears well made and feels significantly more premium than many printers in this price range.
The 256 × 256 × 256 mm build volume is larger than the compact body would suggest. The magnetic, AC-heated print bed is topped with a double-sided PEI flex plate. Smooth for glossy surfaces, textured for maximum adhesion.
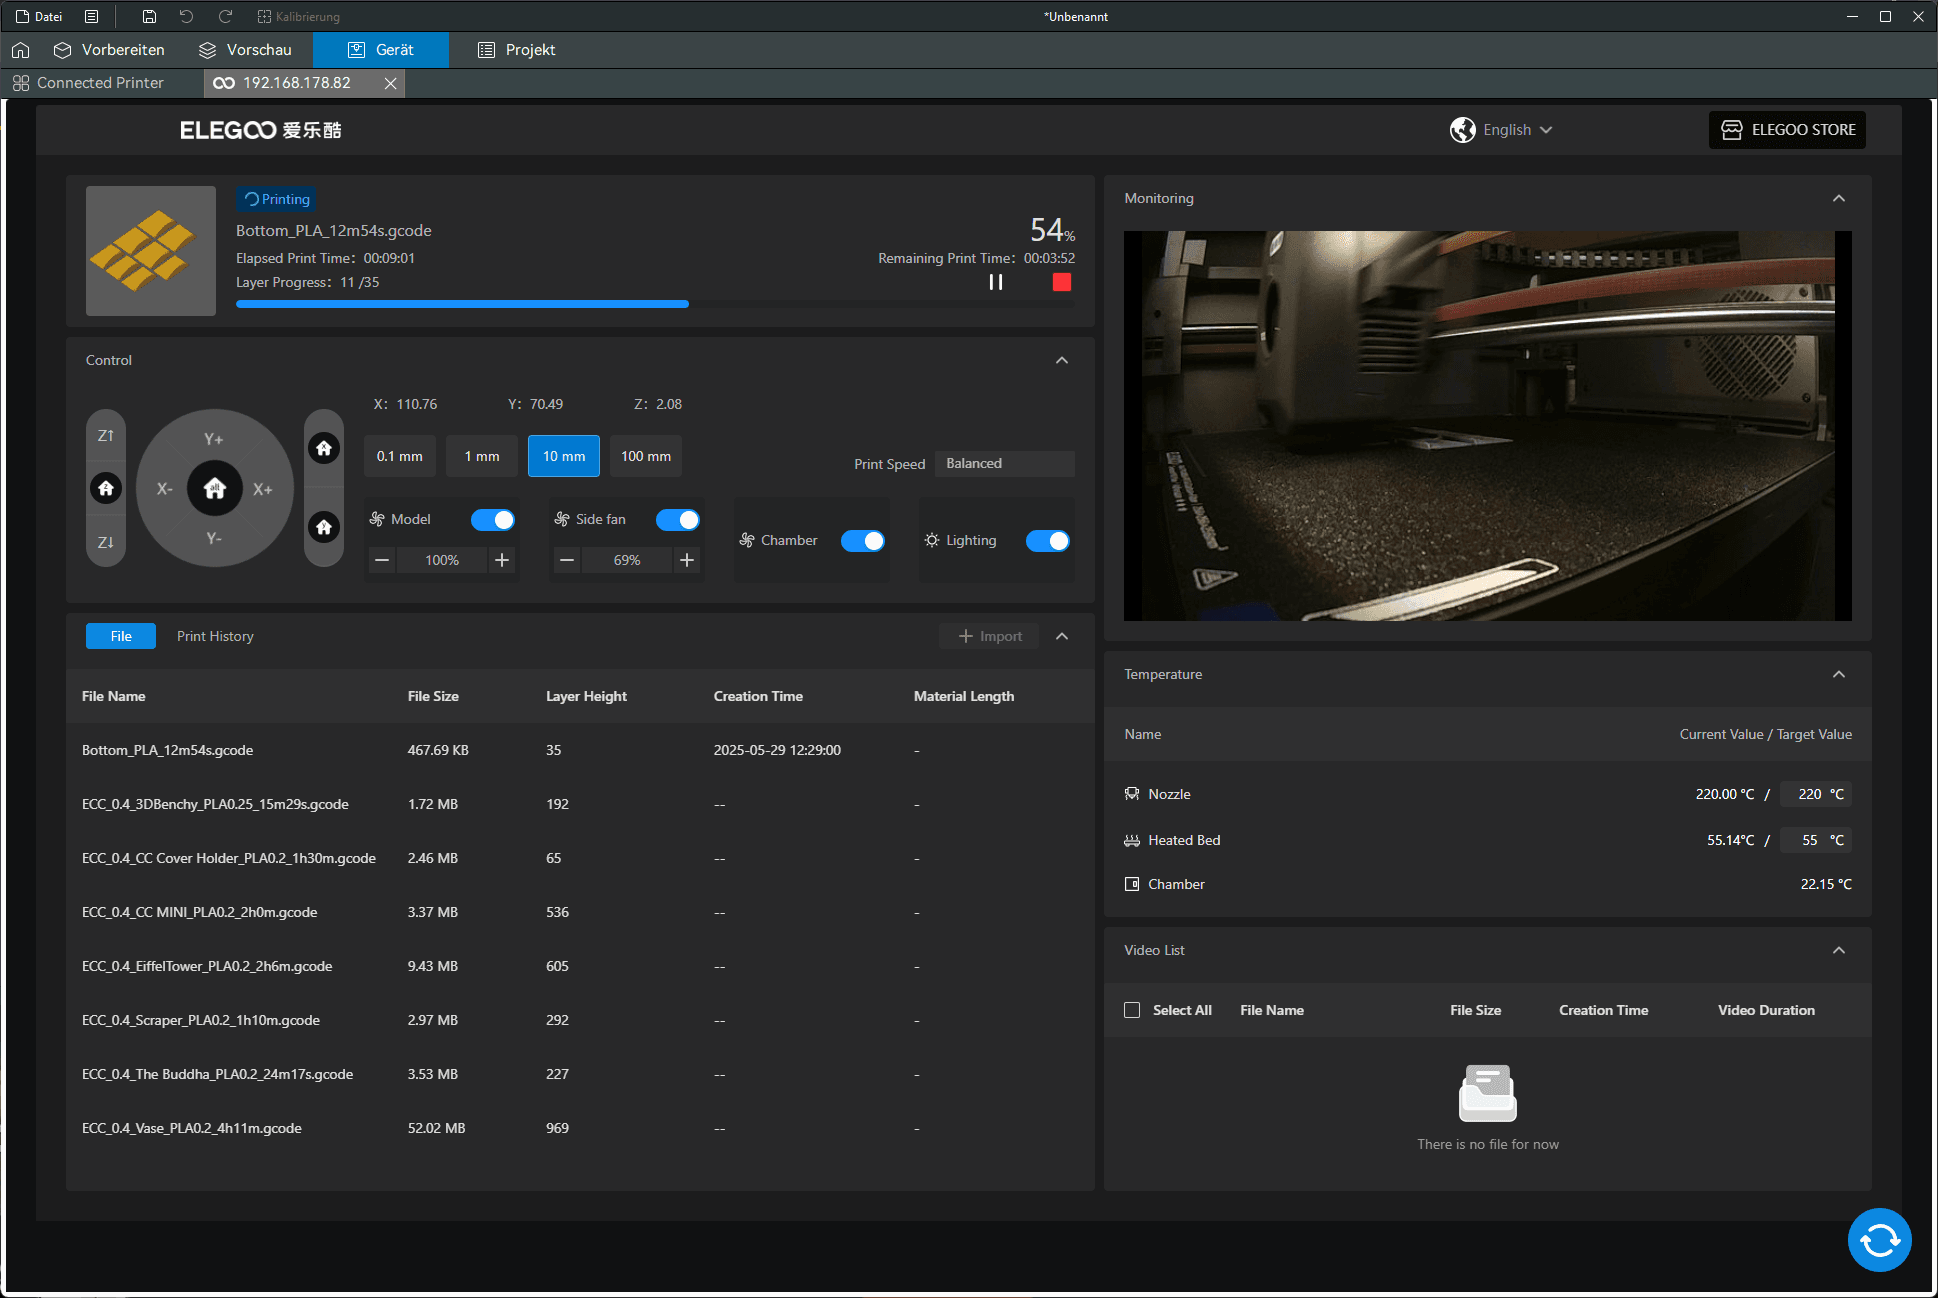
At the rear right is a wiping pad for automatic nozzle cleaning, while the integrated camera for remote monitoring is on the opposite side. The camera is well positioned, as its field of view covers the entire print area. Image quality is solid—not high-resolution, but sufficient for monitoring and time-lapse recording.
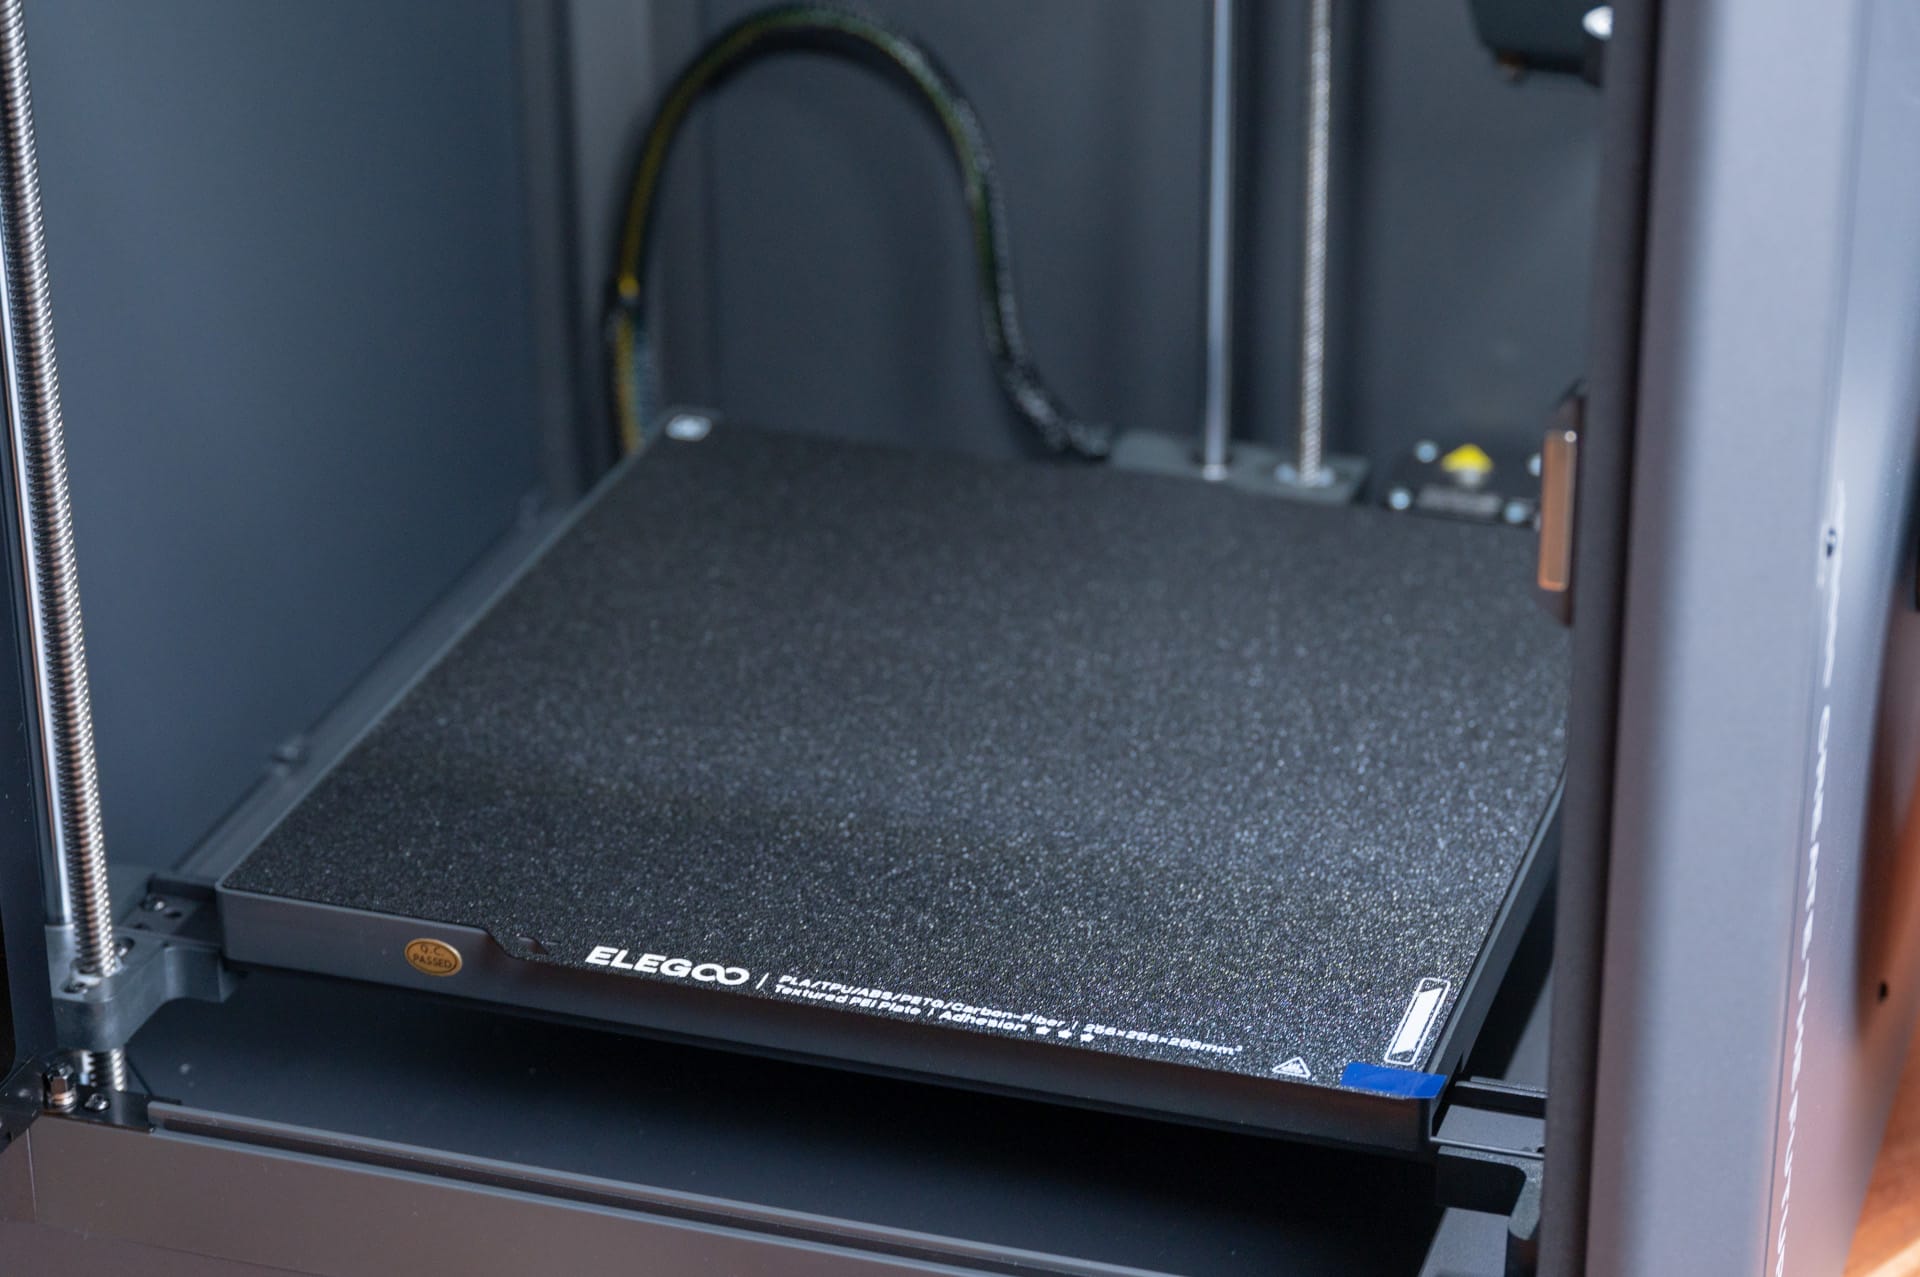
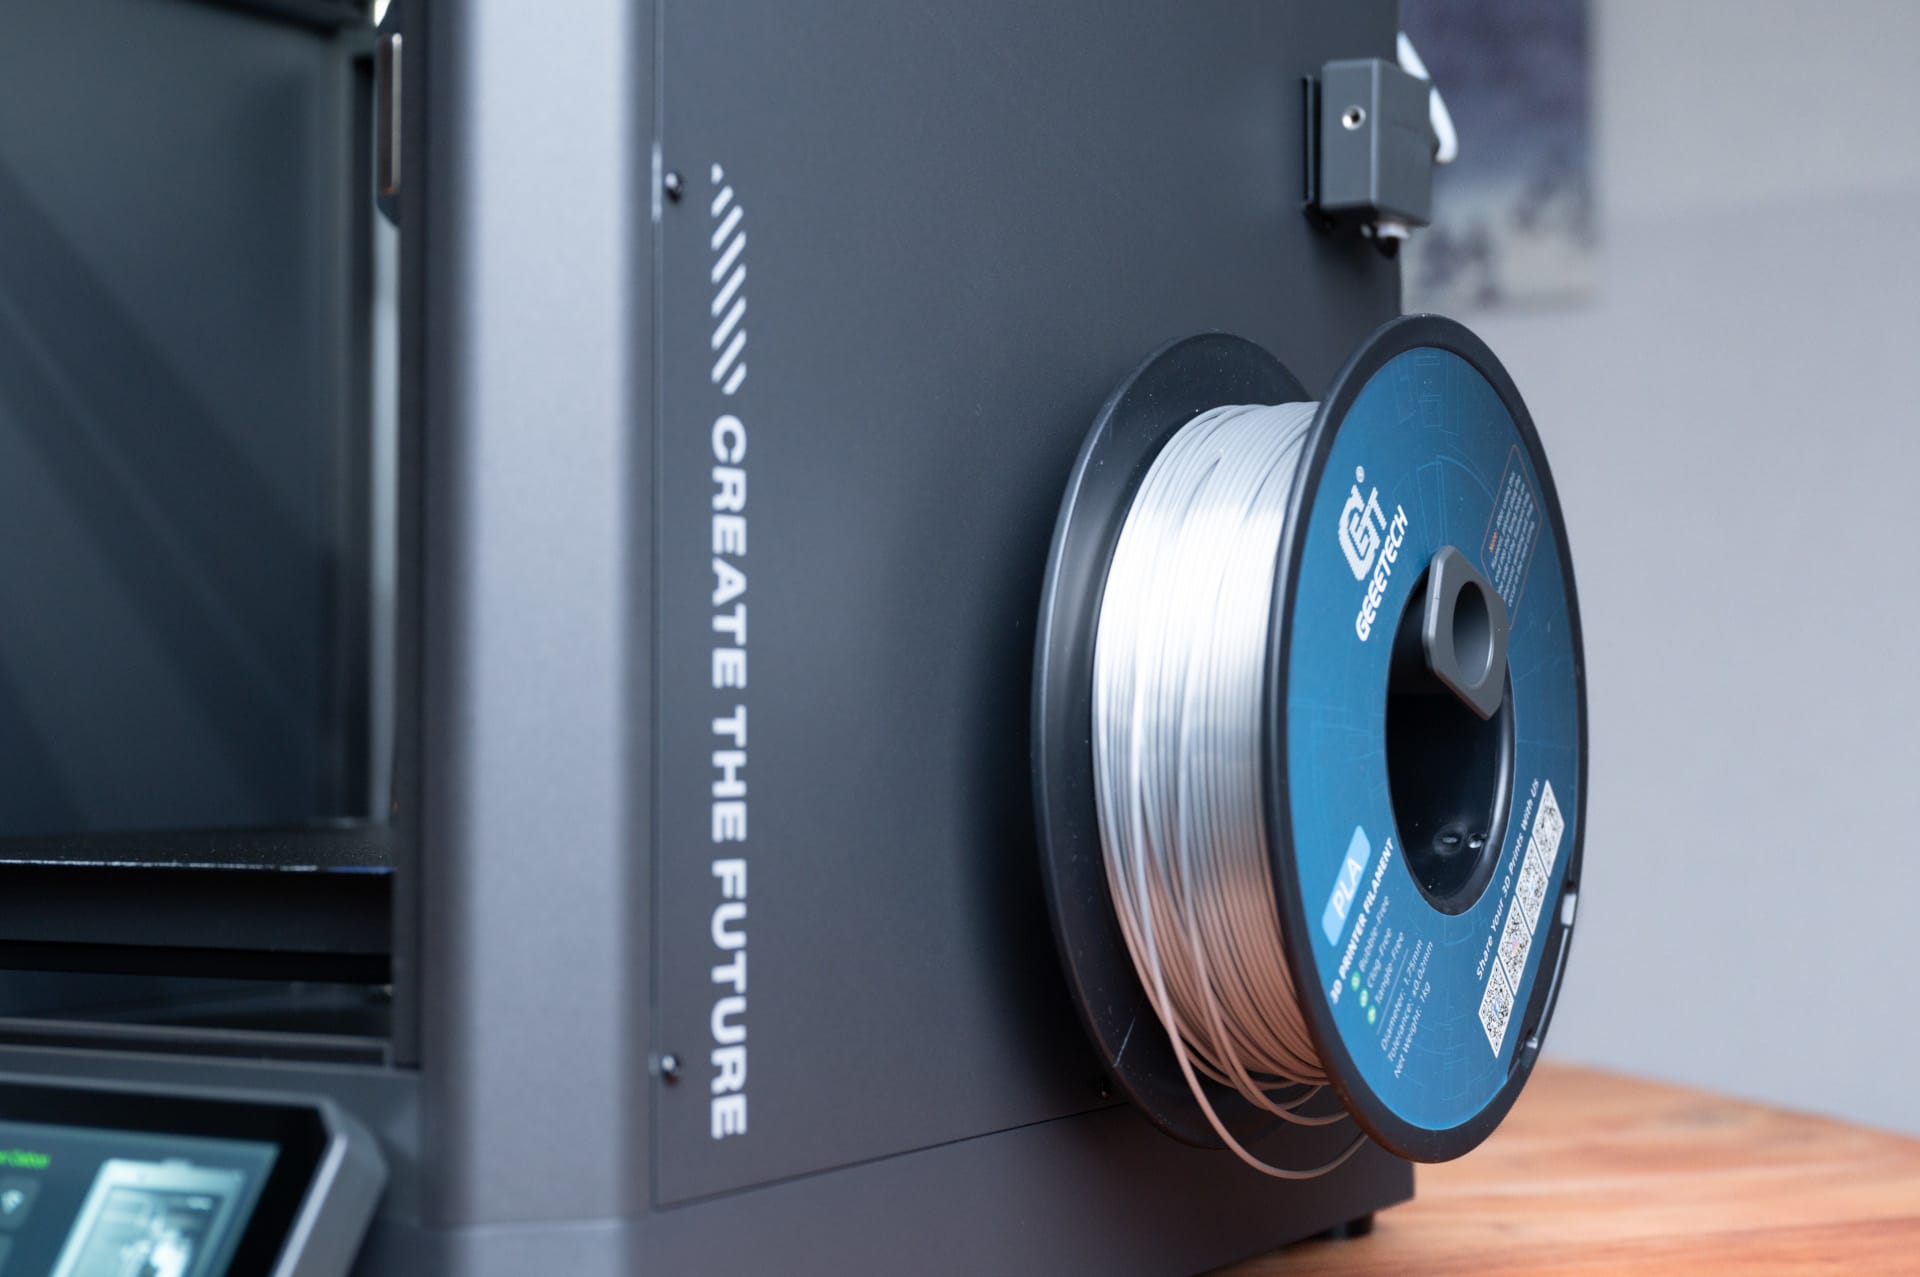
ELEGOO has positioned the spool holder and filament sensor on the side. Many manufacturers place the spool behind the printer, which requires extra depth or causes problems on narrow shelves. The Centauri Carbon is wider rather than deeper, making it easy to fit on a workbench or IKEA shelving unit. The filament path is also pleasantly direct as a result, with no tight bends or sharp kinks.
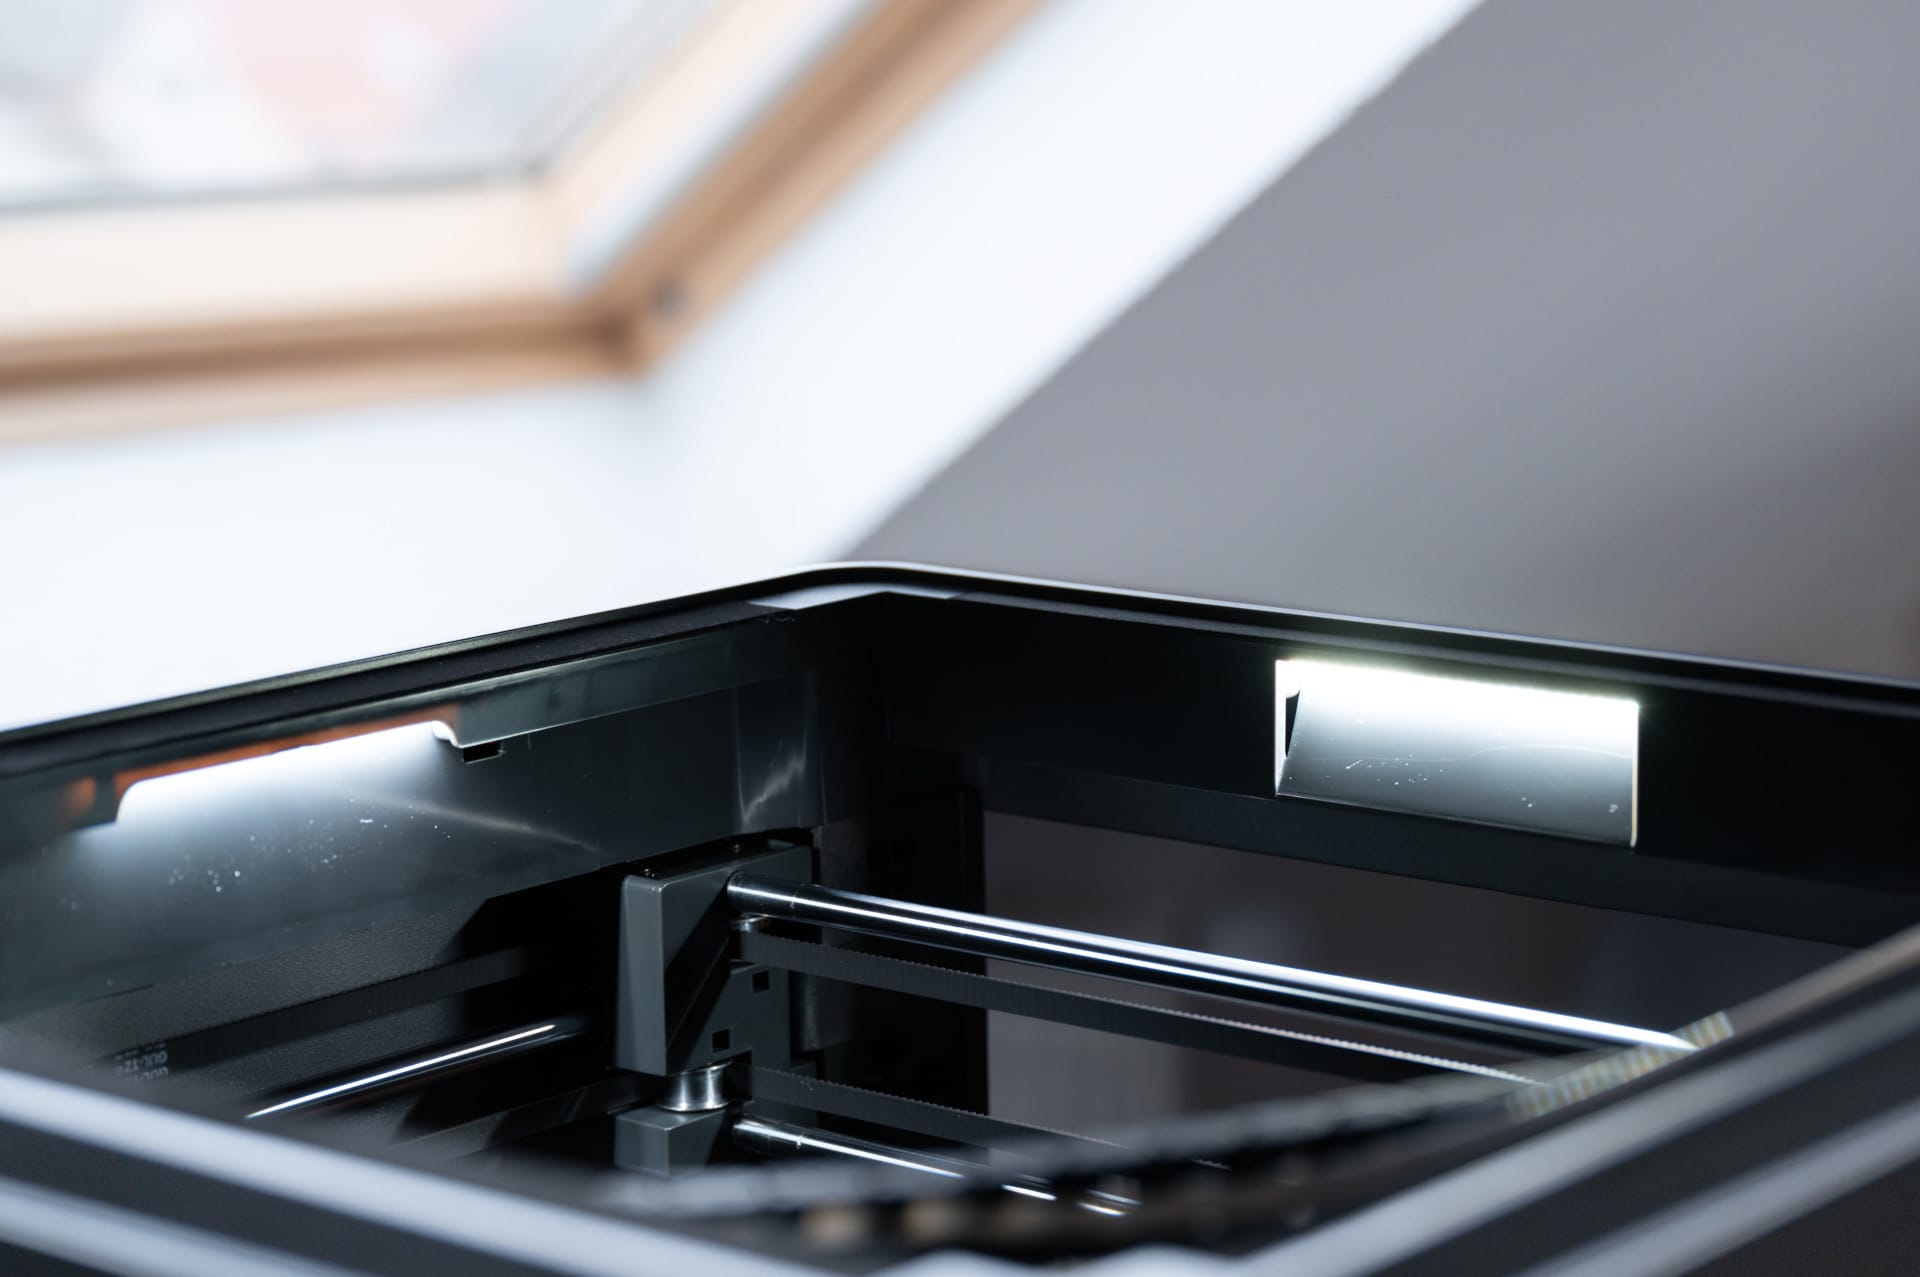
One of the less conspicuous additions is the LED lighting in the upper chamber. It is inconspicuous because its brightness is barely enough to illuminate the print chamber properly. Details are particularly difficult to make out while printing through the tinted acrylic glass.
The lighting can now be expanded or upgraded to a brighter setup using “OpenCentauri” (more on that shortly), a community firmware fork. It’s good to see that the printer is open to modifications like these.
Centauri Carbon: setup, firmware and first start
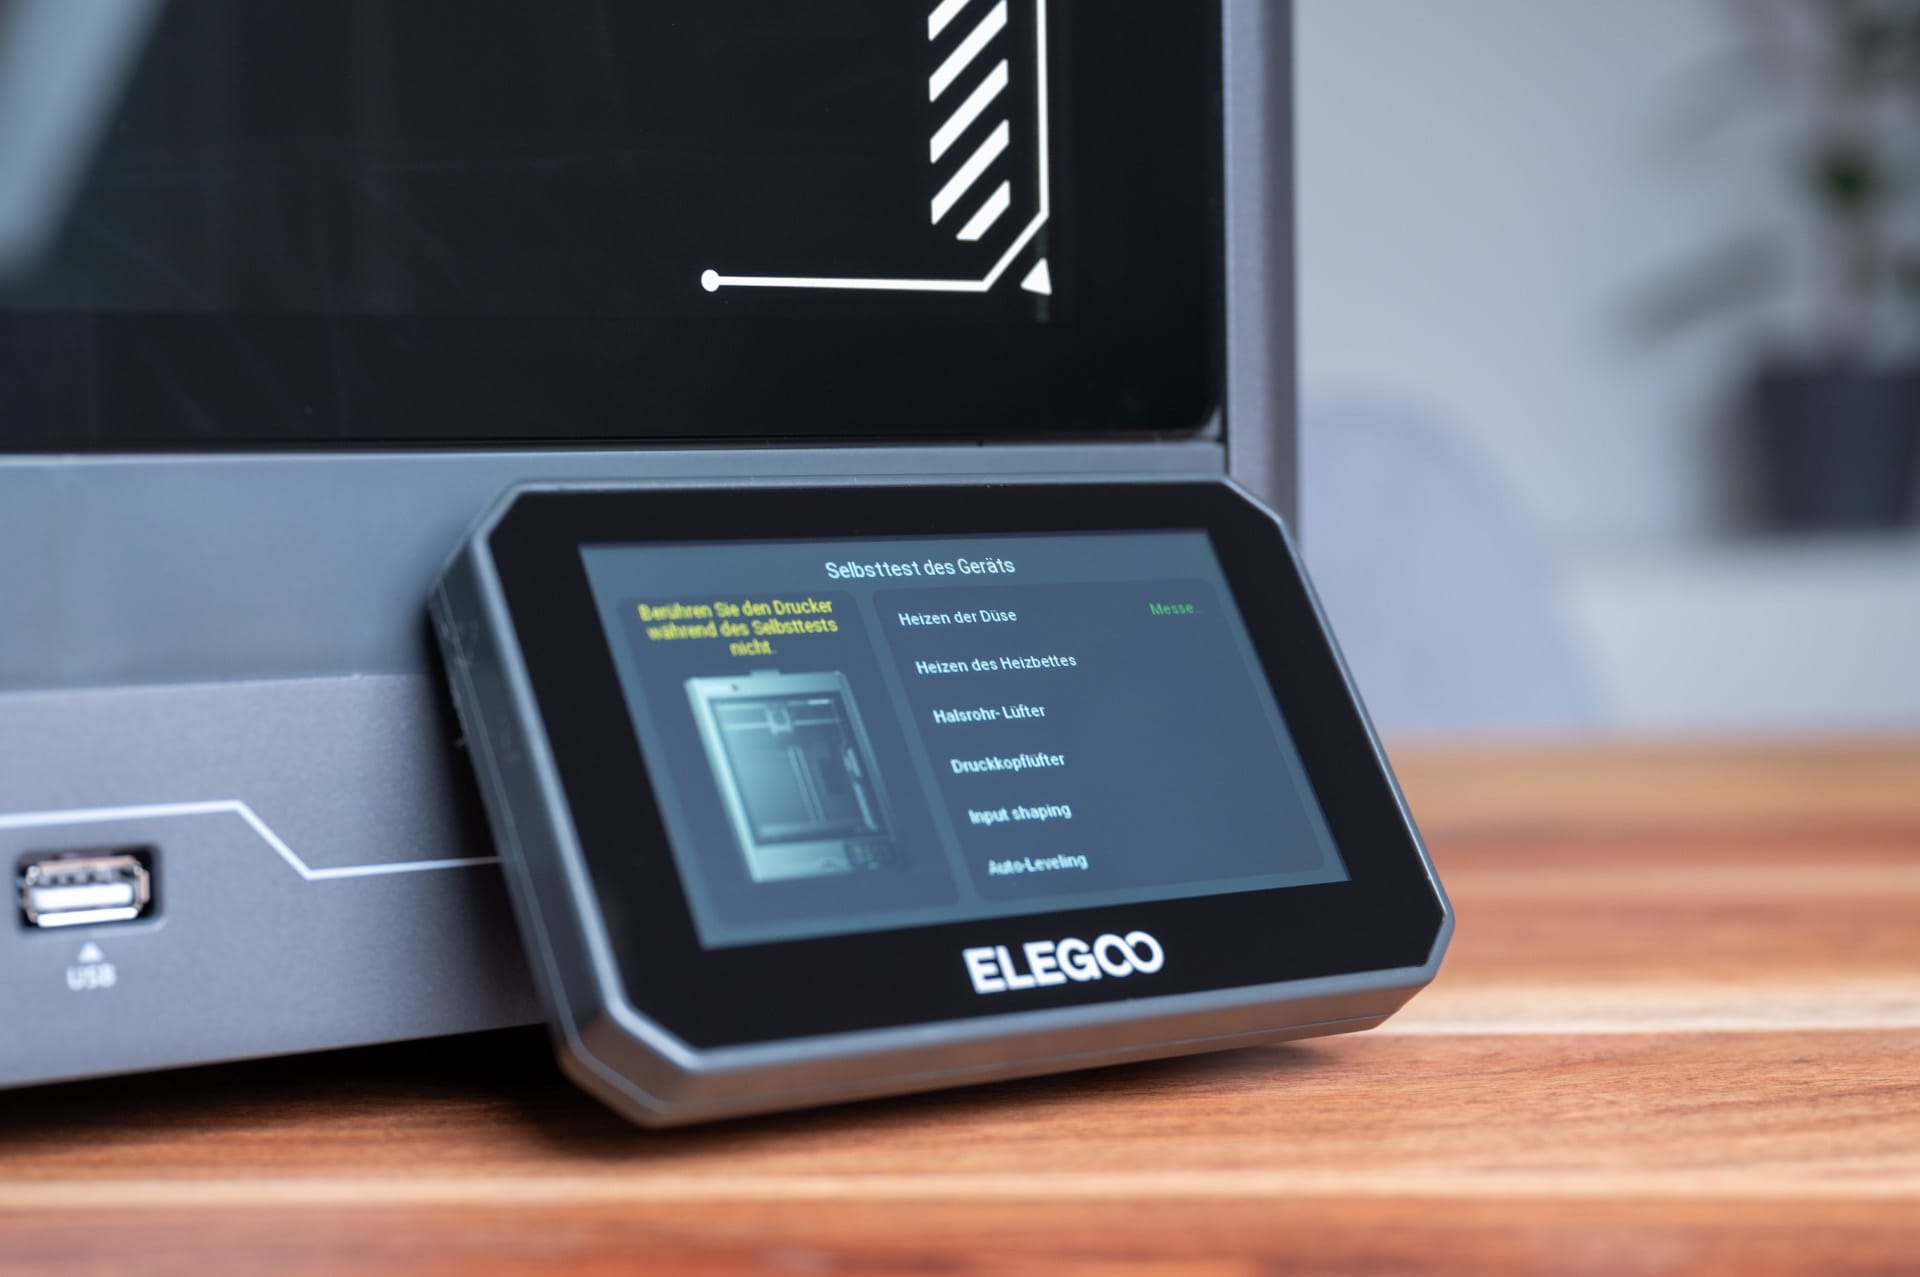
On first startup, the Centauri Carbon guides you through a straightforward setup wizard, followed by an automatic self-test. It moves each axis through its range, checks the endstops, tests the extruder drive, and performs an initial nozzle cleaning.
Automatic mesh levelling starts immediately afterwards. The Centauri Carbon measures the bed geometry at numerous points and creates a precise compensation matrix. There is no need to level the bed manually, which is a major convenience, particularly for beginners.
The hotend calibration is also straightforward. The printer heats the hotend, feeds through filament and checks that the filament sensor is working.
The filament feeds in smoothly and directly, so the material enters the extruder without resistance. One small but useful detail is the short animation showing the filament path and where to load the material. This is particularly helpful for users working with a direct drive for the first time.
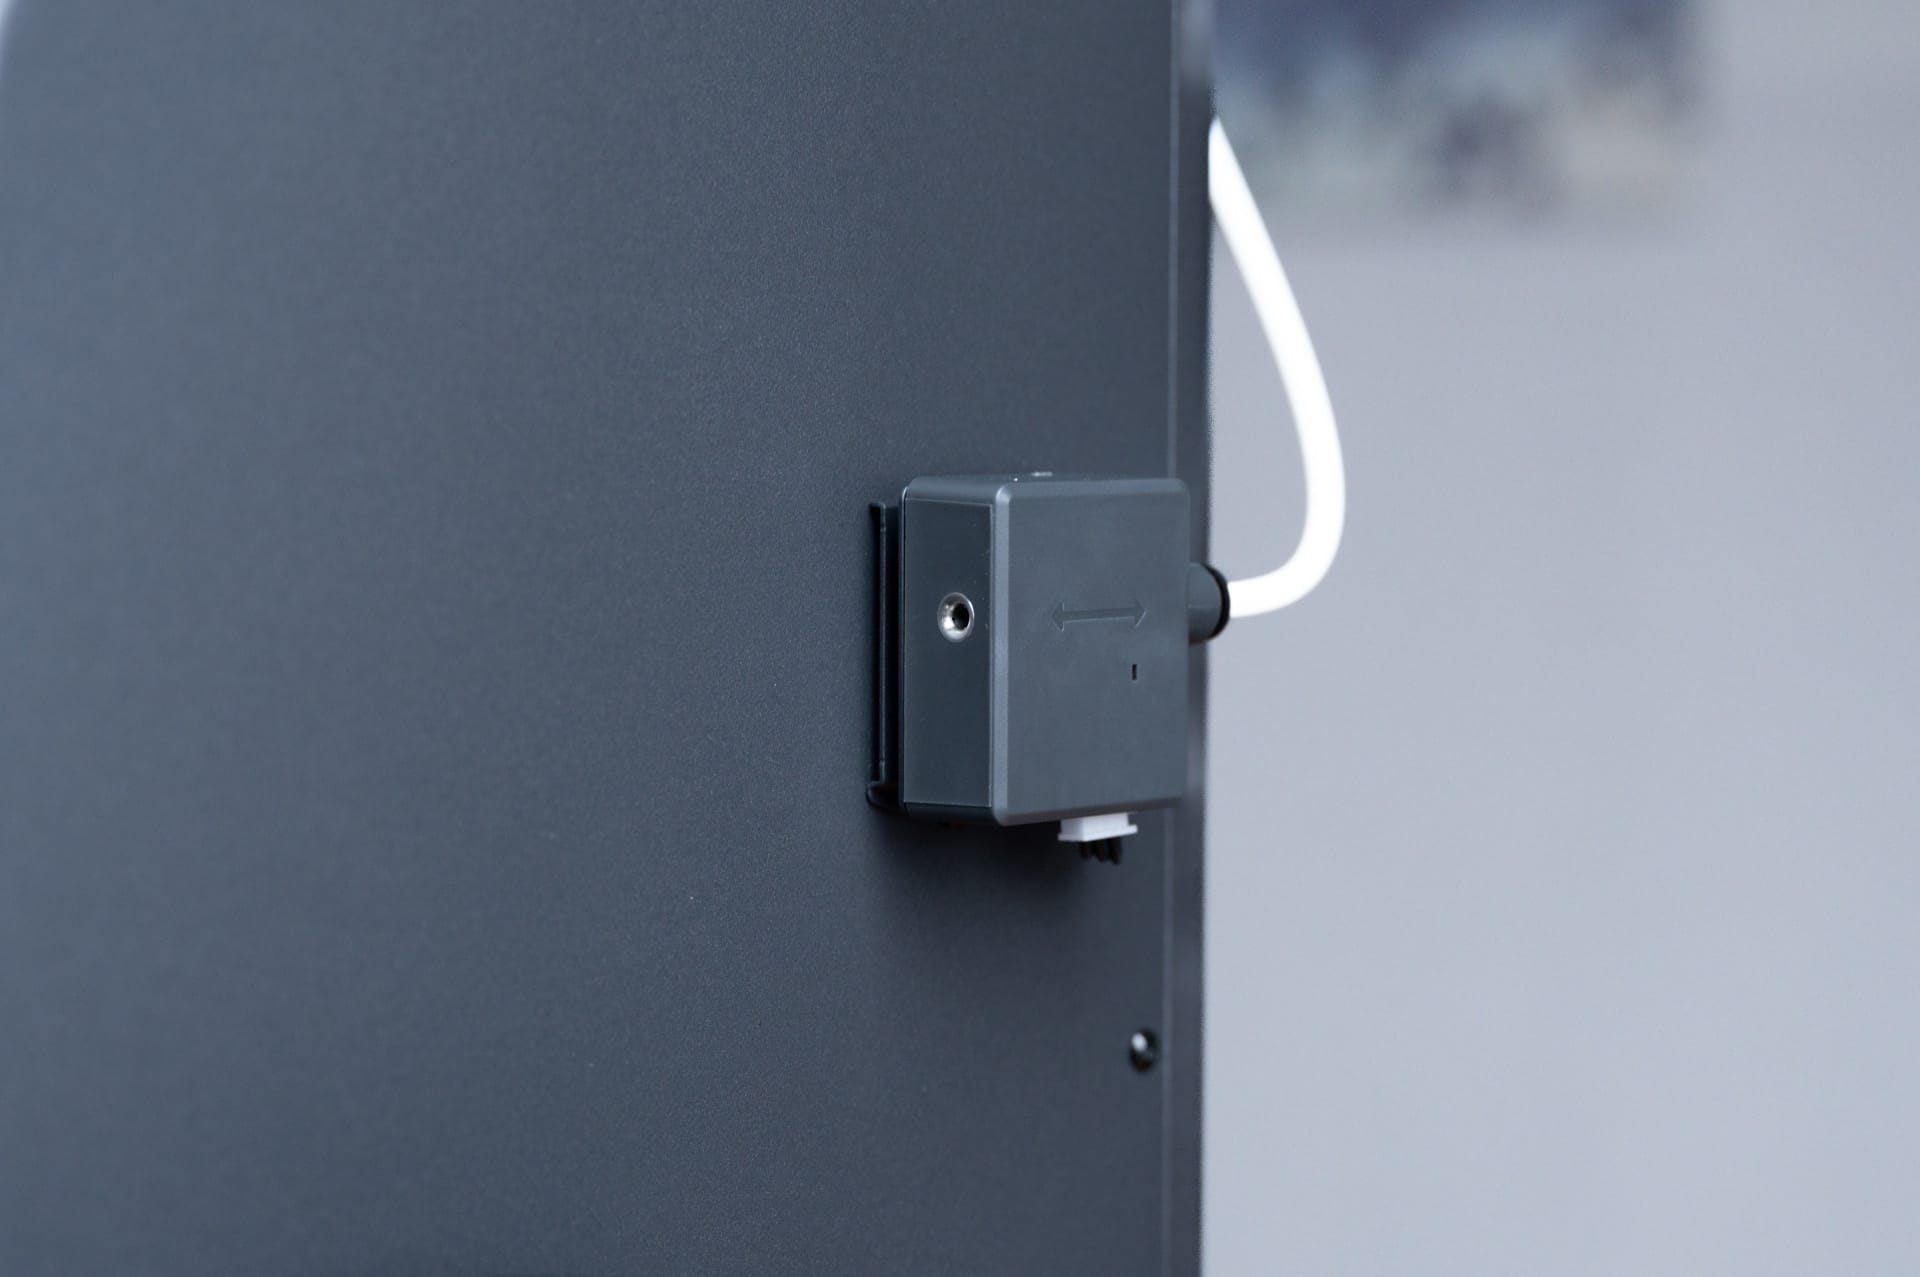
It’s also worth noting how quickly the AC-heated bed reaches temperature. In our test, the bed reached 60 degrees within a few seconds and 100 degrees in well under two minutes. That saves a noticeable amount of time at the start of every print.
Some initial details can already be adjusted in the settings. These include:
- Network connection via Wi-Fi or LAN
- Camera resolution and frame rate
- LED control (on/off, brightness depending on firmware)
- Energy-saving features
- Tools for axis and extruder calibration
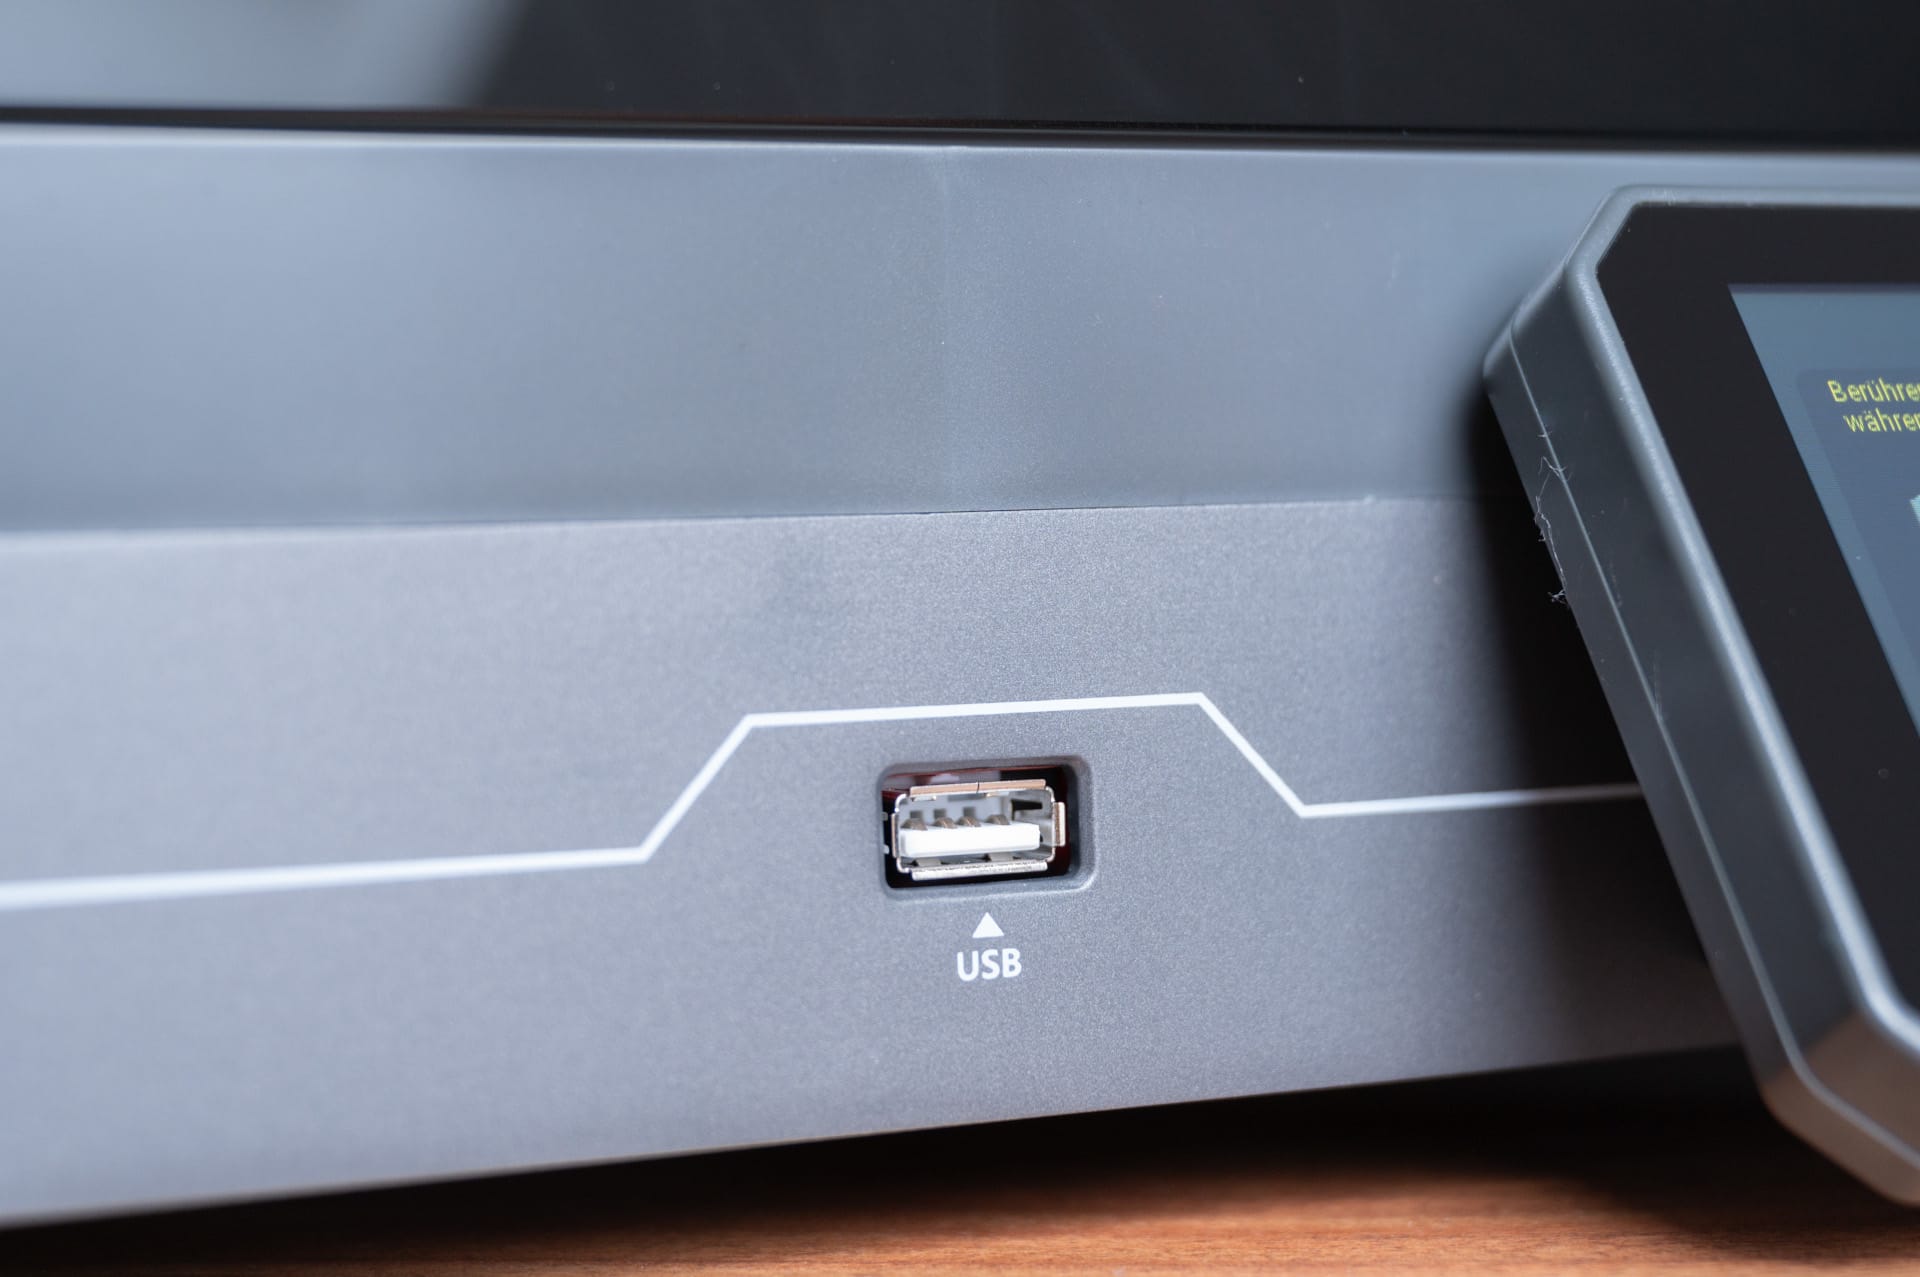
Everything seems stable on the current firmware. No crashes, frozen menus or repeated restarts. The community previously reported minor instability issues, which appear to have been fixed in the latest updates. It is also good to see that ELEGOO has not artificially stripped down the menu, but deliberately leaves many technical options accessible.
OpenCentauri, the alternative community firmware, offers significantly more possibilities. These include finer LED controls, additional debug menus, expanded material profiles, and input-shaping adjustments. For your first setup, however, we strongly recommend sticking with the official firmware. It’s now mature, beginner-friendly, and handles all the basic functions without any trouble.
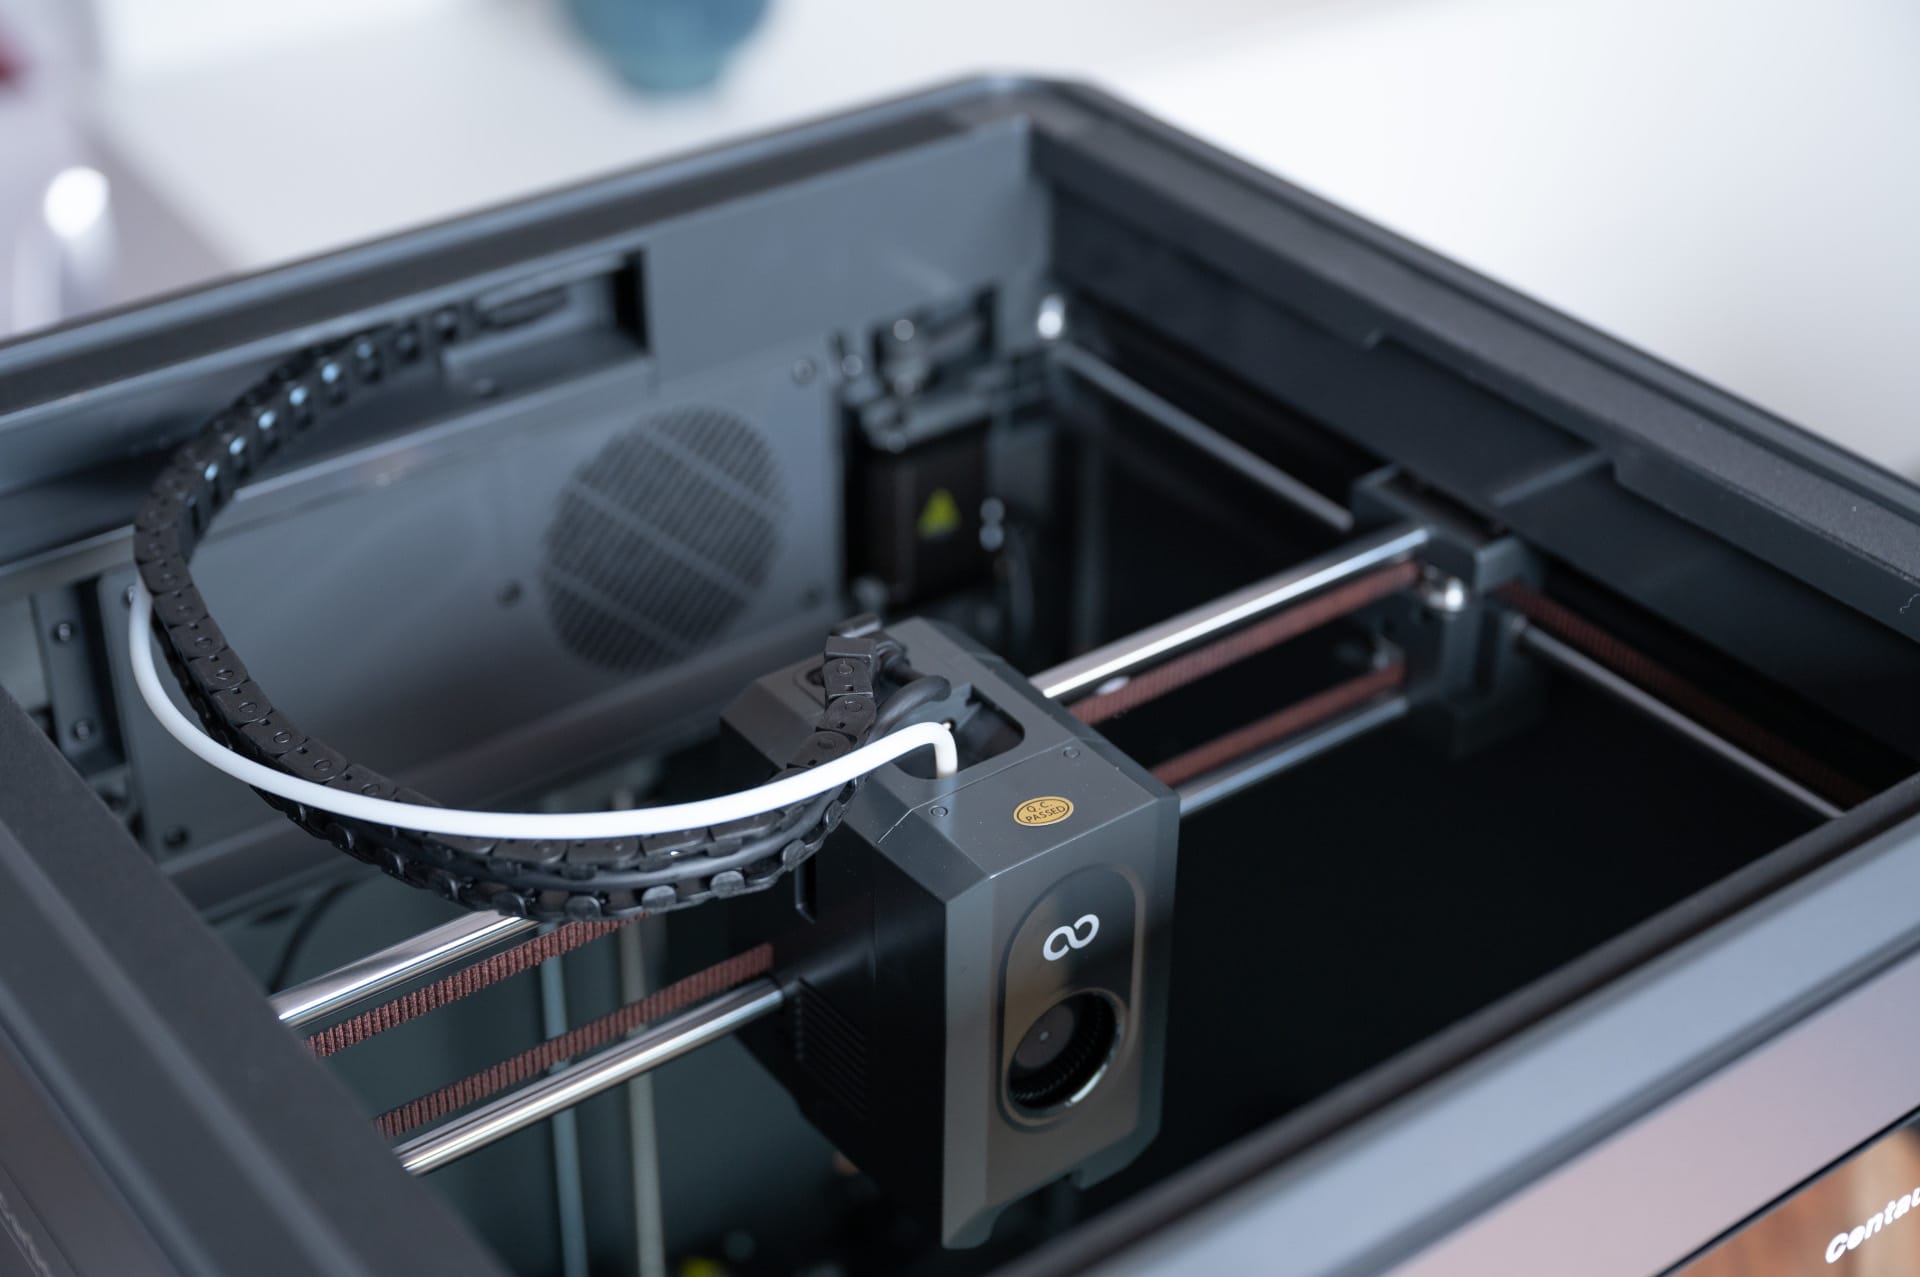
Once the setup process is complete, you arrive at the main menu, which provides access to the most important sections. These include print preparation, levelling, maintenance, network, camera and system information. Everything is laid out logically, so you can quickly find what you are looking for even without a manual.
Centauri Carbon: Software, ELEGOO Slicer, and alternatives
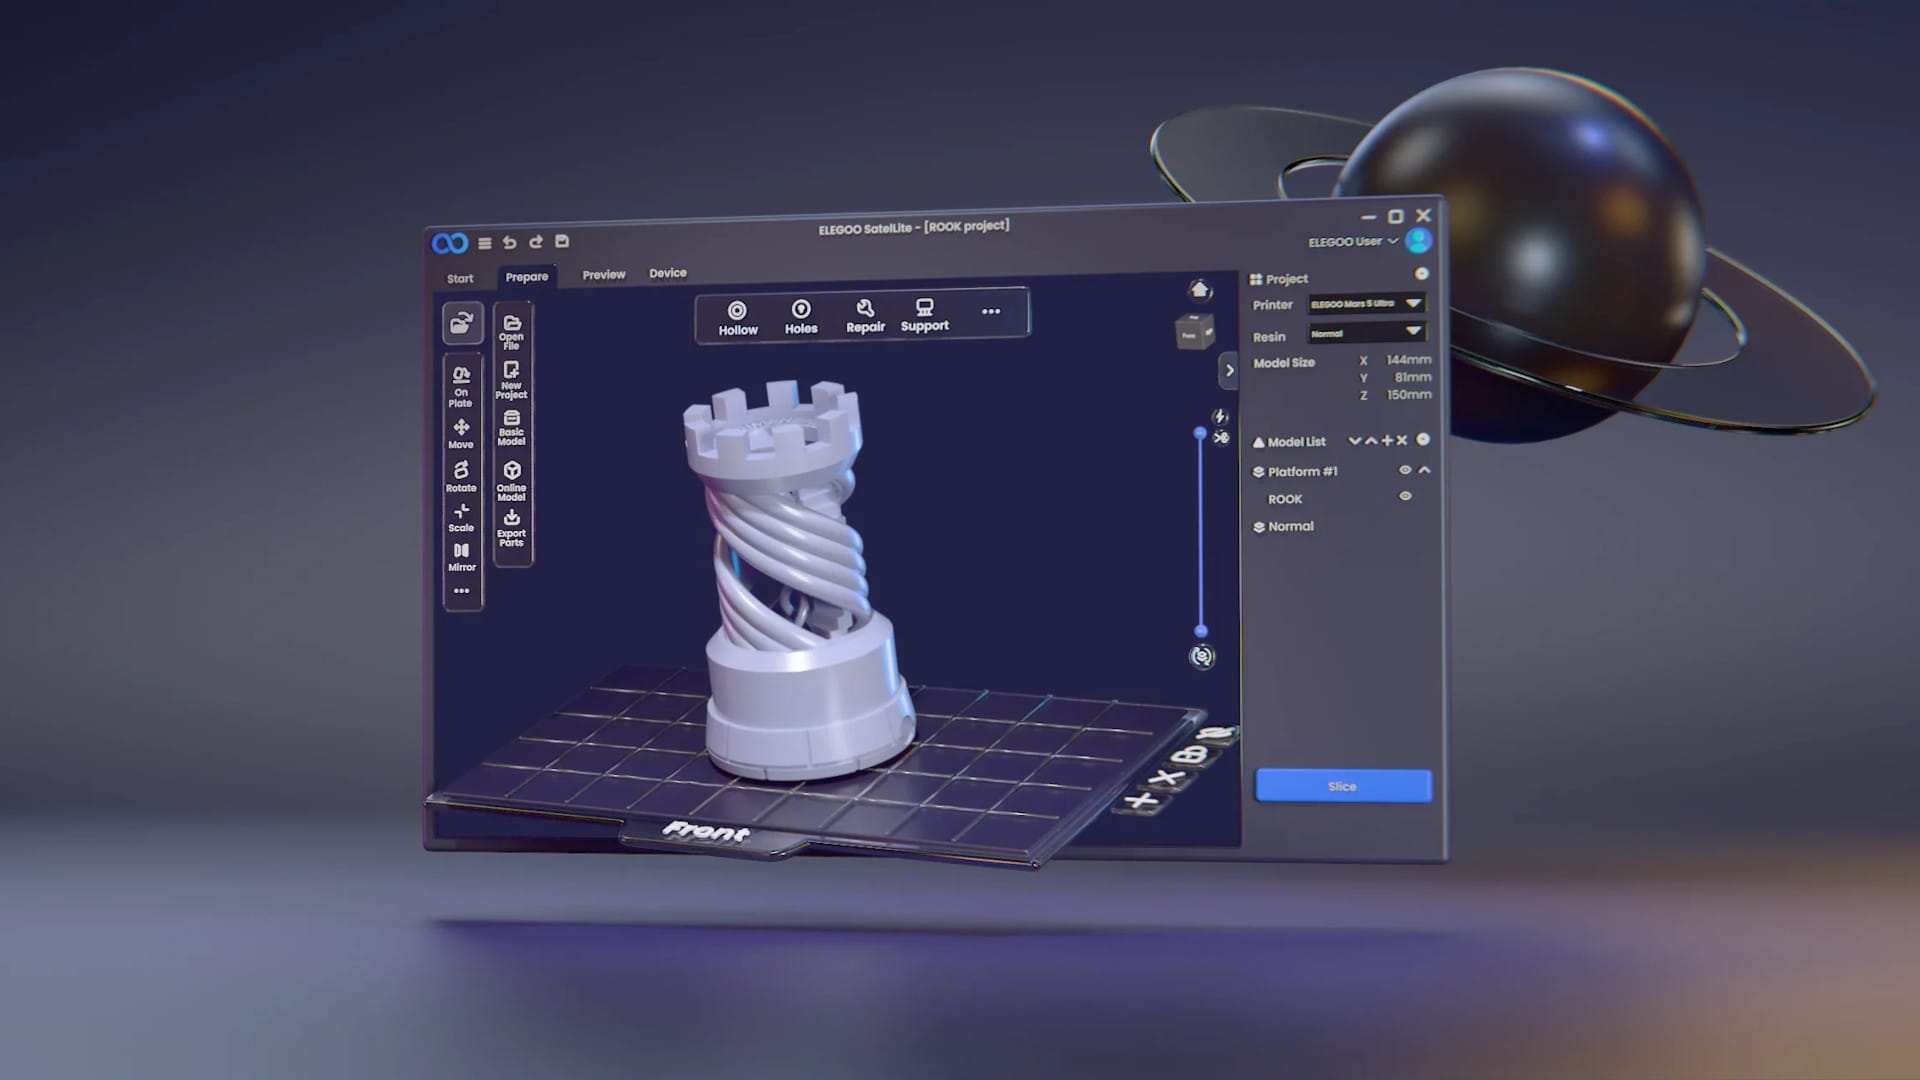
Before the Centauri Carbon can start its first print, you naturally need a slicer. ELEGOO includes its own ELEGOO Slicer, which is technically based on OrcaSlicer, a popular open-source fork of PrusaSlicer.
ELEGOO Slicer: Ready to go straight away, with a clear layout
The ELEGOO Slicer starts with a pre-configured profile for the Centauri Carbon. This saves you the entire setup process, which is often still necessary with other printers. Layer heights, speeds, retraction parameters and temperature settings are all correctly configured out of the box.
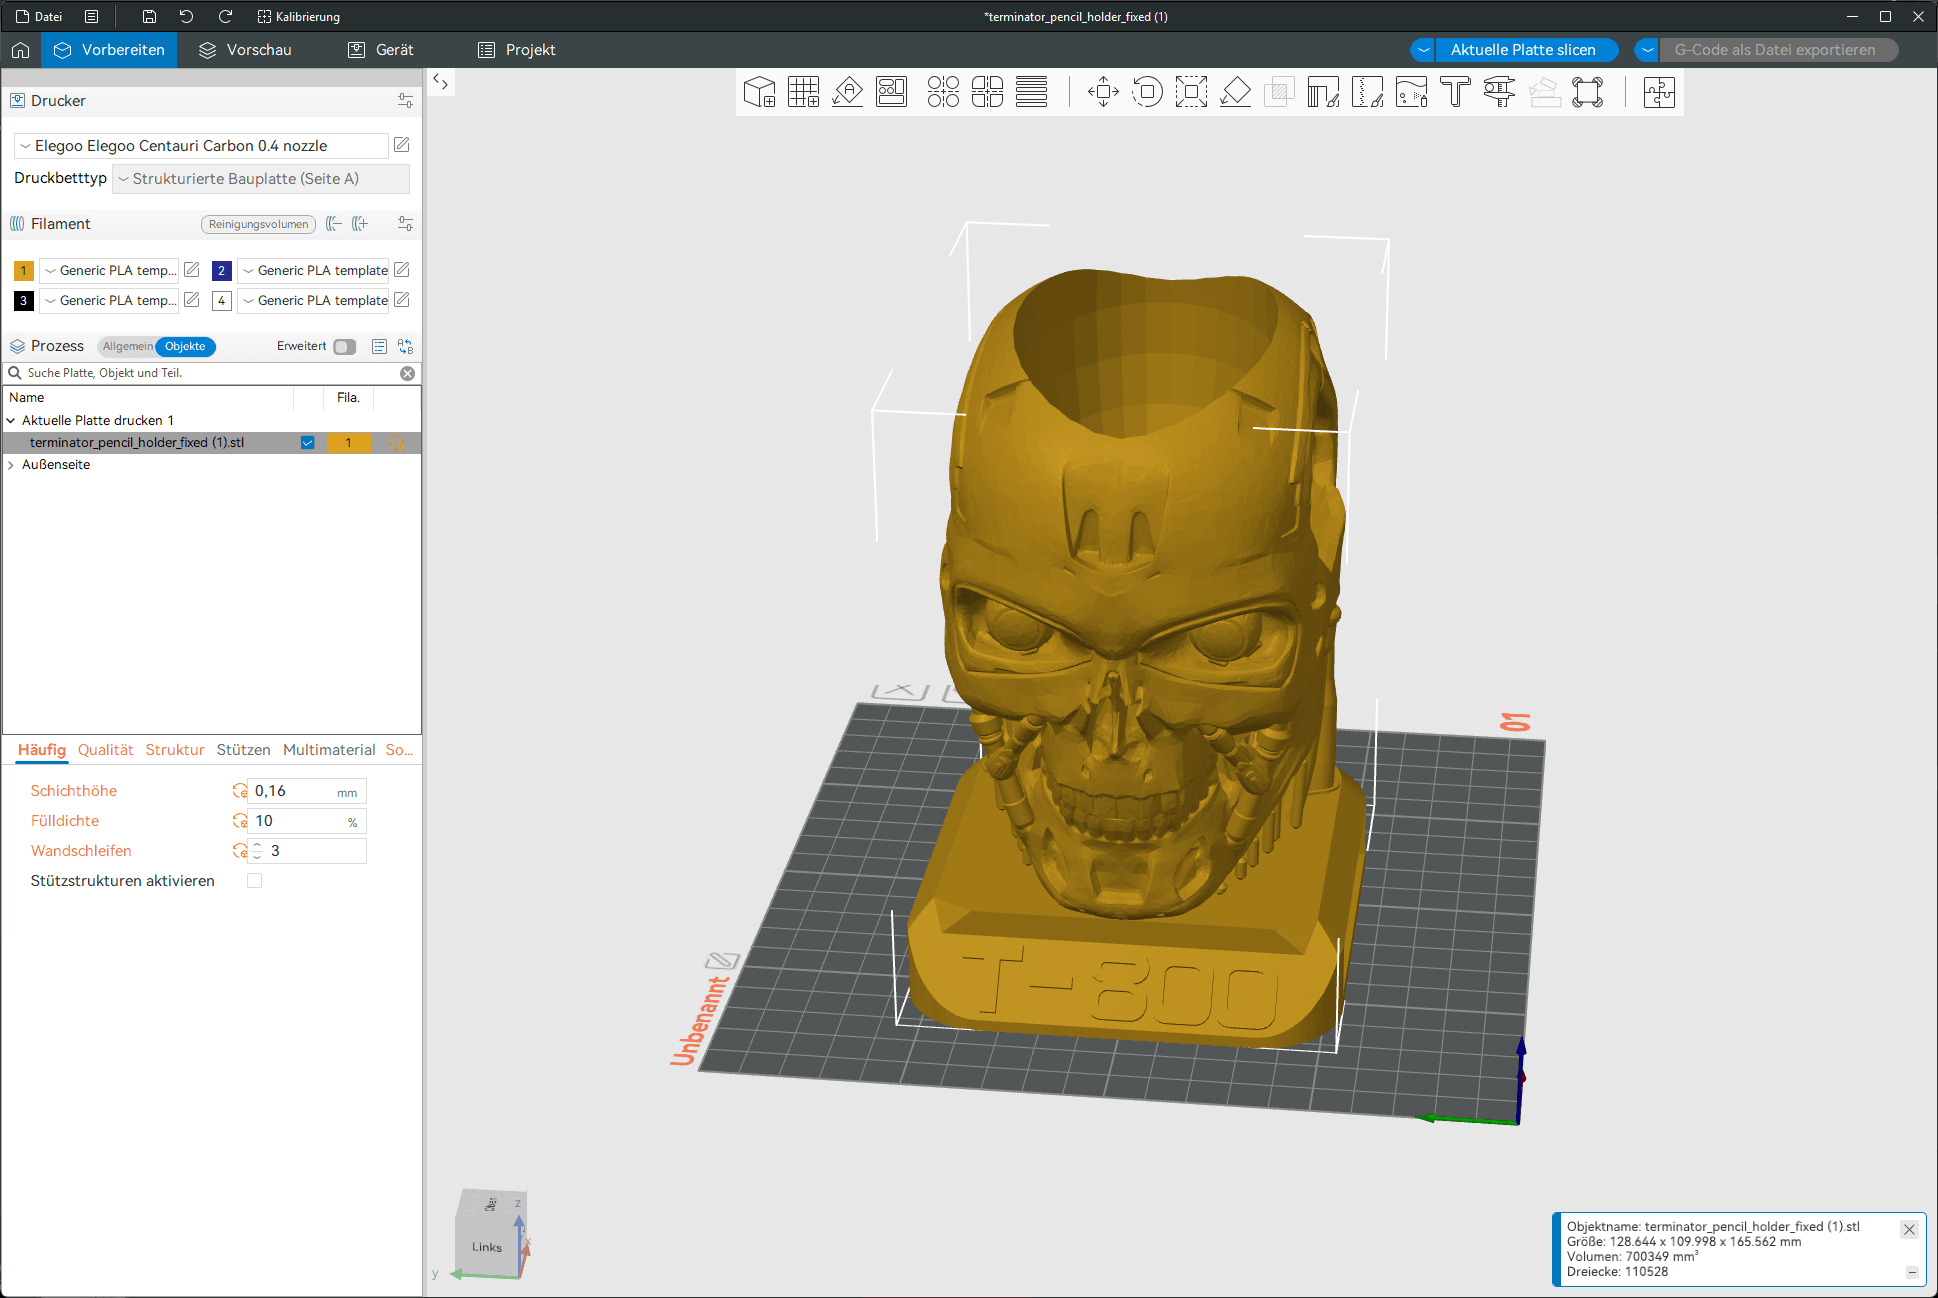
The user interface follows the classic Orca/Prusa style. Beginners benefit from the fact that they essentially just need to load a model, enable supports, and click Export. The slicer is neither overloaded nor stripped down, but strikes a good balance between clarity and available settings.
Material profiles and presets
The built-in material profiles work very well in testing. PLA, ABS and PETG have reliable default settings that deliver usable results without further adjustment. The profile takes the Centauri Carbon's high hotend and bed temperatures directly into account, which is a major advantage when printing ABS.
The Silk-PLA profiles are well tuned and produced clean surfaces in the two sample prints (Terminator pen holder and yoga skeleton).
Advantages of the ELEGOO Slicer
- ready to use without setup
- takes a lot of the work off beginners' hands
- based on an established open-source project
- good material profiles
- direct network printing to a printer
The last point in particular is important. The slicer automatically detects the Centauri Carbon on the network. Models can be sent directly, with a preview and start command.
Weaknesses of the ELEGOO Slicer
The ELEGOO Slicer is solid, but not perfect:
- no cloud connectivity
- no print queue
- no advanced analysis tools
- Less convenient than Bambu Studio
- some features are available in Orca but intentionally hidden in the ELEGOO Slicer
Alternatives: OrcaSlicer, PrusaSlicer & Cura
As ELEGOO imposes no proprietary restrictions, the Centauri Carbon can easily be used with other slicers.
OrcaSlicer (full control)
If you want the full feature set, simply use the original version for more customization options, better flow calibration, expanded support algorithms, more precise input-shaping settings, and significantly more fine-tuning options for cooling and pressure advance.
In practice, this makes it possible to visibly improve print quality and speed. Finer layer transitions are possible, particularly with silk PLA and ABS.
PrusaSlicer
It also works very well, but requires a little more manual effort because there is no official machine profile, so some values have to be entered manually. On the other hand, PrusaSlicer offers an excellent support generator and exceptionally clean G-code.
Cura
Cura works, but is probably the weakest option, as the Centauri Carbon’s CoreXY settings and acceleration limits have to be adjusted manually. It’s still an option for makers who are used to Cura.
Community firmware: OpenCentauri
Although the Centauri Carbon ships with stable firmware out of the box, a highly active modding community quickly formed around the printer. The result is OpenCentauri, patched firmware based on ELEGOO’s official version 1.1.40 that removes a number of restrictions, bugs, and usability issues. While the firmware is still in beta, it is already remarkably polished and offers several features that advanced users won’t want to be without.
What does the OpenCentauri firmware offer?
OpenCentauri extends or modifies the original firmware in several ways:
- SSH access (root/OpenCentauri) for advanced diagnostics and customisation
- Developer features such as access to the package manager or the option to disable the internal Klipper service
- Customisable boot logo, including ready-made logos from the community
- Homing position changed; the X/Y reference is now at the front right instead of the front left
- Exhaust fan control revised: the outlet fan no longer starts automatically with every press.
- Web interface enabled: settings can now also be changed while a print is in progress
- Remote online checks removed: OTA updates and telemetry queries are blocked
- New G-code commands: M8212 switches off the chamber lighting; M8213 switches it on
- The Z-offset can be freely edited while idle
- Cleaned-up WebUI, including OpenCentauri branding and no Store button
These changes are not aimed at spectacular “superpowers”, but at useful everyday improvements. Many of them address limitations or bugs in the official firmware that ELEGOO has not yet fixed itself.
Installation and requirements
To install it, first activate the printer’s developer mode. This is done using a small tool that can run on Windows, macOS or Linux. The firmware is then installed via a USB stick, much like a local manual update. After a restart, the OpenCentauri start screen appears.
Professionals can also carry out the installation “headless” via the command line. The enabled SSH interface makes it easy to configure the printer later on.
Centauri Carbon: Hands-on printing experience
After setup, firmware and slicer selection, it was time for the real-world test prints. We focused on everyday scenarios using standard PLA as well as more demanding materials such as ABS and Silk PLA.
It becomes clear within the first few minutes that the Centauri Carbon leaves a very polished overall impression, despite its price. The print chamber heats up quickly, automatic calibration repeats reliably, and the CoreXY drive works cleanly and under control from the outset.
PLA: Strong first layers and clean lines
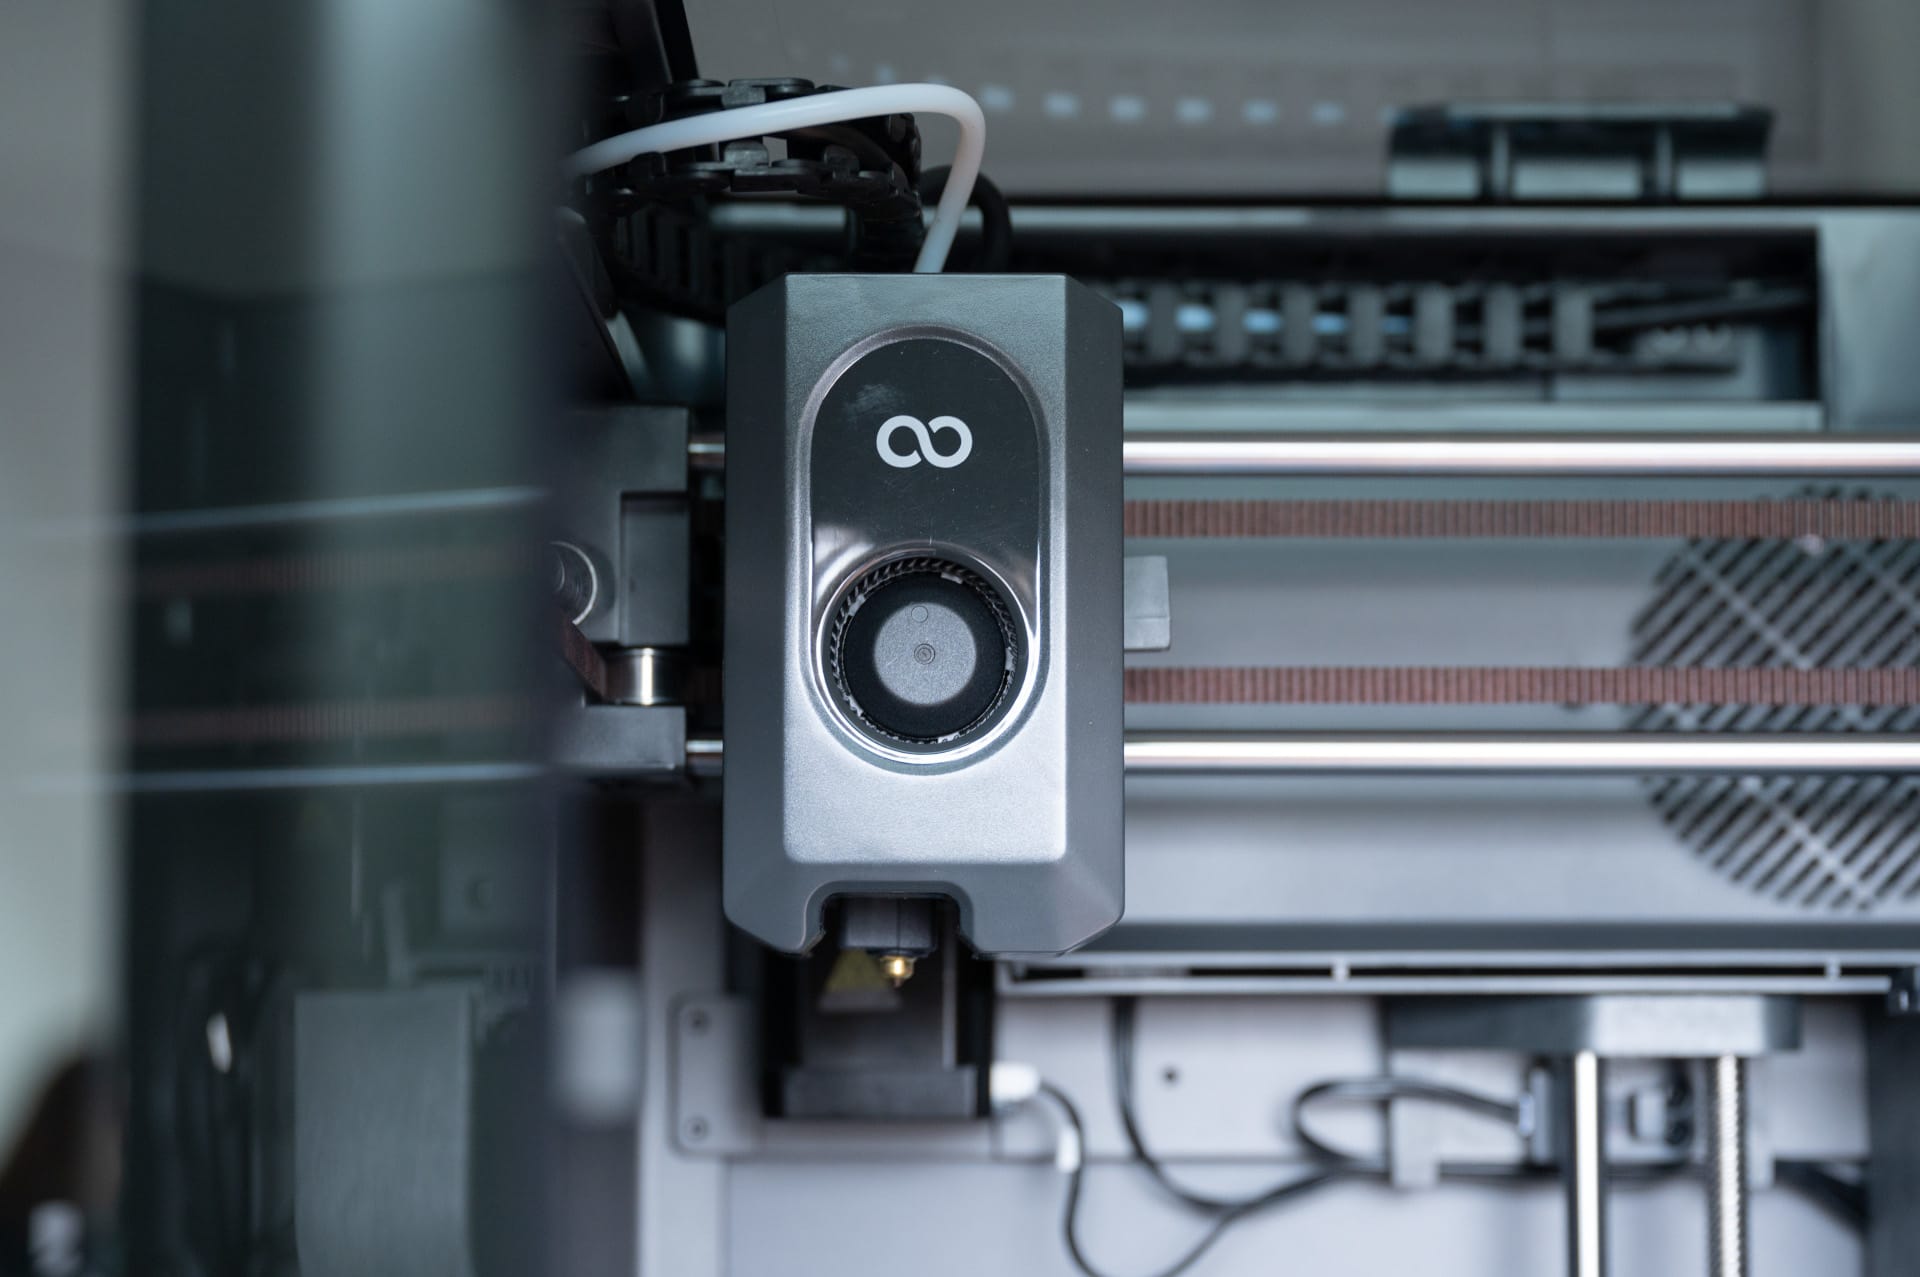
The first prints with PLA already delivered consistently positive results. The textured side of the PEI plate ensures excellent first-layer adhesion without the need for a glue stick. Lines are laid down evenly, extrusion appears stable, and there was neither grooving nor any visible irregularities in the layers. The toolpath remains precise, even during rapid movements, and the corners show little ringing.
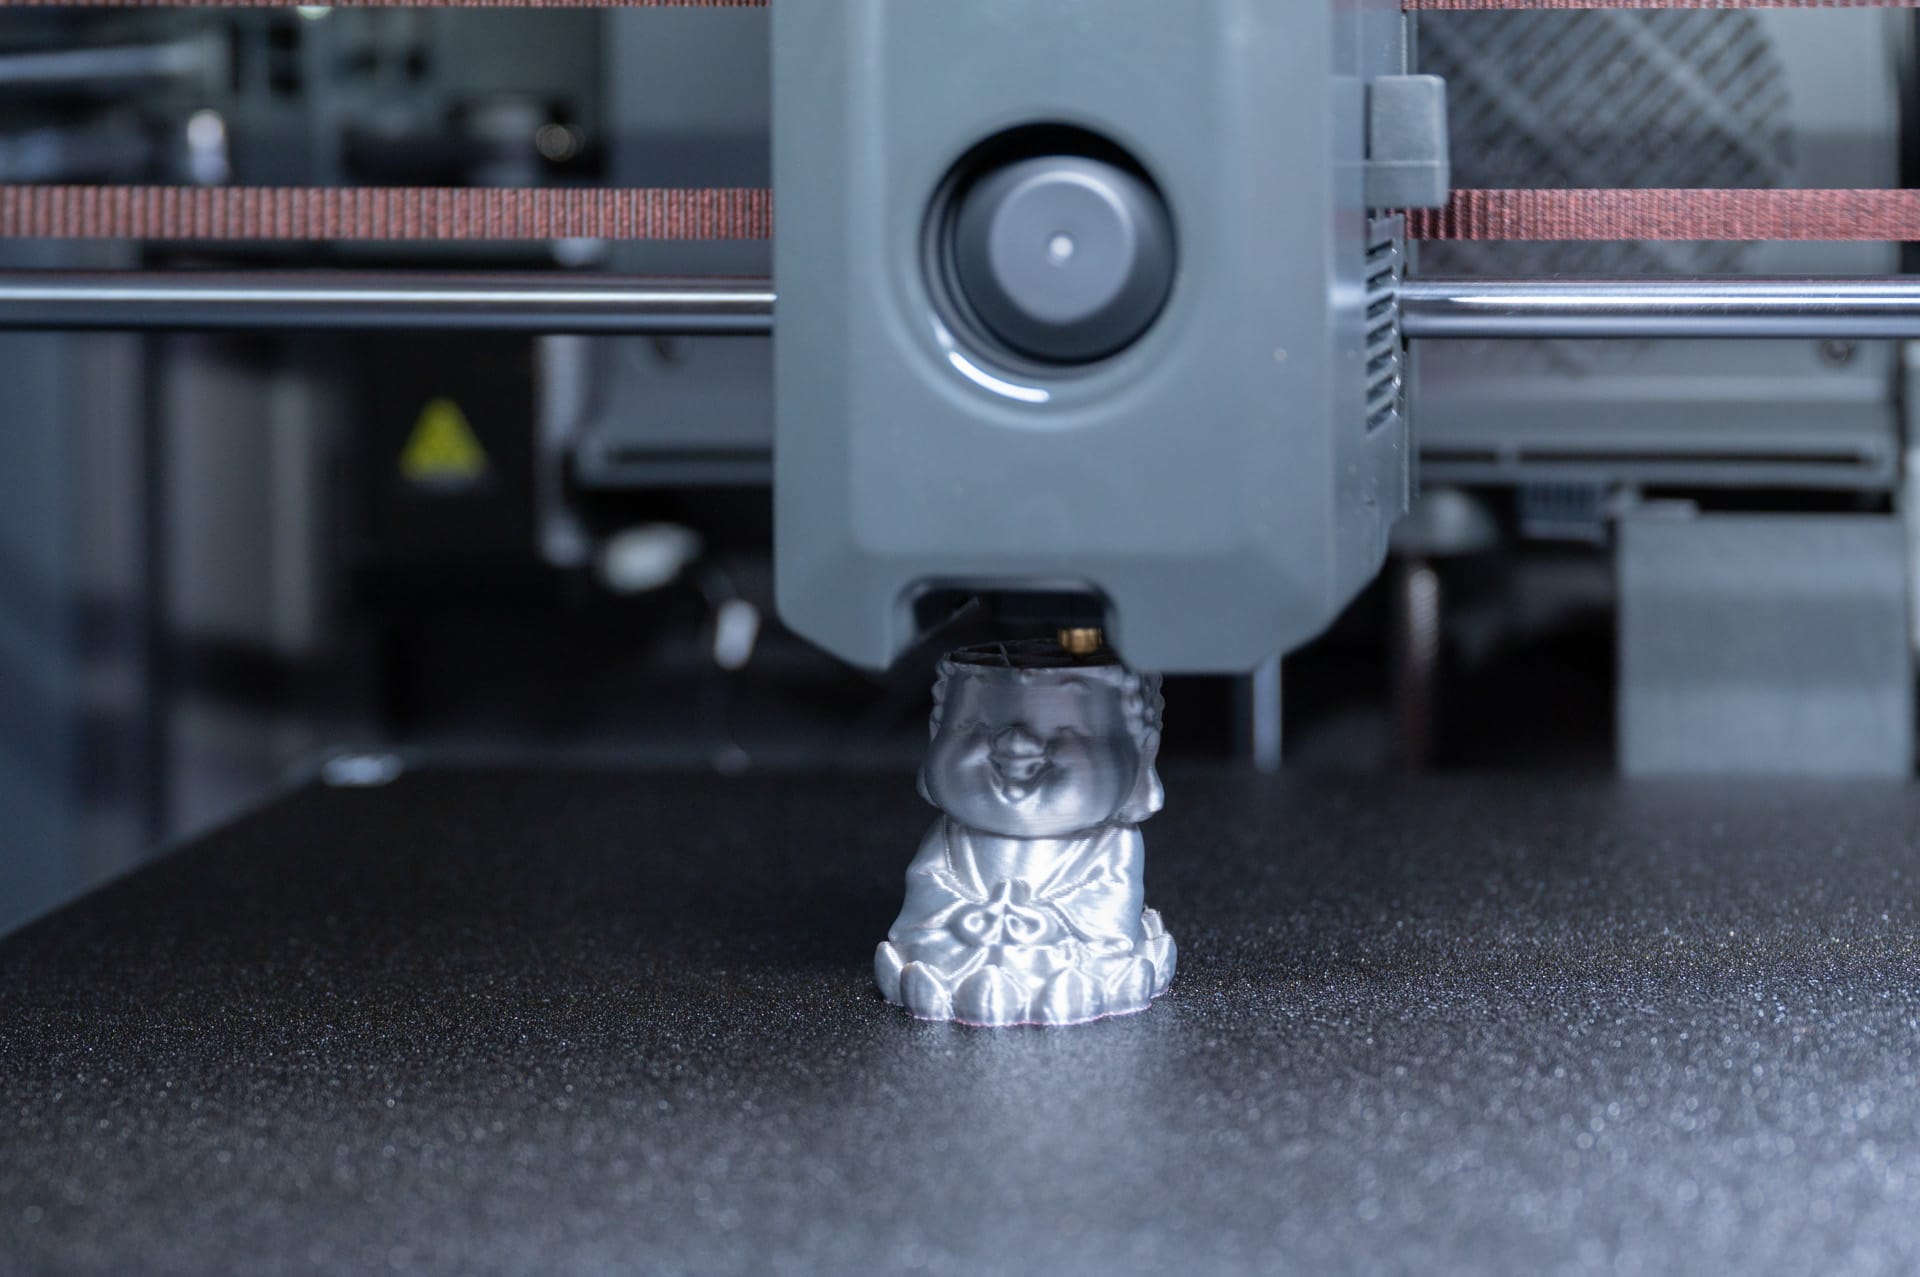
The smooth side of the plate also comes in handy when you want to achieve special surface effects. However, PLA adheres a little more strongly to it, so prints often need to cool completely before they can be removed cleanly.
Silk PLA: A demanding material, with surprisingly good results
Silk filament is a good stress test for printers, in our experience, because its pigmentation makes it very sensitive to seam points, Z-seams, and uneven extrusion. These typical issues were rarely seen during testing.
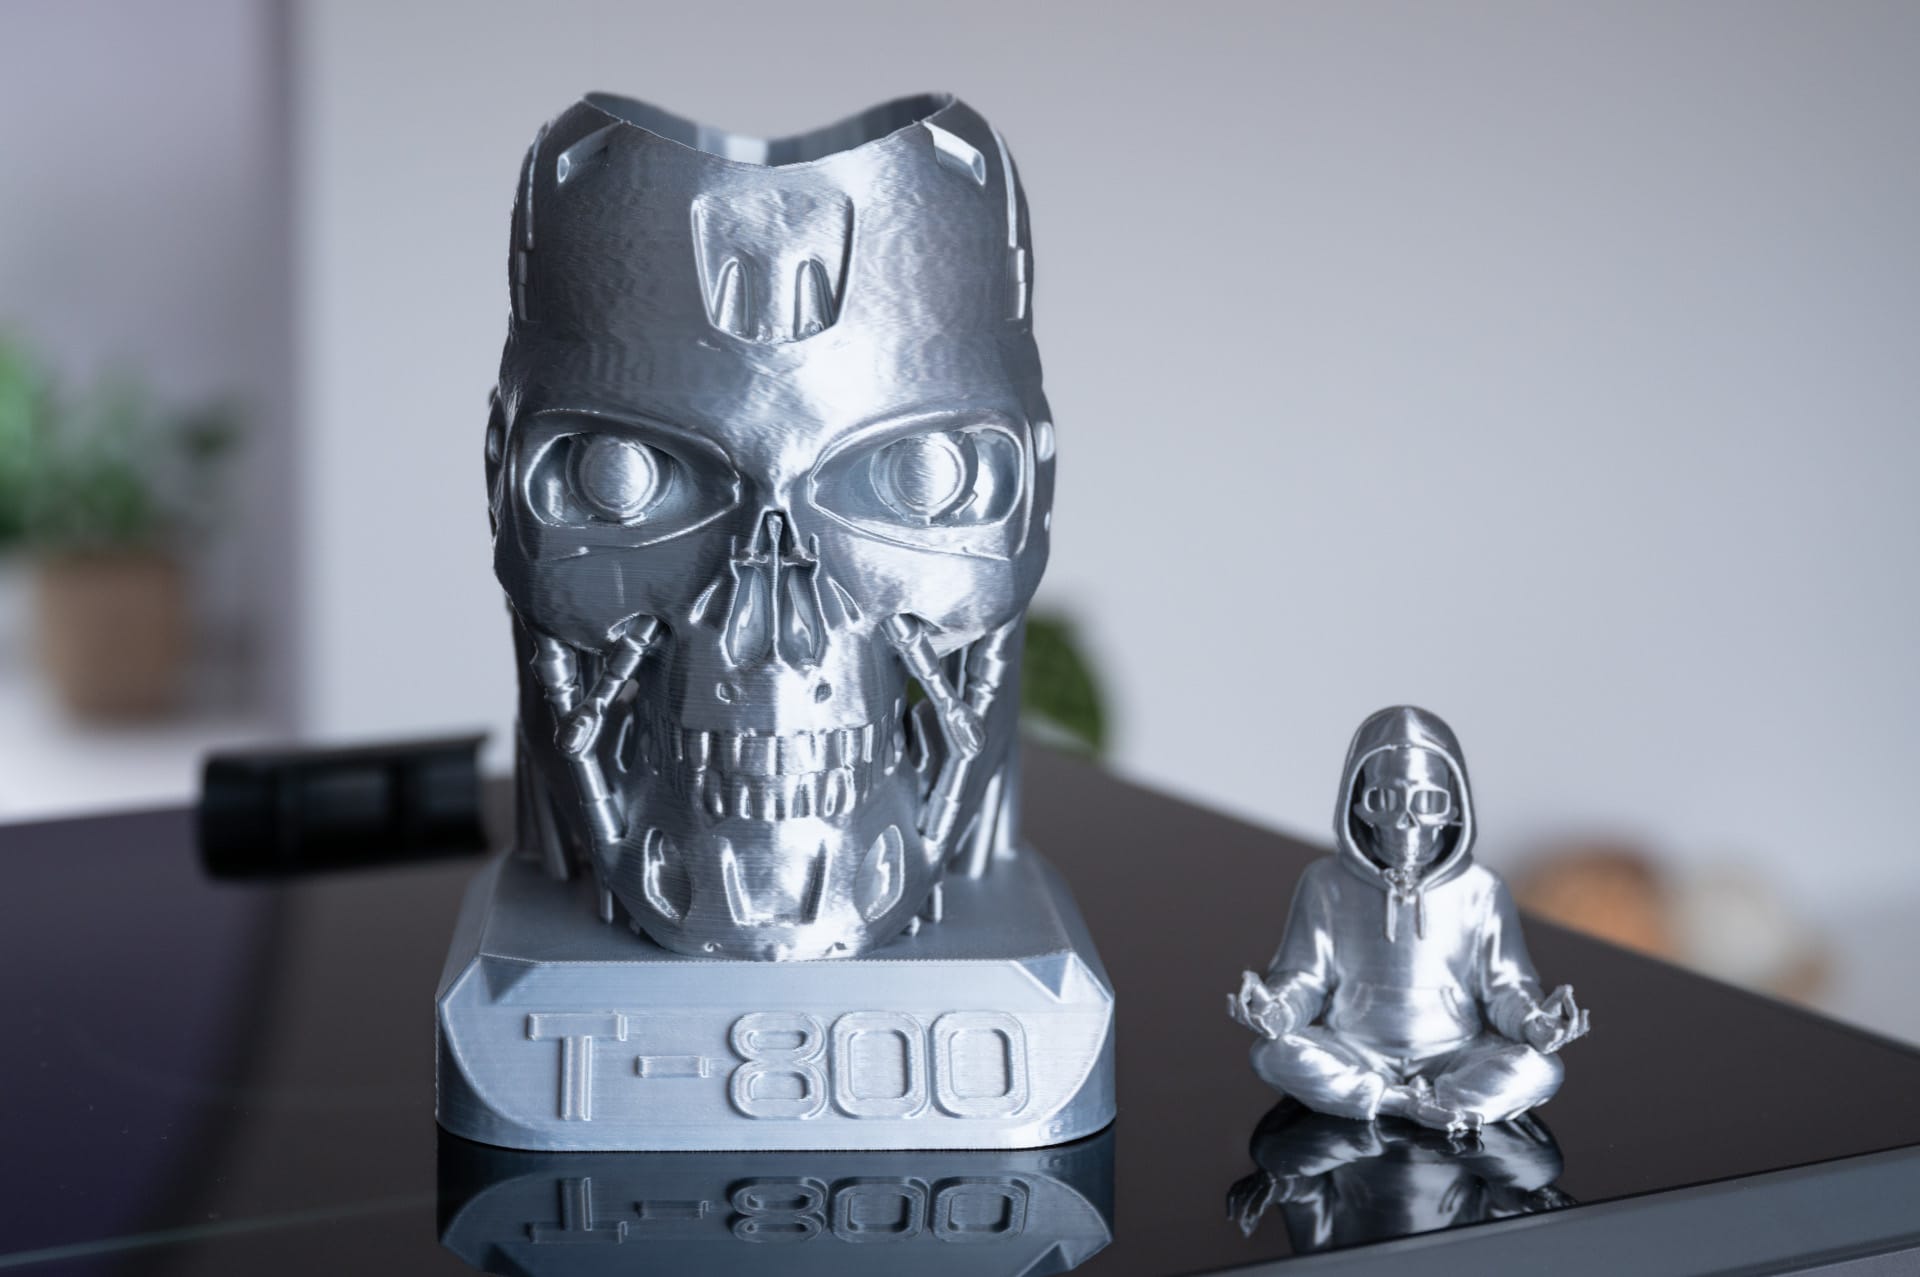
The Terminator pen holder showed an even sheen, clearly defined contours, inconspicuous layer transitions and a barely visible seam.
The Yoga skeleton, a model with many thin struts and curves, also came out cleanly. Particularly noteworthy is that the printer sensibly reduces speed even in delicate areas, without being overly conservative. The transitions between slower and faster sections appear smooth, giving the model an even finish.
ABS: an area where many affordable printers fail
ABS prints remain a problem for many budget printers, mainly due to warping, uneven layers, and temperature instability. The Centauri Carbon performs considerably better than its price range would suggest.
The enclosed chamber keeps the temperature stable, and the AC heated bed quickly and reliably reaches the required temperatures. Only minimal warping at the corners occurred on medium-sized ABS test parts, and layer adhesion was exceptionally strong. Functional components with 3–4 perimeters felt robust and were cleanly defined. Larger or very flat parts still require a skirt or brim, but overall the printer demonstrates strong ABS compatibility.

Pressure stability and repeatability
The following aspects stood out throughout the test period:
- stable extrusion: no clicking, no “underfeeding”
- good cooling: the aux fan is loud but works effectively
- reliable levelling: no drift, no need for manual correction
- clean bridging performance: PLA bridges are laid down with surprising stability
- precise CoreXY mechanics: corners and curves are clearly defined

Only the interior lighting makes it difficult to assess printing progress through the tinted acrylic glass. The camera only partly compensates for this.
Speed, noise and everyday use
Speed
The combination of a sturdy construction, taut belts, and a well-tuned motion setup means the printer can not only reach high speeds, but also maintain them reliably.
ELEGOO specifies a maximum print speed of up to 500 mm/s. In practice, as with all devices, these speeds are achievable only with certain infill patterns and simplified geometries. In normal printing, realistic speeds are closer to 150–200 mm/s for standard PLA, 80–120 mm/s for ABS and 100–140 mm/s for Silk PLA.
Even at 160–180 mm/s, the print does not look rushed or uneven. The acceleration settings are sensibly tuned, keeping the printer in its “comfort zone” without causing strong vibrations or visible artefacts.
For large projects with lots of infill, the Centauri Carbon can offer a significant time advantage over Bowden systems or slower Cartesian systems. In our test, comparable PLA models finished around 25–40% faster than on inexpensive entry-level printers.
Noise levels
The Centauri Carbon is not one of the quieter devices in its class. On the contrary, in everyday use it tends to be at the upper end of what is comfortable for studies or living rooms.
The auxiliary fan, or case fan, is particularly audible. During operation, readings of around 63–67 dB are recorded at a distance of 1 metre, depending on the surroundings. It is not quiet, but is perfectly acceptable for many workshops and hobby rooms. The enclosed design helps somewhat, but the fans remain the dominant source of noise.
Those looking for a printer that is as quiet as possible would be better off with a Bambu A1 or a specially sound-insulated DIY solution.
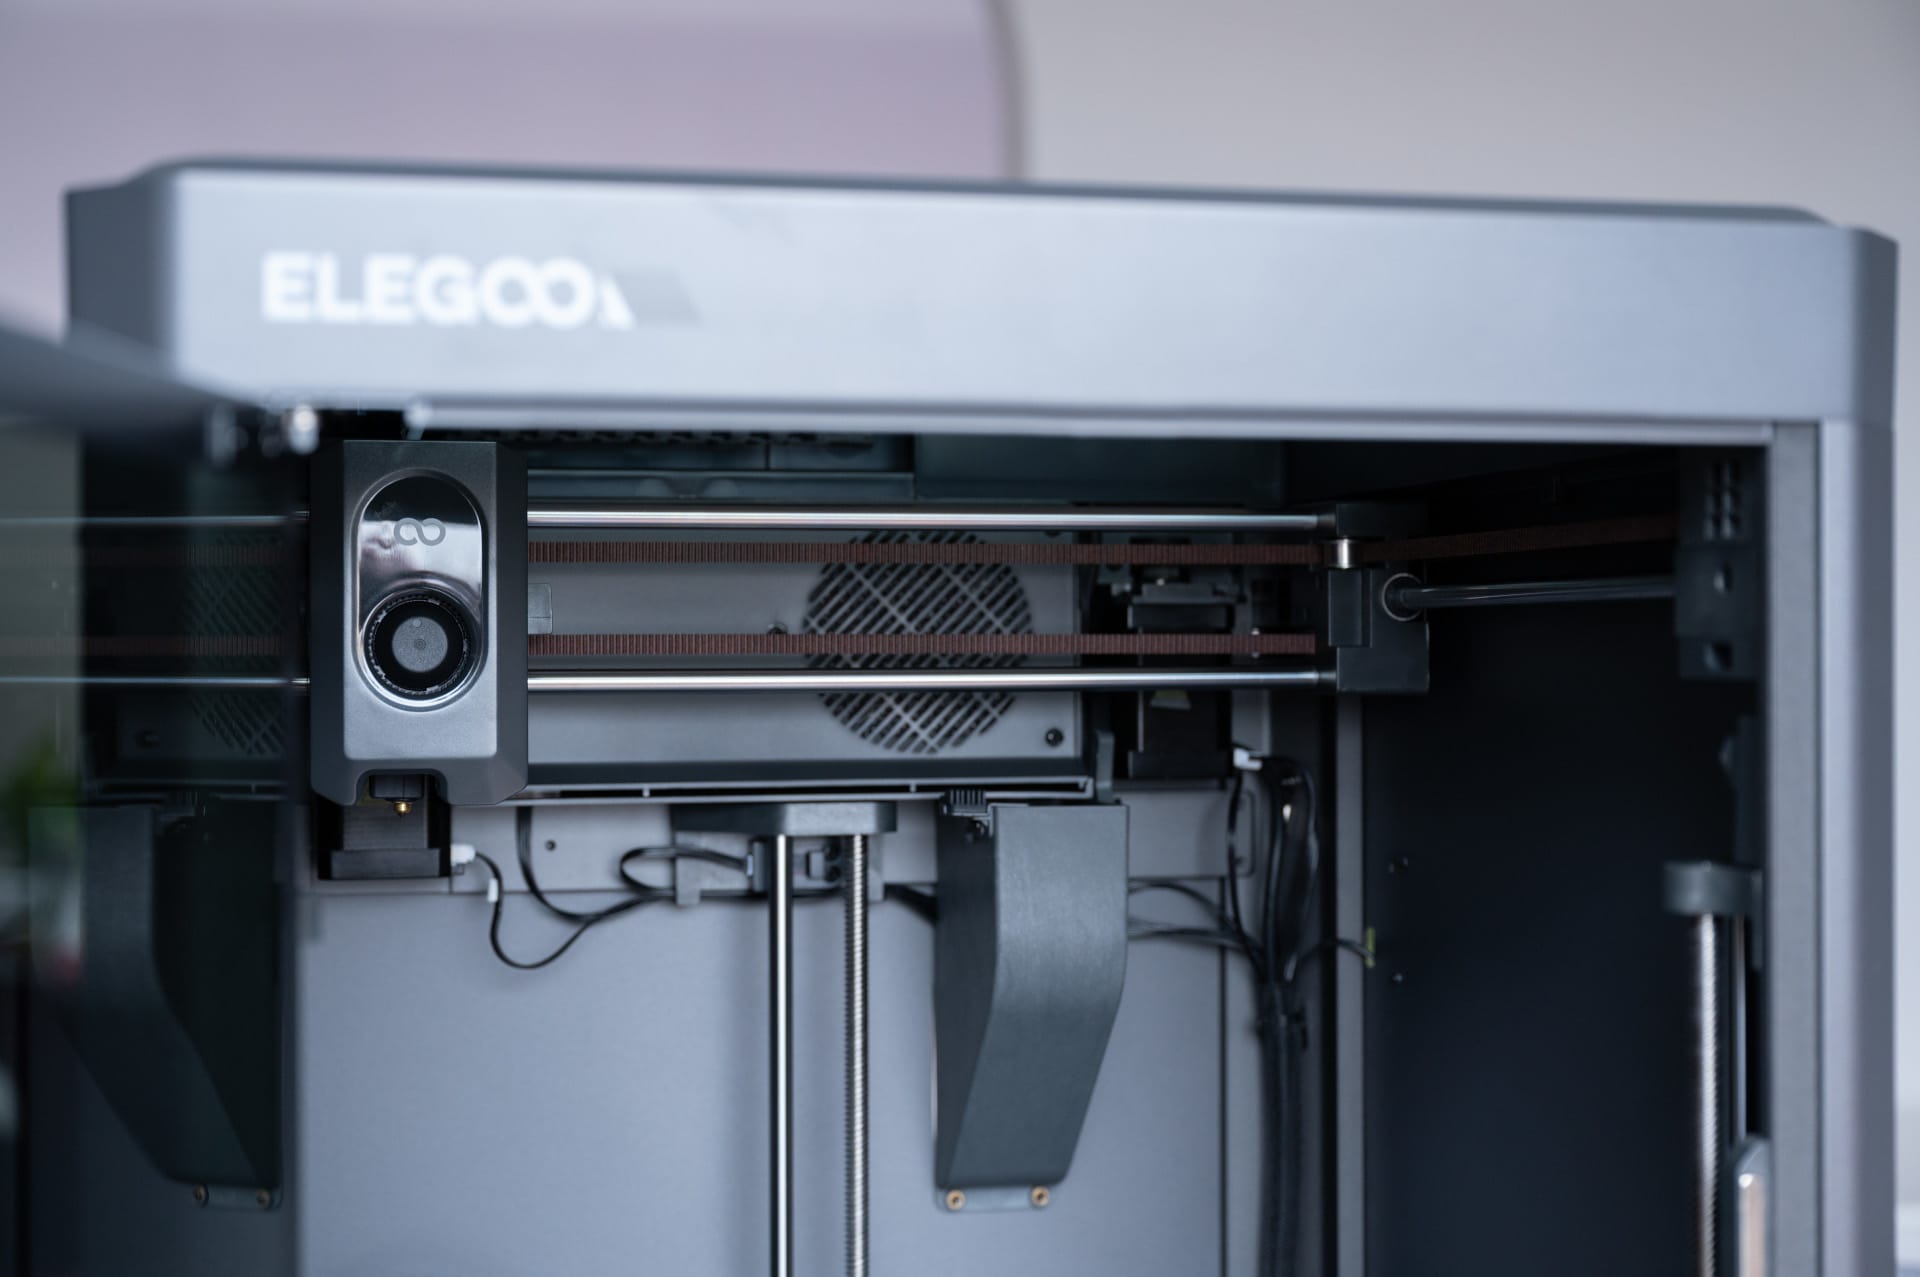
Vibrations and stability
Despite the high speed, the frame remains very stable during printing. The mass of the housing provides good damping, so hardly any vibrations are transmitted to the surroundings.
The printer remains stable even during rapid changes in direction, and nothing wobbles on a narrow shelf or an IKEA Lack table. Vibration artifacts (“ghosting”) are noticeably less common than with open-frame designs. That’s not something you can take for granted, especially with budget-oriented CoreXY printers.
Thermal performance and temperature behavior
The AC heated bed ensures very short heat-up times. The enclosed chamber maintains a moderate but consistent internal temperature. Typical values, depending on the bed configuration, are PLA: 28–32 °C chamber; ABS: 38–45 °C chamber.
That is good enough for ABS to significantly reduce warping. The printer does not have an active chamber heater, so high-performance materials that are sensitive to temperature, such as PC-CF, can only be recommended to a limited extent.
Everyday usability
In everyday use, the printer feels very user-friendly. The PEI flexible plate is easy to remove once it has cooled, and automatic nozzle cleaning saves time during print preparation.
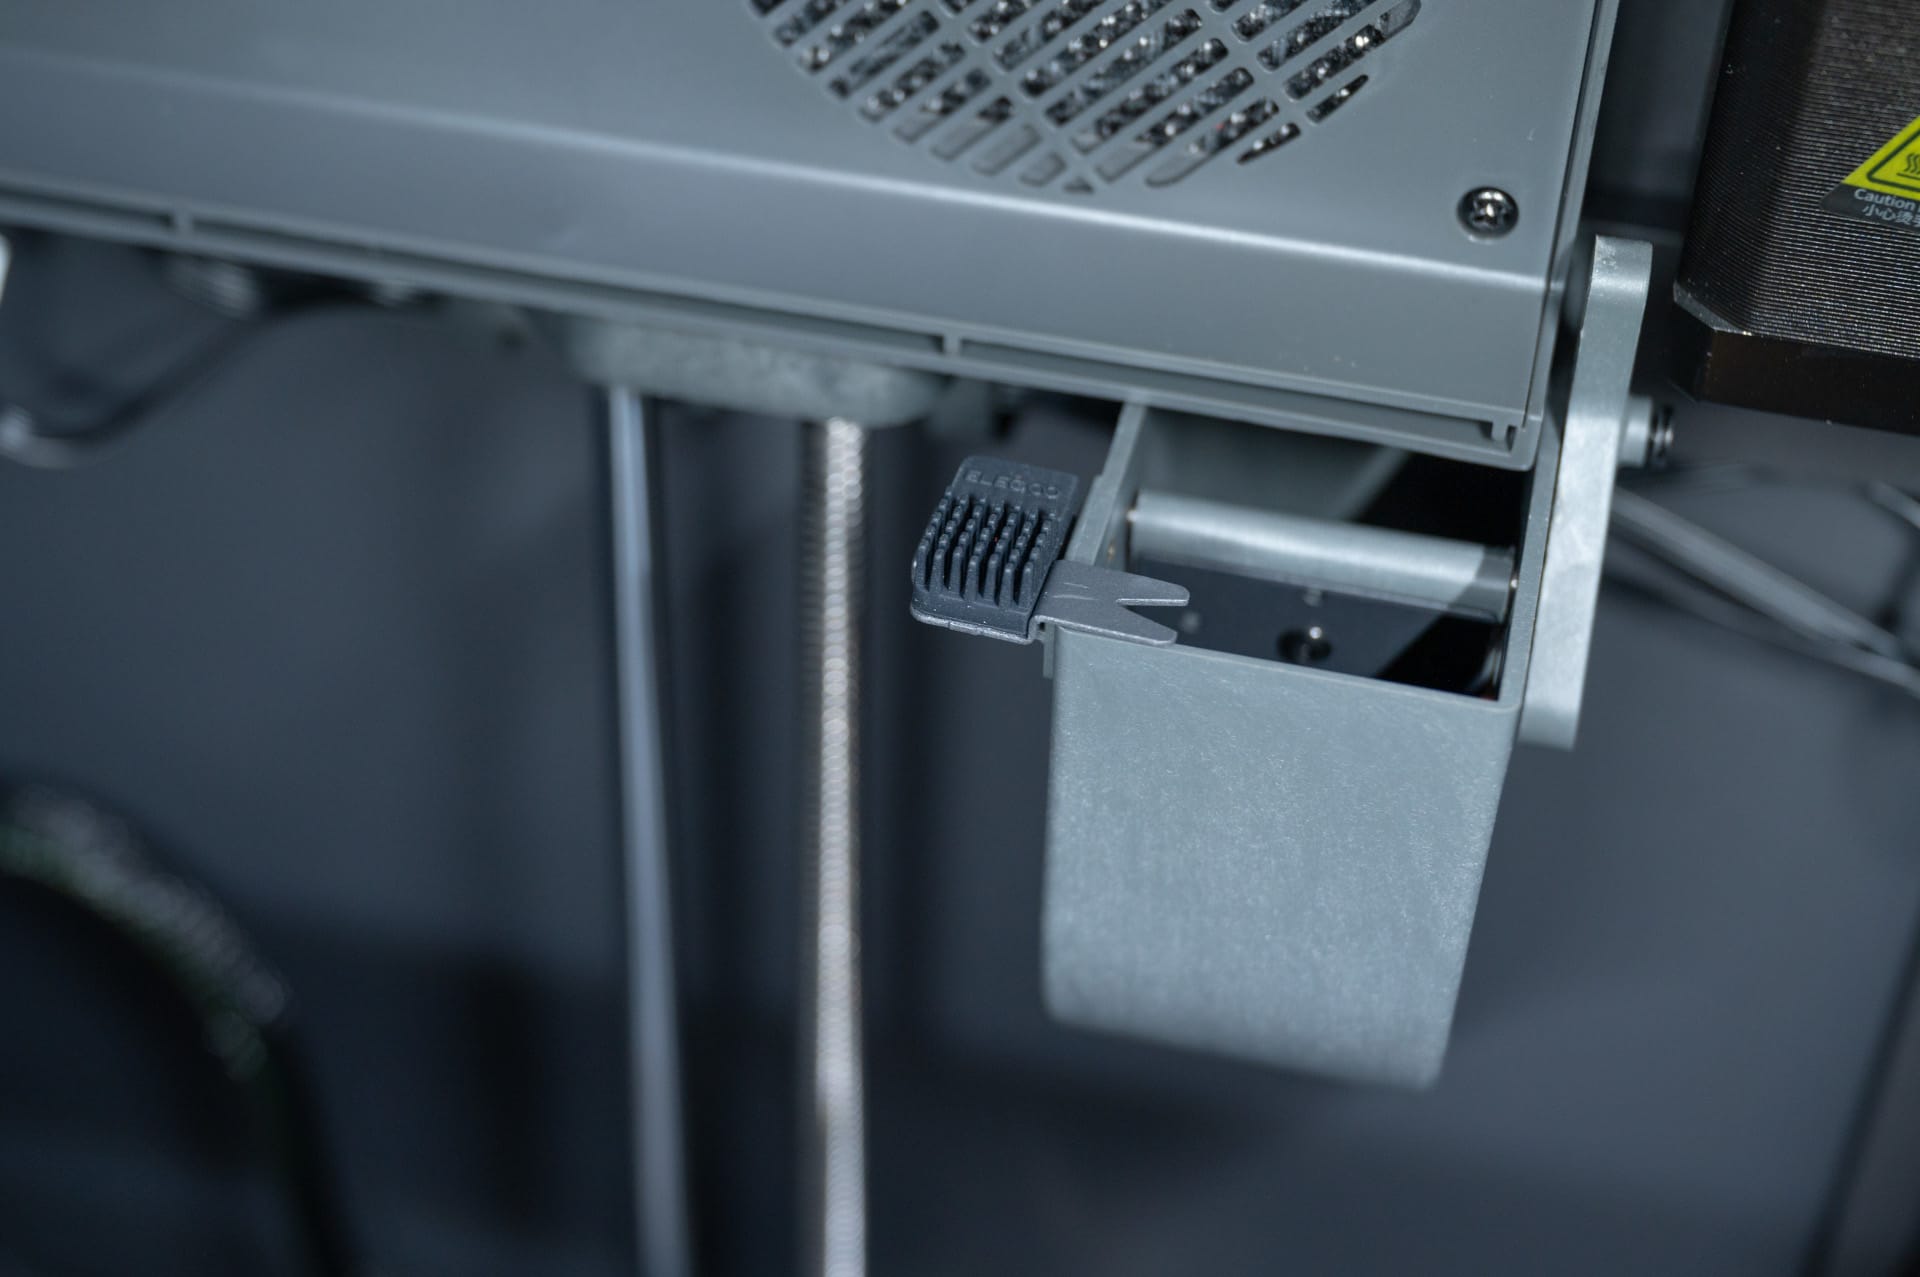
All maintenance points are easy to reach, making filament changes quick. The camera provides usable images for checking the print when there is enough light.
Comparison with Bambu Lab: P1S, A1, and A1 Mini
Over the past two years, Bambu Lab has established itself as a benchmark in the consumer segment, particularly with the P1S and A1. A comparison with the Centauri Carbon quickly makes it clear that both manufacturers target a similar user base, but have different priorities.
ELEGOO Centauri Carbon vs. Bambu Lab P1S
The P1S is the closest comparison. Both printers use a CoreXY drive, both have an enclosed housing, high speeds, and solid material compatibility. Nevertheless, they differ in terms of features:
Centauri Carbon advantages:
- significantly cheaper than the P1S
- very high hotend temperature (up to 320 °C)
- No closed ecosystem, making it more flexible for modding
- Community around OpenCentauri
- better value for money
Bambu P1S advantages:
- significantly quieter in operation
- noticeably more convenient thanks to cloud integration, the app and automated workflows
- optional AMS for automatic filament changes and multi-colour prints
- More stable software with better usability
- an overall “more finished” system in everyday use
If you want to do as little tinkering as possible and simply print, the P1S is still the better choice. If, on the other hand, you prioritize price and flexibility, the Centauri Carbon is the more appealing option.
ELEGOO Centauri Carbon vs. Bambu Lab A1
The A1 is an affordable entry-level printer focused on ease of use and keeping things as simple as possible. In a direct comparison, the Centauri Carbon feels considerably more capable:
Centauri Carbon advantages:
- closed design, a clear advantage with ABS
- larger print volume
- Higher hotend and bed temperatures
- better overall material compatibility
- more headroom for speed and stability
Advantages of the Bambu A1:
- whisper-quiet by comparison
- even easier to set up
- App, cloud and ecosystem benefits
- AMS Lite already integrated (multi-color for PLA)
For printing with plain PLA or PETG, especially in the hobby or figurine sector, the A1 remains more convenient. For users working with ABS, ASA or functional parts, the Centauri Carbon is clearly superior.
Our verdict
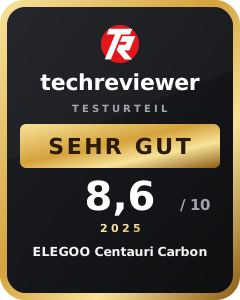
The ELEGOO Centauri Carbon makes a surprisingly strong impression in our test. For a printer in this price range, it offers a combination of speed, stability and material flexibility that is usually found only in more expensive models. Its compact, enclosed design, straightforward setup and very good PLA and ABS print results make it an interesting option for beginners and experienced makers alike.
In everyday use, the printer impresses with its fast warm-up times and a smooth workflow from slicer to device. The integrated camera, PEI print bed and automatic nozzle cleaning are useful extras that you would not necessarily expect in this price range. Prints came out clean on the first attempt in our test, with no fine-tuning or complications.
It’s not quite perfect. The fans are audible, the LED lighting is too weak, and the gap in ease of use compared with Bambu Lab is noticeable. If you’re looking for a cloud ecosystem, whisper-quiet operation, or extensive automation, you’re still more likely to find that level of quality in the P1S, A1, or A1 Mini. The Centauri Carbon is less of a “smart printer” and more of a “robust all-rounder” that draws its strengths from its hardware and openness.
That’s exactly what makes it appealing. For users looking for a capable, affordable machine that prints ABS as reliably as PLA, doesn’t lock them into a closed ecosystem, and can even be expanded with the community firmware OpenCentauri, the Centauri Carbon is one of the most exciting options in the budget and mid-range segments.
Specifications
General
- Type
- Enclosed CoreXY 3D printer (FDM)
- Build volume
- 256 × 256 × 256 mm
- Drive
- CoreXY, direct drive
- Maximum speed
- up to 500 mm/s
- Acceleration
- up to 8,000 mm/s²
- Hotend temperature
- up to 320 °C
- Heated bed temperature
- up to 110 °C
- Print bed
- Magnetic, double-sided PEI spring steel (smooth + textured)
- Frame
- Metal housing with tinted acrylic
- Camera
- Integrated (for monitoring / timelapse)
- LED lighting
- Integrated at the top (white)
- Nozzle cleaning
- Automatic wiper pad (“Nozzle Wiper”)
- Firmware
- Elegoo OS (updatable) / compatible with OpenCentauri
- Dimensions (device)
- approx. 430 × 430 × 520 mm
- Weight (device)
- approx. 15 kg
Extruder & motion system
- Extruder
- Direct Drive
- Nozzle
- Hardened steel (standard 0.4 mm)
- Nozzle sizes
- 0.2 / 0.4 / 0.6 / 0.8 mm
- Linear rails
- Pre-greased, no play (X/Y)
- Strap
- CoreXY-GT2
- Cooling
- Part cooling + hot-end cooling + enclosure fan (exhaust fan)
Material compatibility
- PLA, Silk-PLA, PETG, TPU, ABS, ASA, PA, PC-Blend, CF filaments
- Max. filament temperature
- 320 °C
- Recommended materials (manufacturer)
- PLA, ABS, PETG
Heated bed & surface
- Heated bed
- AC heated bed
- Temperature
- up to 110 °C
- Surface
- - Smooth PEI side (glossy first-layer finish)
- - Textured PEI side (maximum adhesion)
Controls & display
- Display
- 4.3-inch touchscreen
- Operation
- Directly on the device or via web interface
- Menu navigation
- Materials management, levelling, maintenance, network, camera
- Z offset
- Adjustable (also expandable via OpenCentauri)
Connectivity
- Wi-Fi
- 2,4 GHz
- USB
- USB-A for local G-code files
- Remote access
- Web UI + slicer monitoring
- Compatible slicers
- - Elegoo Slicer (Orca-based)
- - OrcaSlicer
- - PrusaSlicer
- - Cura (manual profile required)
Sensors & safety features
- Filament sensor
- Yes (runout / jam detection)
- Temperature protection
- Thermistor protection, thermal runaway protection
- Crash detection
- Endstop-based homing monitoring
- Door sensor
- no (the printer also works with the door open)
What’s included
ELEGOO Centauri Carbon PEI build plate (2-in-1: smooth + textured) Spool holder (side-mountable) Tool kit (Allen keys, nozzle tool, screws) Glue stick USB drive with test models & software Power cable Multilingual manual Spare screws & transport locks
Price comparison
| Store | Price | Link |
|---|---|---|
| Elegoo | 309,00 € | Go to store |
Comments