Contents
Design and package contents
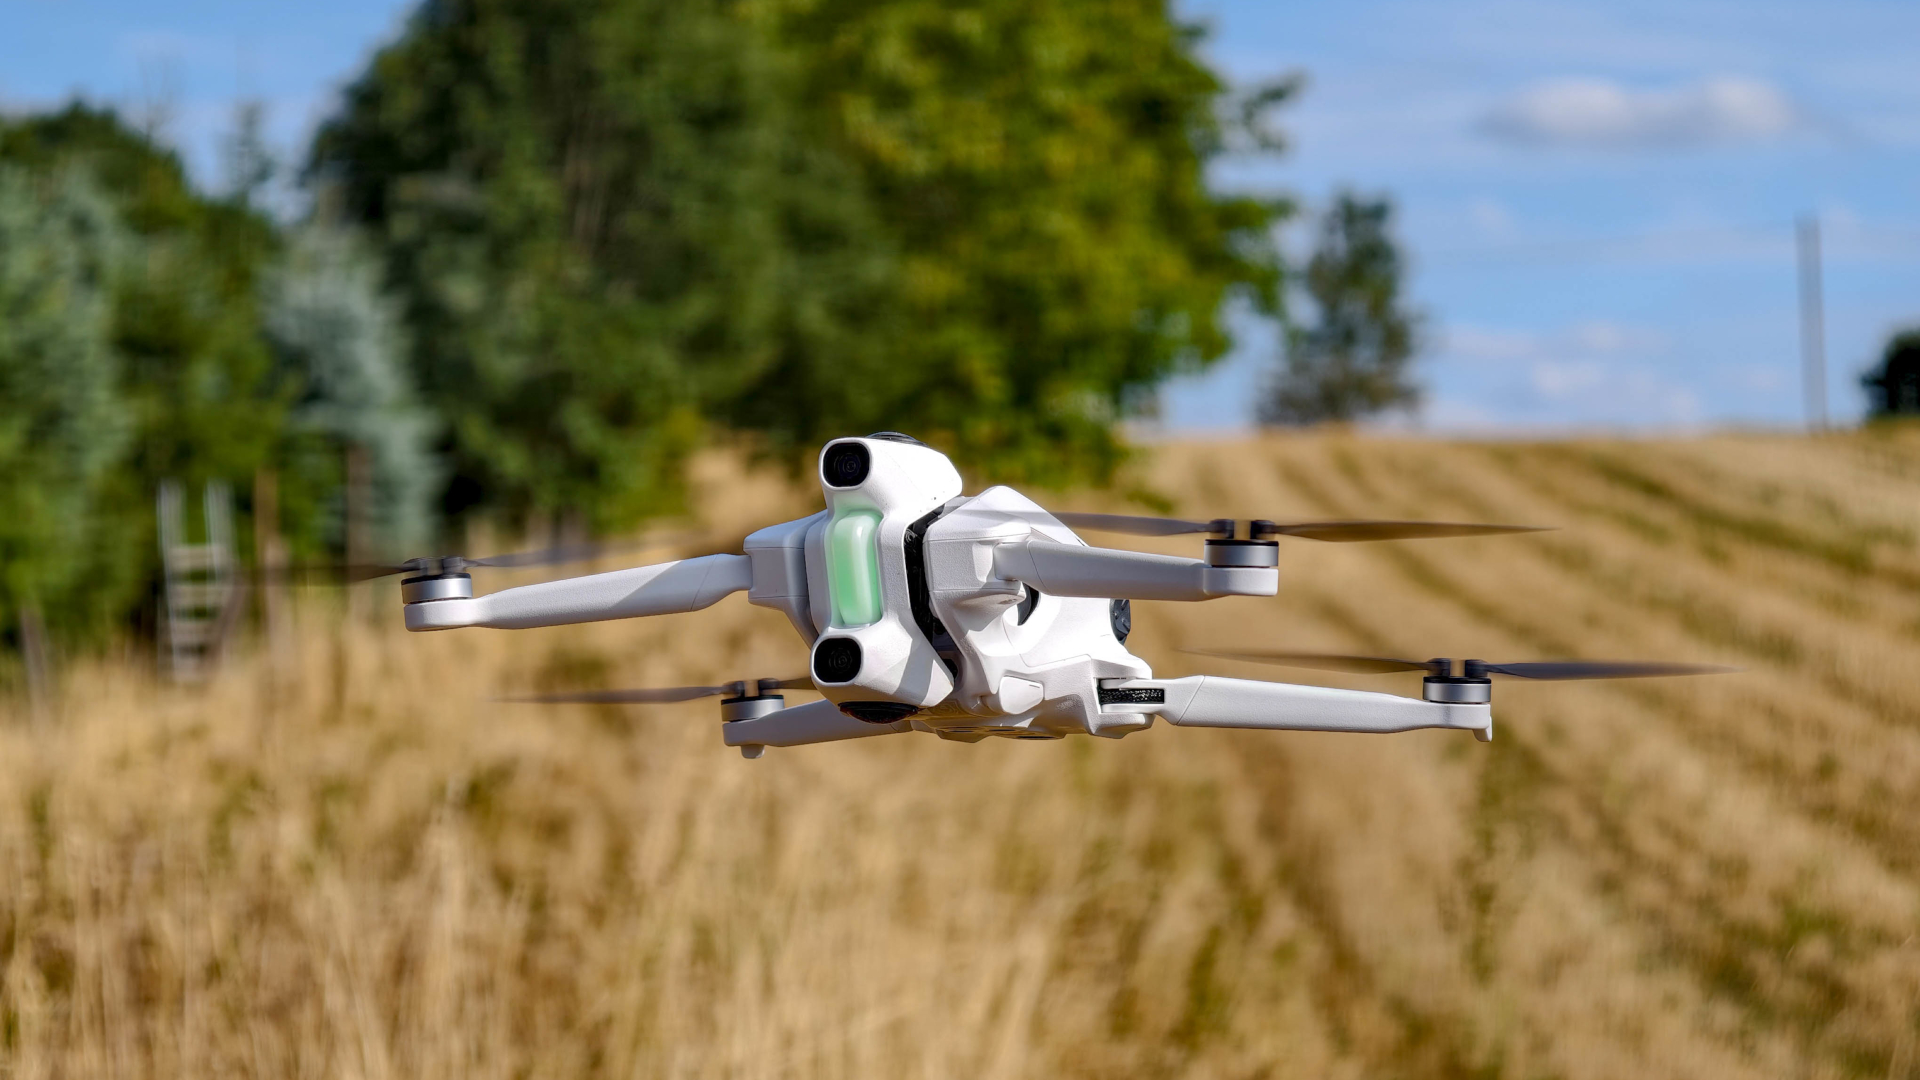
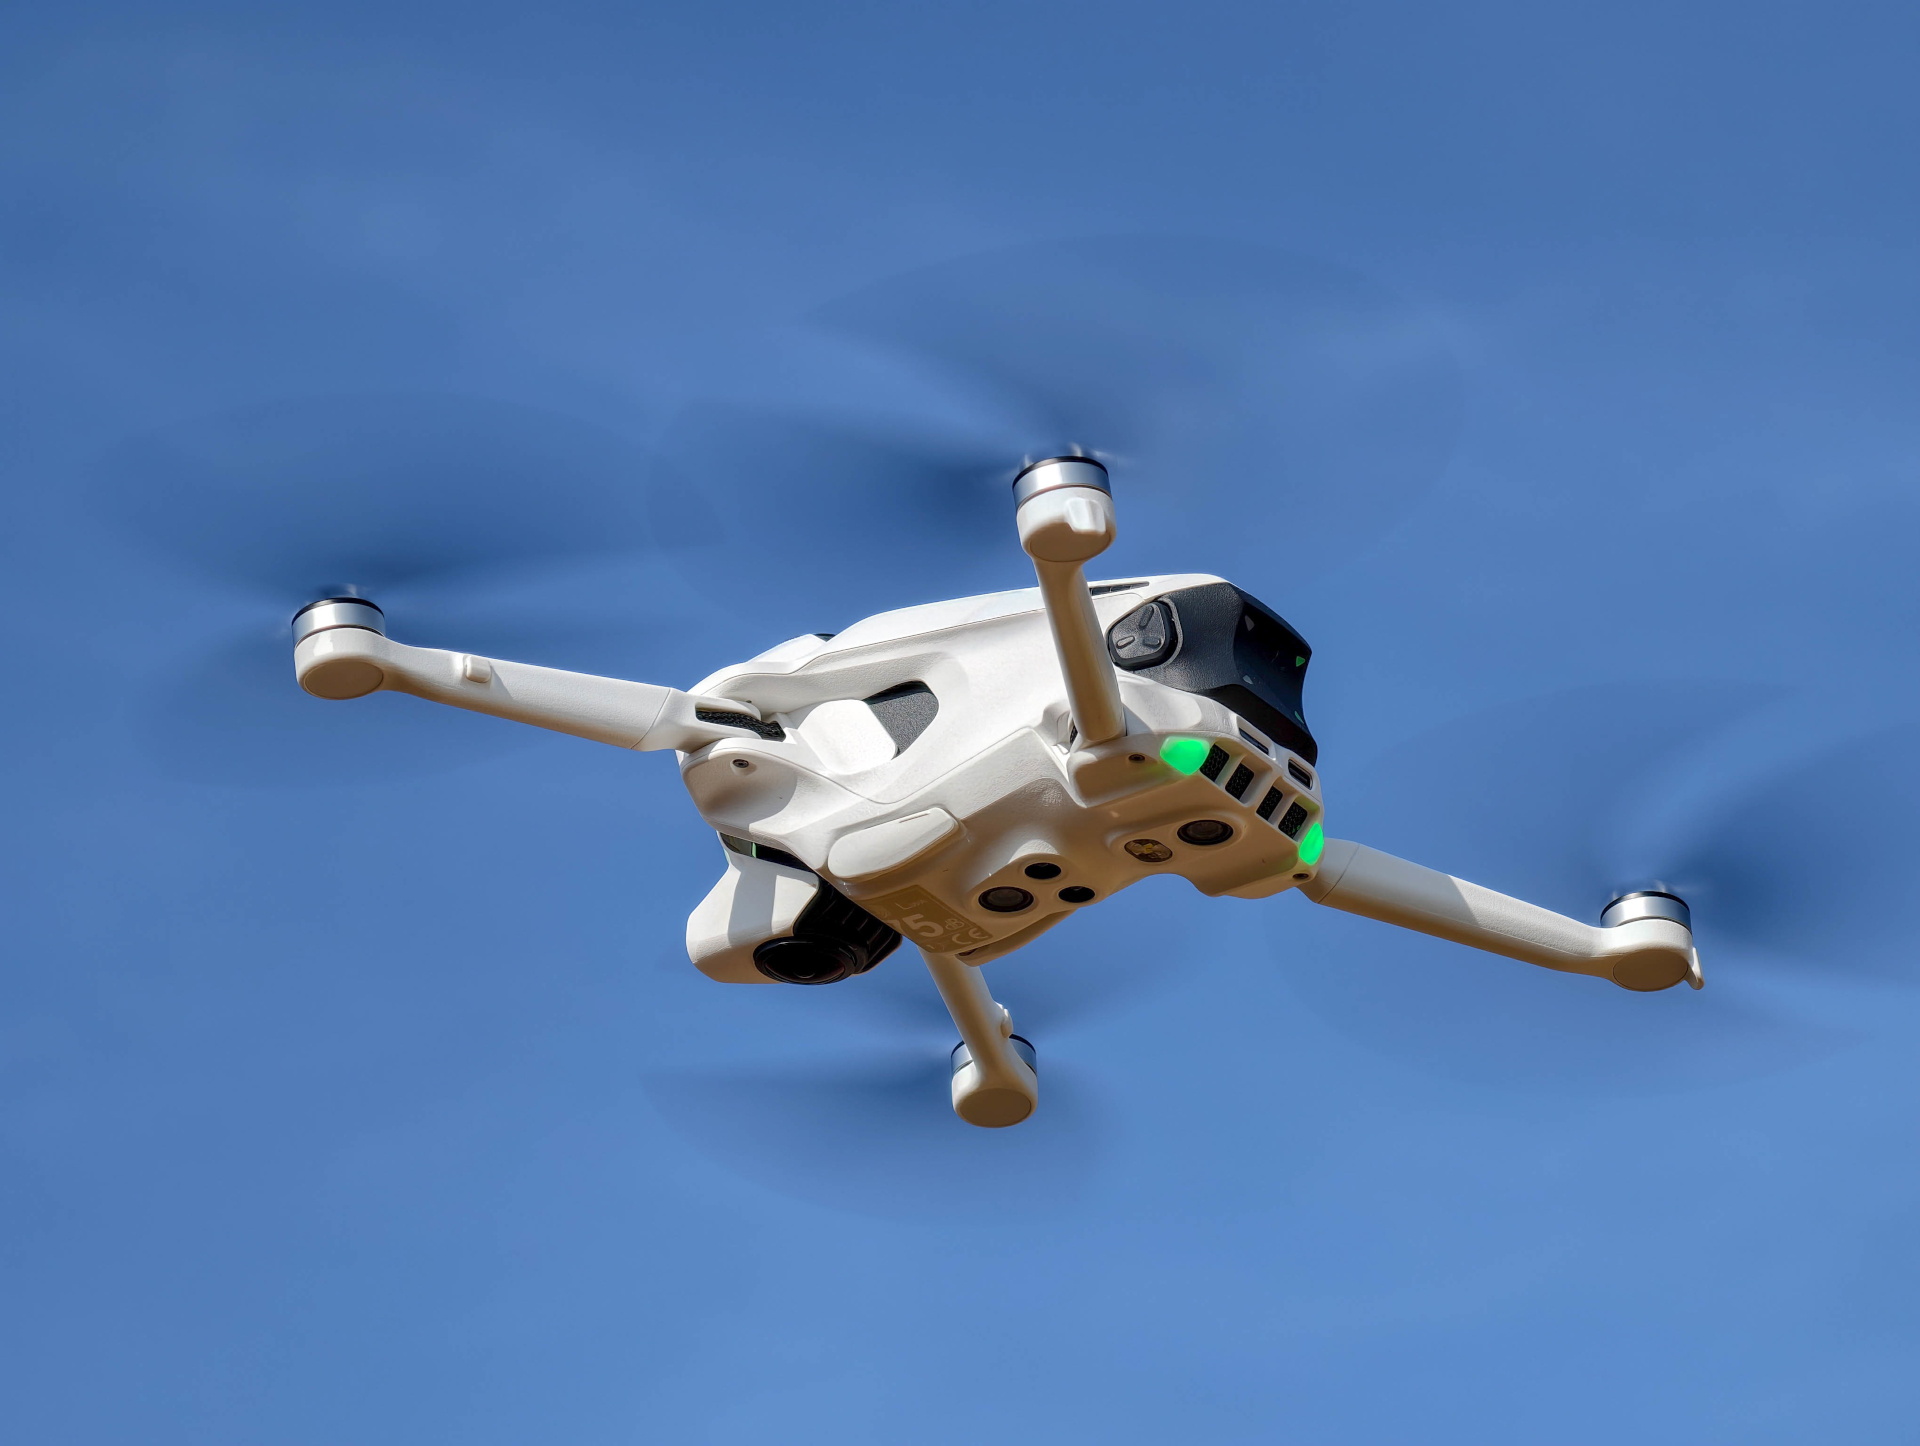
With its four folding arms, the Antigravity A1 is reminiscent of the DJI Mini series. When folded, it measures 141 × 96 × 81 millimeters and weighs just 249 grams with the standard battery.
The weight is no accident: it keeps the A1 below the 250-gram limit that matters in Europe, placing it in EU drone class C0 . You don't need a drone pilot's license, but because it has cameras, you still have to register with the German Federal Aviation Office, and drone liability insurance is also mandatory.
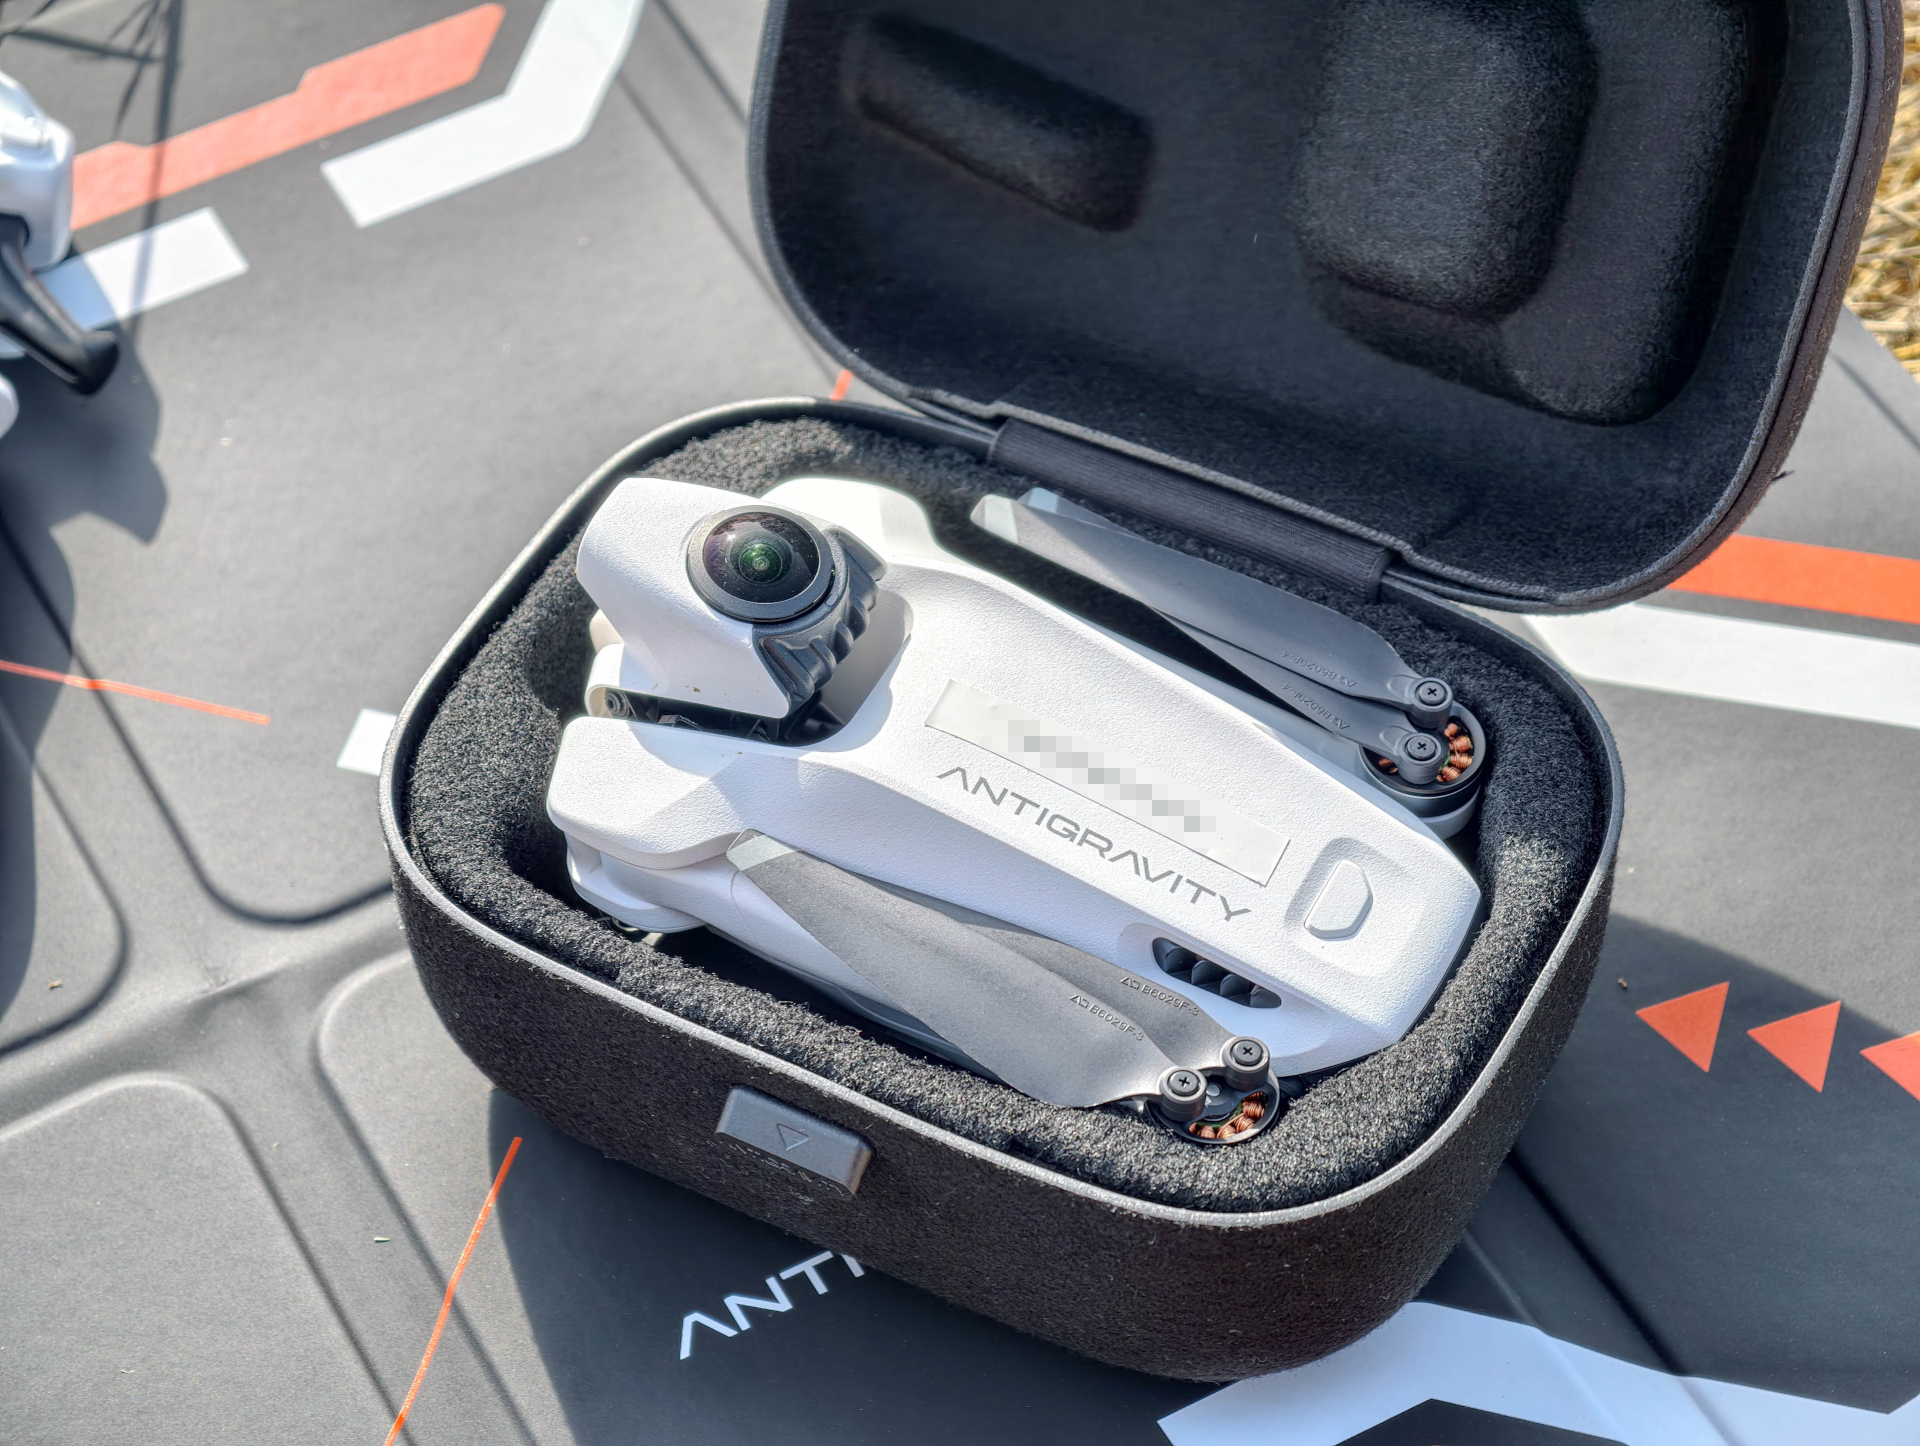
One particularly nice touch is how little space all the gear takes up. The drone, Vision Goggles, Motion Controller, spare batteries, and accessories all fit together in the included shoulder bag. It's barely larger than an ordinary camera bag and can be carried comfortably over the shoulder. There's no need for an extra backpack.
The package contents depend on the bundle you choose. Depending on the package, it may include extra batteries, a charging hub, spare propellers, and the shoulder bag.
Thoughtful details, but unprotected propellers
So far, there's nothing to fault about the build quality. The arms fold out smoothly, the battery locks securely into place, and the plastic housing feels sturdy enough for normal flight. Compared with larger camera drones, however, the A1 feels a little more delicate.
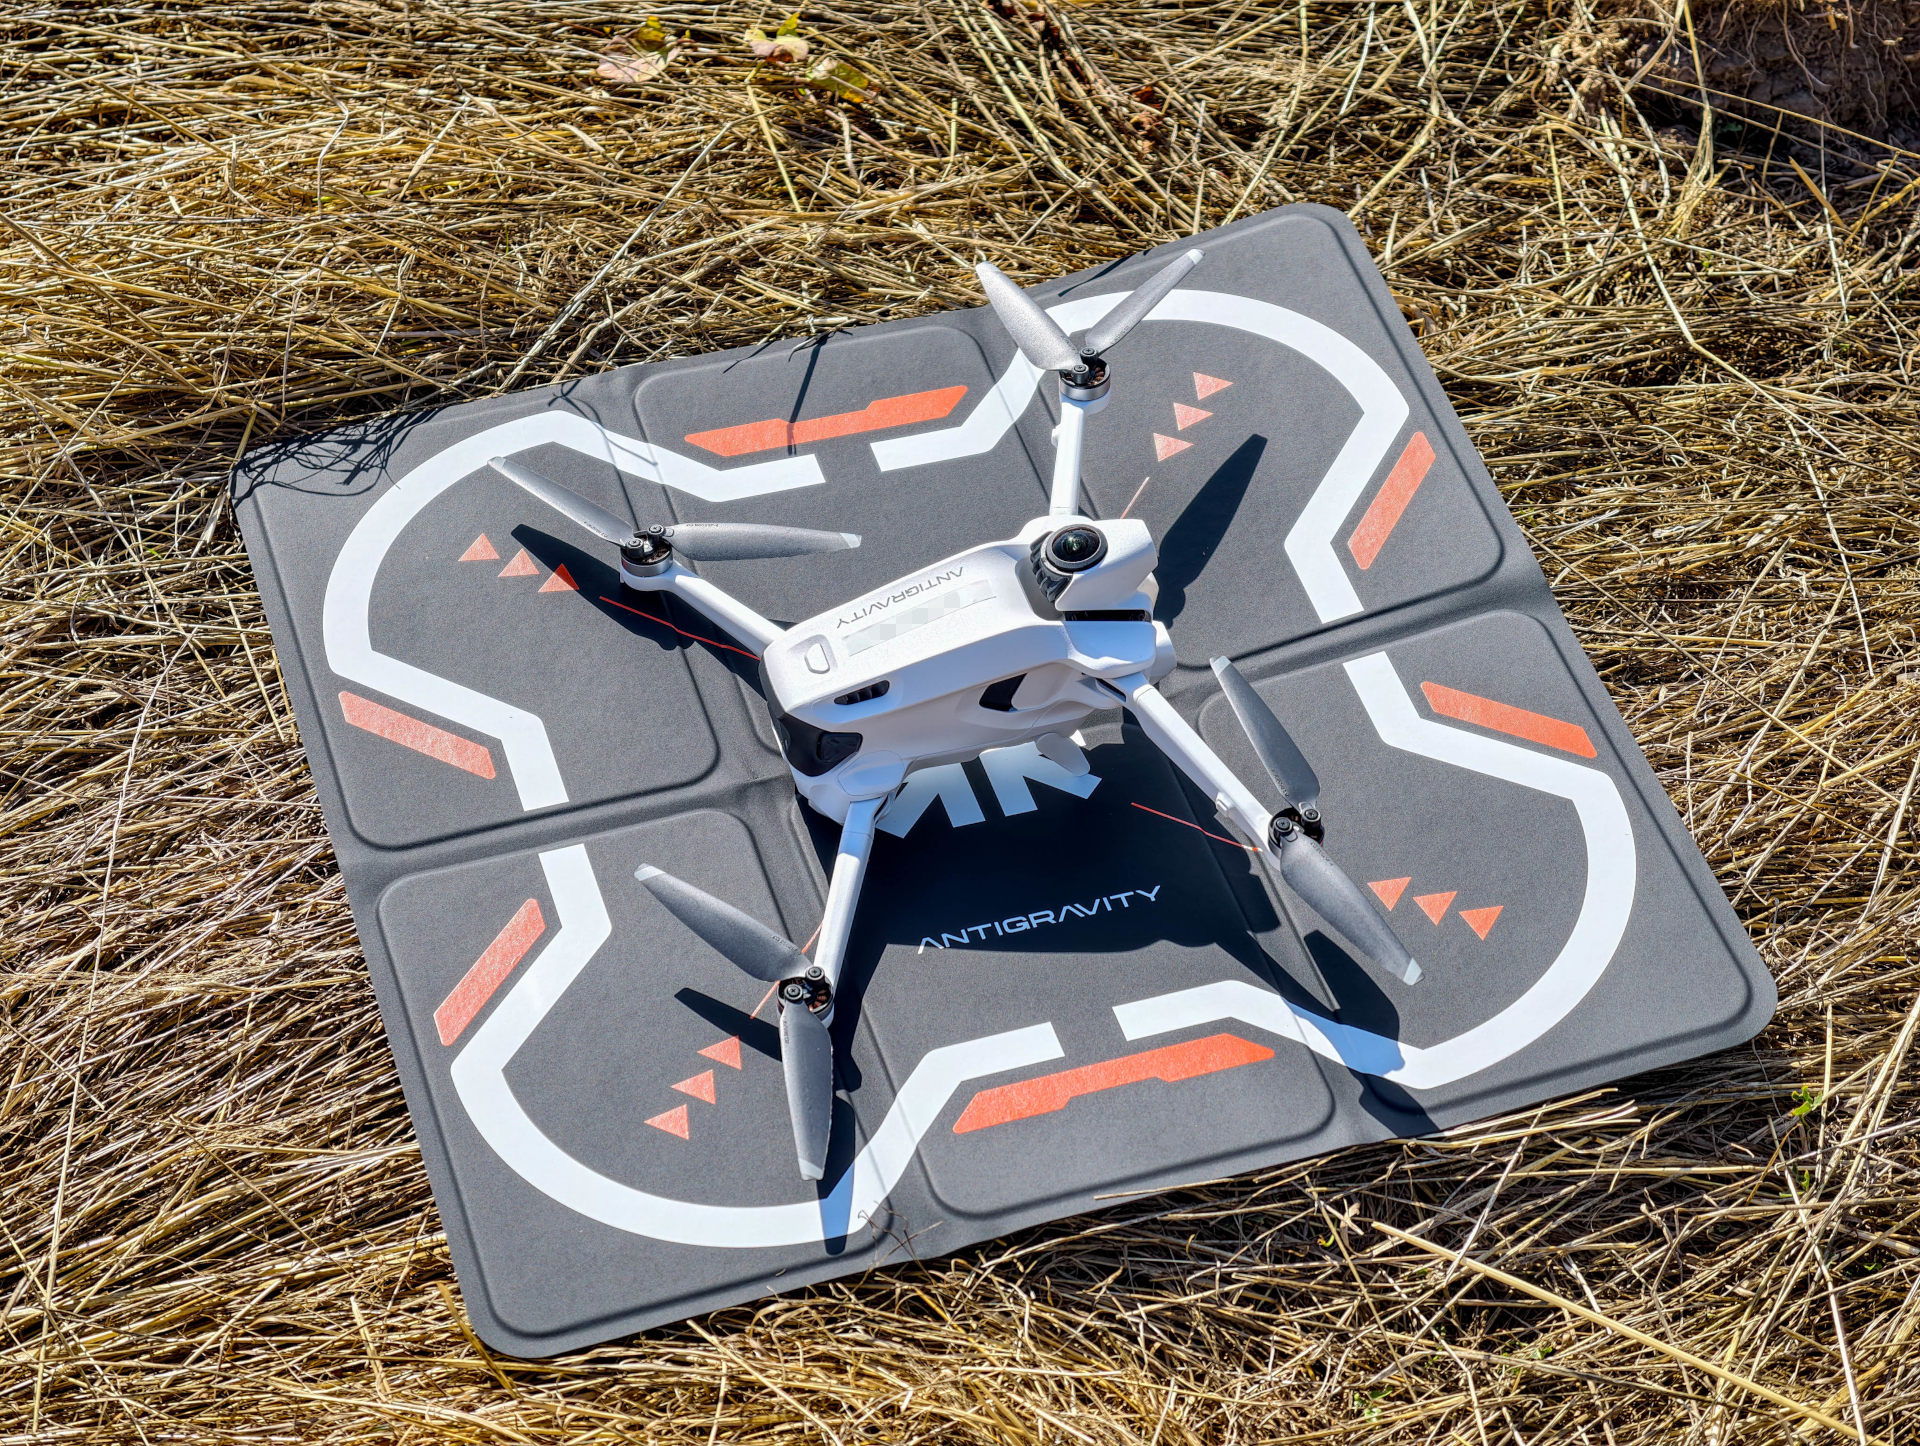
The two bulging fisheye lenses are located on the top and bottom. To keep the lower lens from touching the ground during takeoff and landing, the A1 automatically extends small landing feet. They protect the camera when it contacts the ground, but not in a collision.

The lenses therefore remain vulnerable. Scratches can quickly become visible in 360° footage. At least damaged lenses can be replaced yourself.
What’s missing is propeller protection, which can be especially problematic when flying indoors or near obstacles. Even light contact with a wall or branch can cause a crash.
Setup and first flight
Before its first flight, the A1 needs to be set up. This includes activation via the Antigravity App and firmware updates for the drone, Vision Goggles, and Motion Controller. Several updates were already available in my case. After about 30 minutes, everything was installed and the drone was ready for its first flight.
Since I hadn’t flown a drone in quite a while and motion controls were new to me, I first tried out the virtual flight simulator. It can be launched directly through the Vision Goggles and simulates controlling the A1 without actually making the drone take off.
This gave me a chance to get familiar with the Motion Controller at my own pace. Where are the buttons? How do I accelerate and steer? And how do I stop the drone if necessary? After a few minutes, I had mastered the basics.

The first flight
The first real flight turned out to be surprisingly straightforward. The A1 took off at the touch of a button, hovered steadily, and responded immediately to the controller’s movements. Despite my long break from flying drones, I had no trouble controlling it.
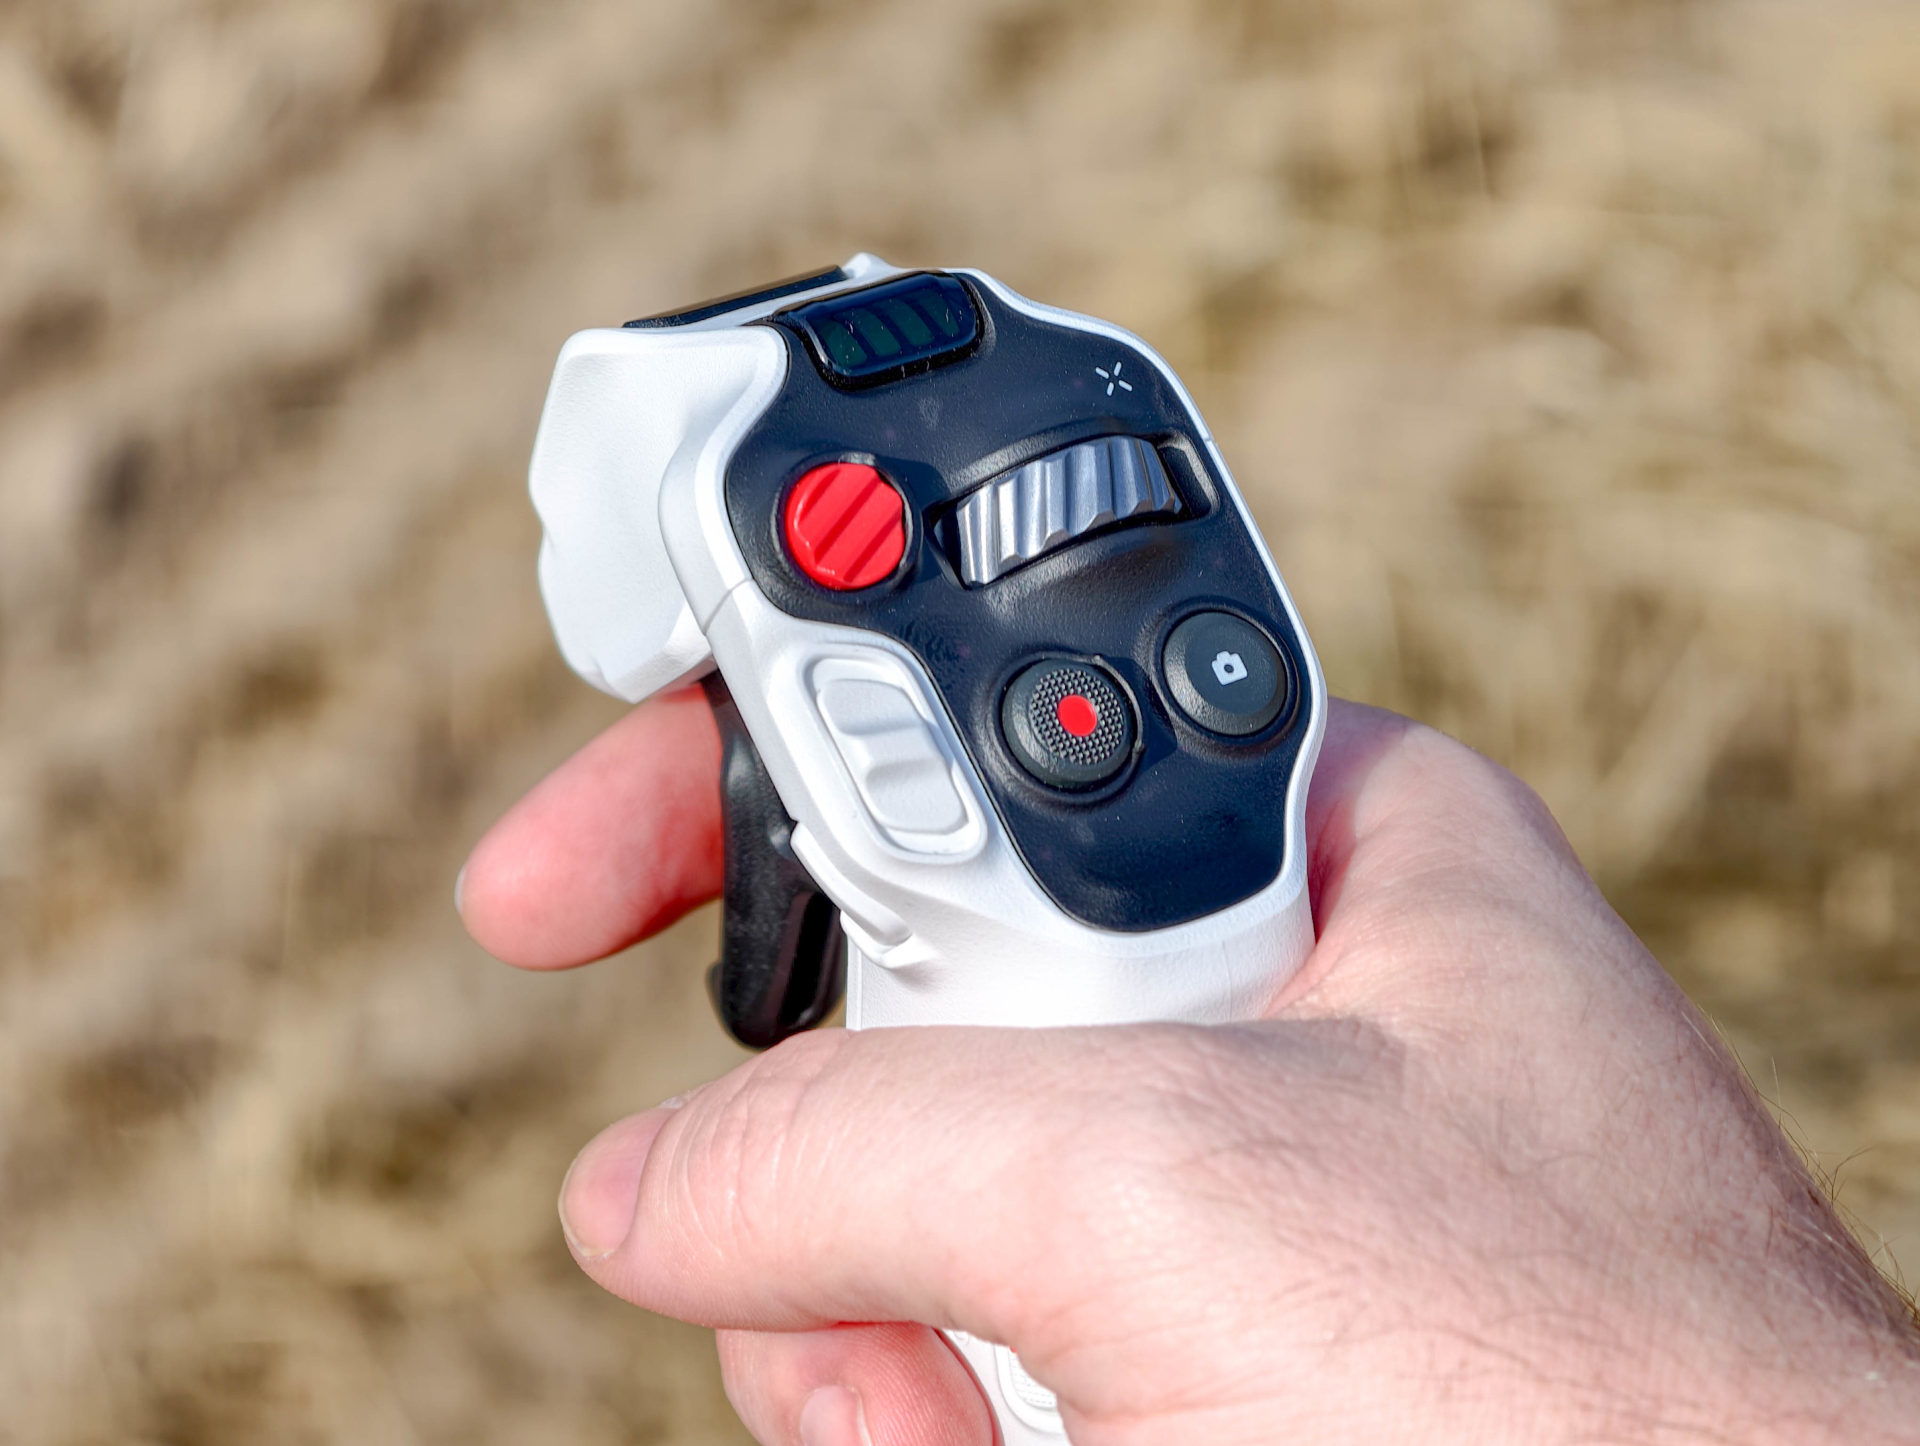
By default, the A1 starts in FreeMotion mode. You point the controller in the desired direction of flight and pull the trigger to accelerate. However, making larger changes in direction also means turning your arm and upper body accordingly.
Personally, I found FPV mode more comfortable. Instead of pointing your whole arm in the direction of flight, you steer the drone by turning and tilting the controller. That way, I can stay comfortably in one spot and change direction with small wrist movements.

What particularly impressed me was the freedom to look around independently of the direction of flight. While the A1 flies straight ahead, I can turn my head, look down, or take in the landscape behind me. The drone simply continues on its way.
After a short adjustment period, the combination of FPV goggles and motion controls feels surprisingly easy. I didn’t have to spend long thinking about which movement to make. Instead, I could focus directly on flying.
In any case, my first flight went without a hitch. The A1 was precise to control, responded predictably, and quickly gave me a sense of confidence.
Vision Goggles: Flying with a panoramic view
The goggles have two Micro-OLED displays, each with 2560 × 2560 pixels and a 72 Hz refresh rate. The field of view is wide, and the image is pleasantly sharp.
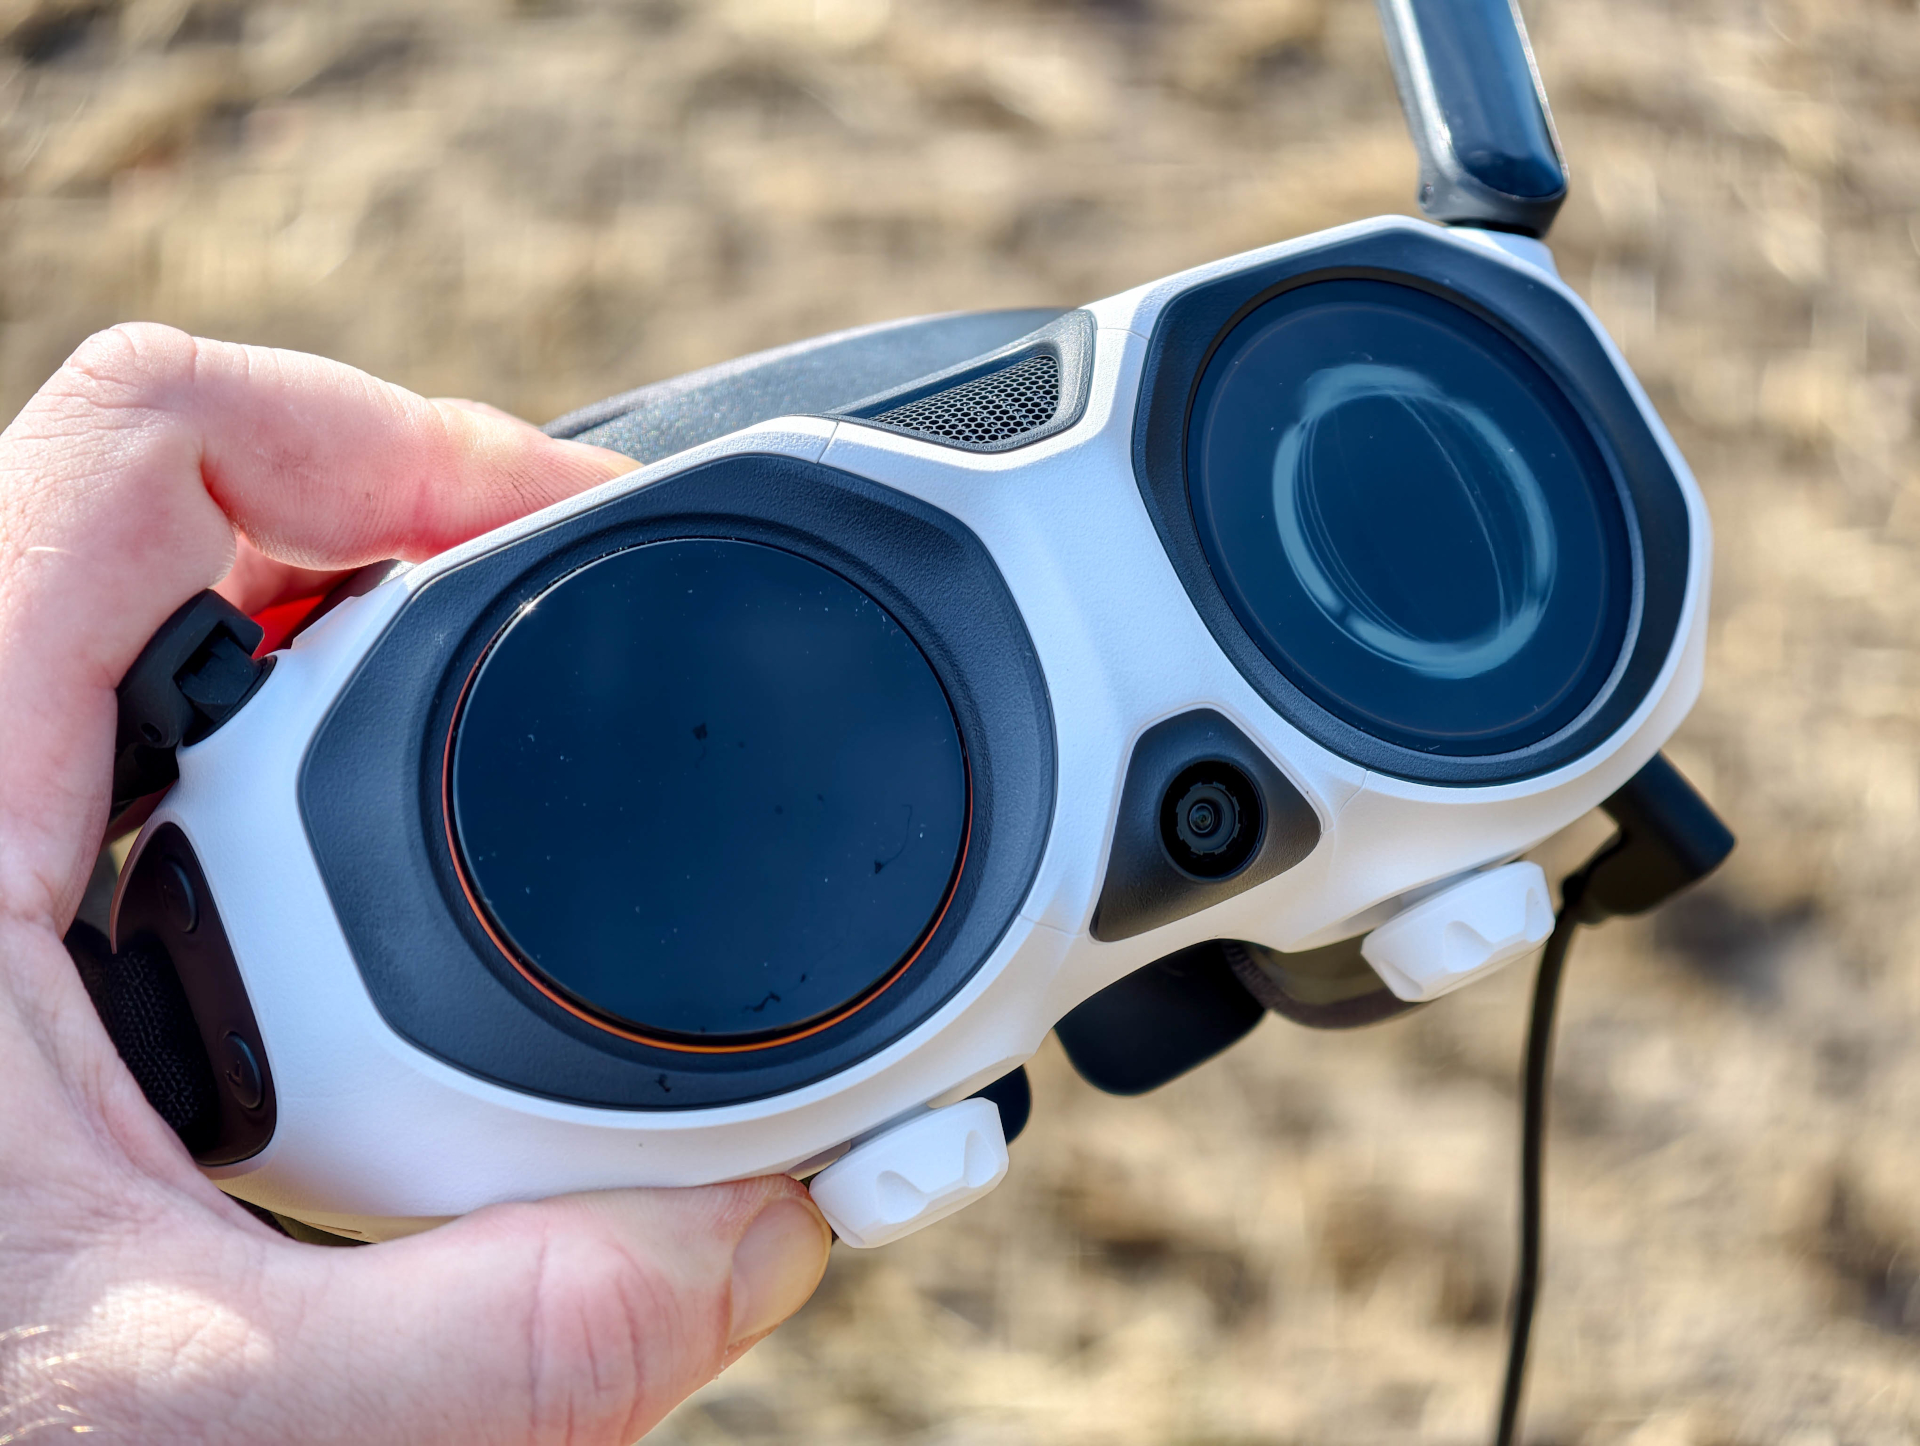
The standout feature is head tracking. When I turn my head, the view in the goggles moves with it. I can look left and right, direct my gaze toward the ground, or look behind me while the drone continues flying undisturbed. There’s no perceptible lag in head tracking, and it impressed me on my very first flight.
At first, it’s a little unusual that your viewing direction and flight direction aren’t linked. But you get used to it very quickly and don’t want to give up the all-around view. When flying over a landscape, you find yourself constantly turning your head to make sure you see everything.
Sharp image despite -6 diopters
Before putting them on for the first time, I was curious whether I’d be able to see anything at all with my prescription. Antigravity specifies an adjustment range of -5 to +2 diopters for the integrated diopter correction. I have -6 diopters, so I’d expected I would need to wear contact lenses.
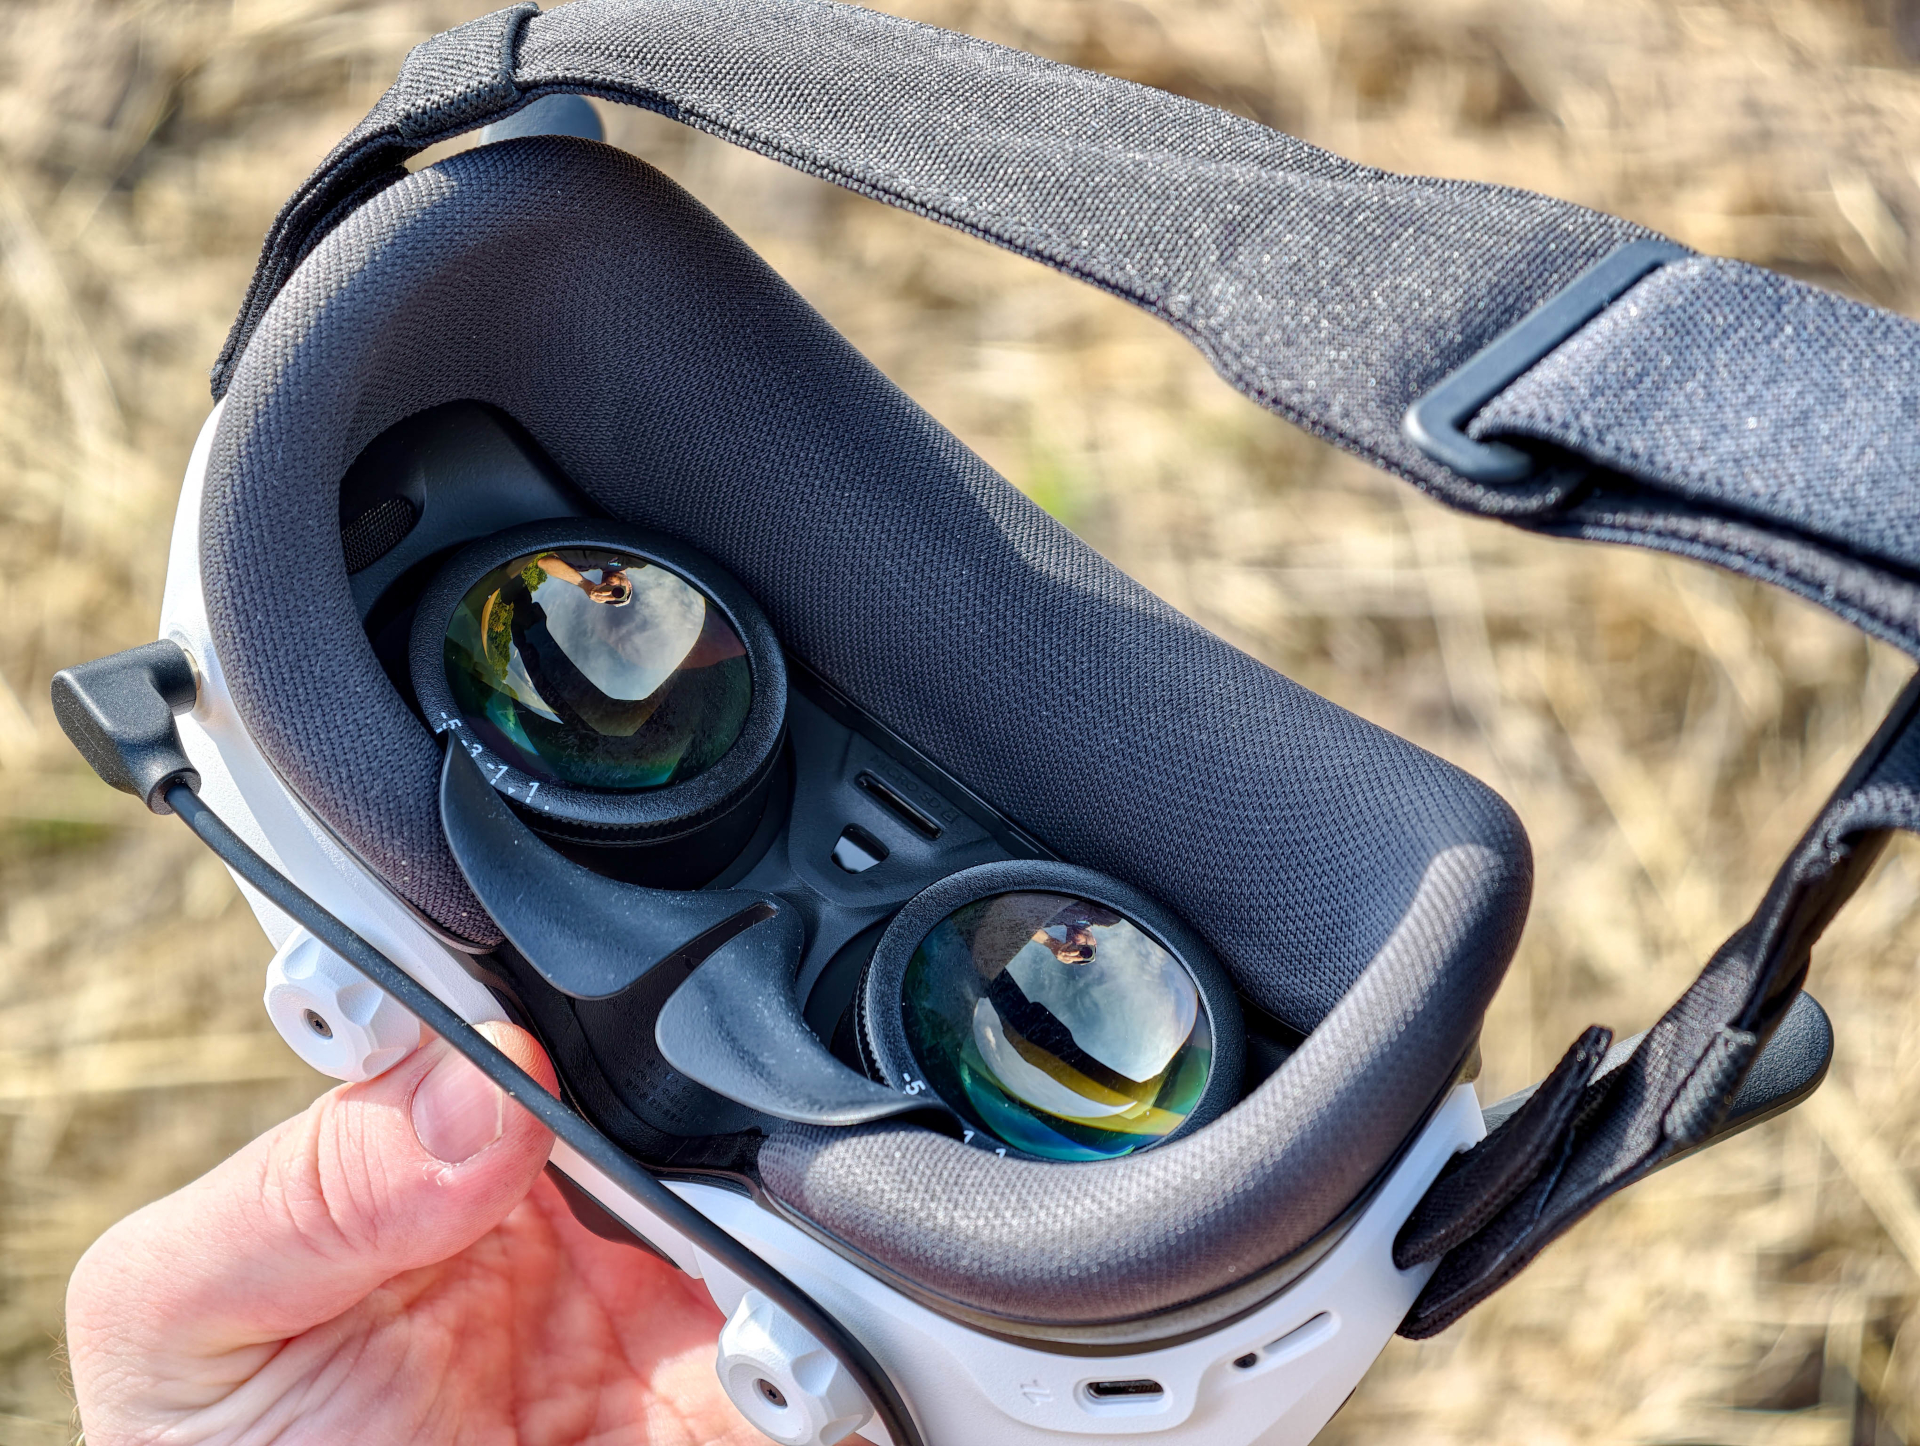
To my surprise, I was able to use them without contact lenses. I adjusted the goggles so that the image looked sharp enough. Of course, it’s impossible to predict whether this would work for others with the same prescription.
Overall, I really like the image quality. Text and on-screen displays are easy to read, the colors are vivid, and the image looks clear. Only at the very edges is there a slight blur. However, this didn’t bother me while flying.
The eye distance can also be adjusted. The adjustment wheels are on the underside of the goggles and can be reached even while wearing them.

Comfort and controls
At around 340 grams, the goggles sit comfortably on your head. The battery isn’t built into the housing; it’s worn separately and connected by a cable. This takes the weight off your head, but it also means there’s always a cable to deal with when putting the goggles on and taking them off.
The padding feels soft against your face, and the head strap can be adjusted for a comfortable fit. I had no issues with comfort, even on longer flights.
The menus are controlled entirely with the Motion Controller. You move a virtual pointer around the interface and confirm your selection with the trigger. Anyone who has used a VR headset before will recognize the approach.

There’s also a small display on the front that shows onlookers what the pilot is currently seeing. However, it’s not particularly easy to read in bright daylight.
Antigravity has also thought of the Real View function. A double press of a button activates a camera on the front of the goggles. It shows the surroundings in black and white, making it possible to get your bearings without taking off the goggles.
How good is the live transmission?
For the live feed, the A1 uses its proprietary OmniLink-360. With a clear line of sight, it delivers a sharp enough image to fly the drone safely and explore the surroundings. Under optimal conditions, Antigravity specifies a range of up to six kilometers under the European CE standard.
However, the transmission is not comparable to a particularly fast FPV racing system. Image latency is higher, and quick movements can cause slight stuttering or brief blurring.
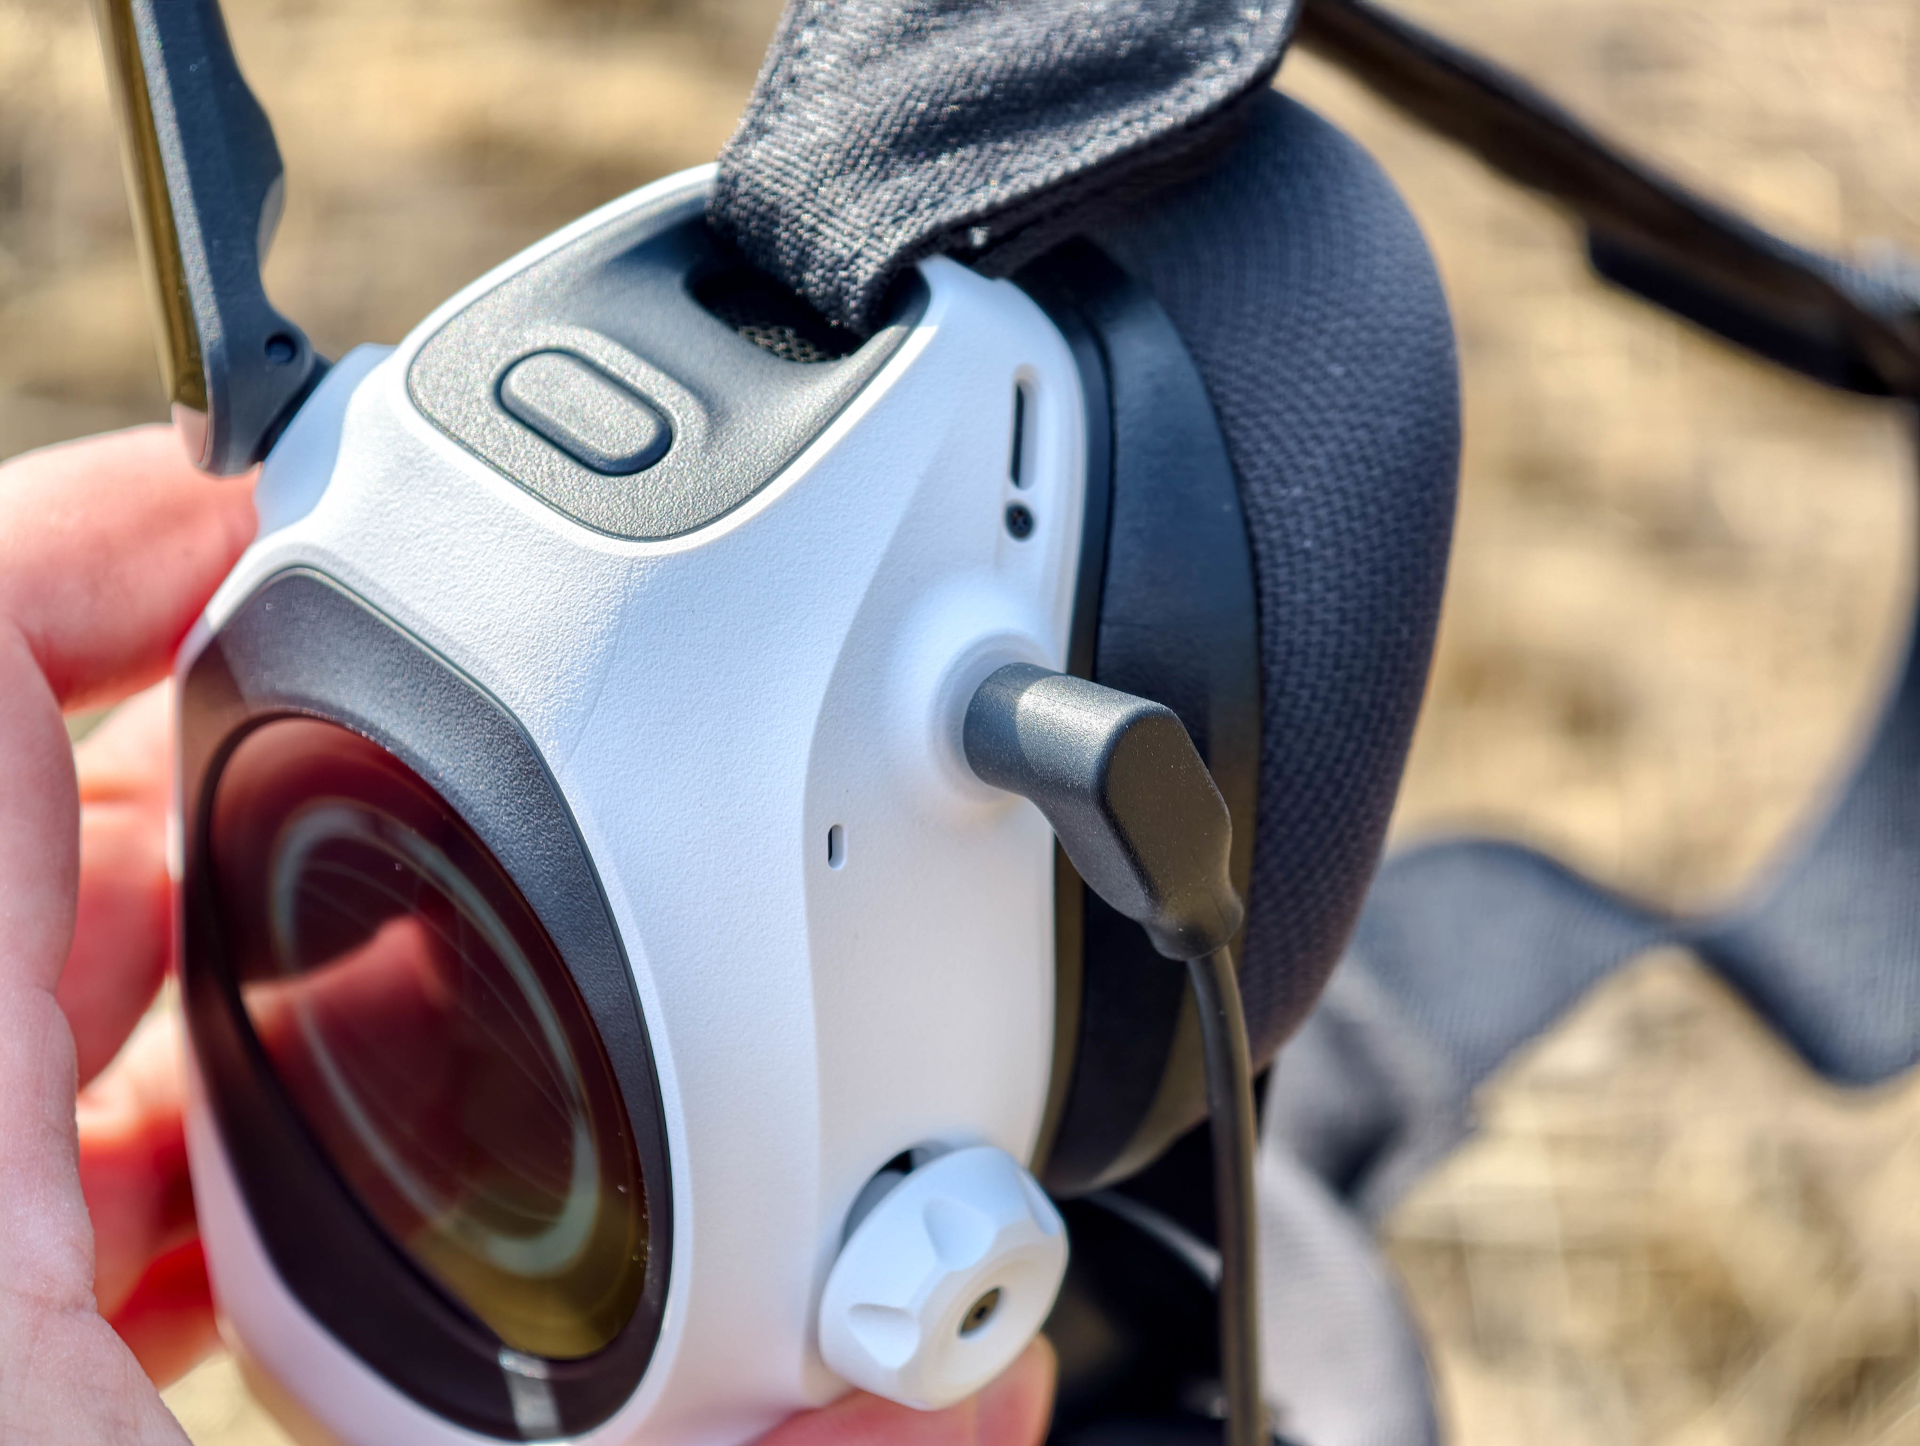
This hardly bothered me during normal flying. The A1 is more suited to exploring than to daring maneuvers anyway. However, you should be cautious whenever obstacles interfere with the wireless connection. Image quality and transmission stability can then deteriorate noticeably.
For me, the fun of the all-around view clearly outweighs everything else. The ability to look around freely while flying is exactly what sets the A1 apart from an ordinary camera drone.
Flight characteristics and controls
In addition to its two control modes, FreeMotion and FPV, the A1 also offers three speed settings. In Cine mode, it flies especially slowly and can be controlled with precision. Normal mode is suitable for most situations, while the drone reaches up to 57.6 km/h in Sport mode, according to the manufacturer.
I spent most of my time in Normal mode. The A1 responds directly to control inputs, accelerates smoothly, and holds its position reliably. It remains easy to control even when changing direction. In Cine mode, it moves even more gently, which is particularly helpful for slow camera movements.
The A1 flies remarkably steadily for a drone in this weight class. Even small gusts of wind do not immediately unsettle it. Naturally, it has to work harder to counter stronger winds, which also affects battery consumption. Antigravity specifies a maximum wind resistance of 10.7 m/s.
Obstacle detection with limitations
The A1 uses camera sensors on the front and underside to detect obstacles. When the drone approaches an obstacle, a warning appears in the goggles. If desired, it brakes automatically before a collision occurs.
However, this only works in Cine and Normal modes. Obstacle detection is disabled in Sport mode. There are also no corresponding sensors on the sides, rear, or top.
You should keep this in mind, especially given the 360° all-around view. Just because I can look in every direction through the goggles does not mean the drone can detect every obstacle.
The automatic braking function can also be a nuisance when flying in tight spaces. The A1 sometimes stops even when there is still plenty of room to keep flying. Obstacle detection can therefore be switched off. In that case, the pilot is entirely responsible for maintaining distance from walls, branches, and other obstacles.
Emergency braking and automatic return
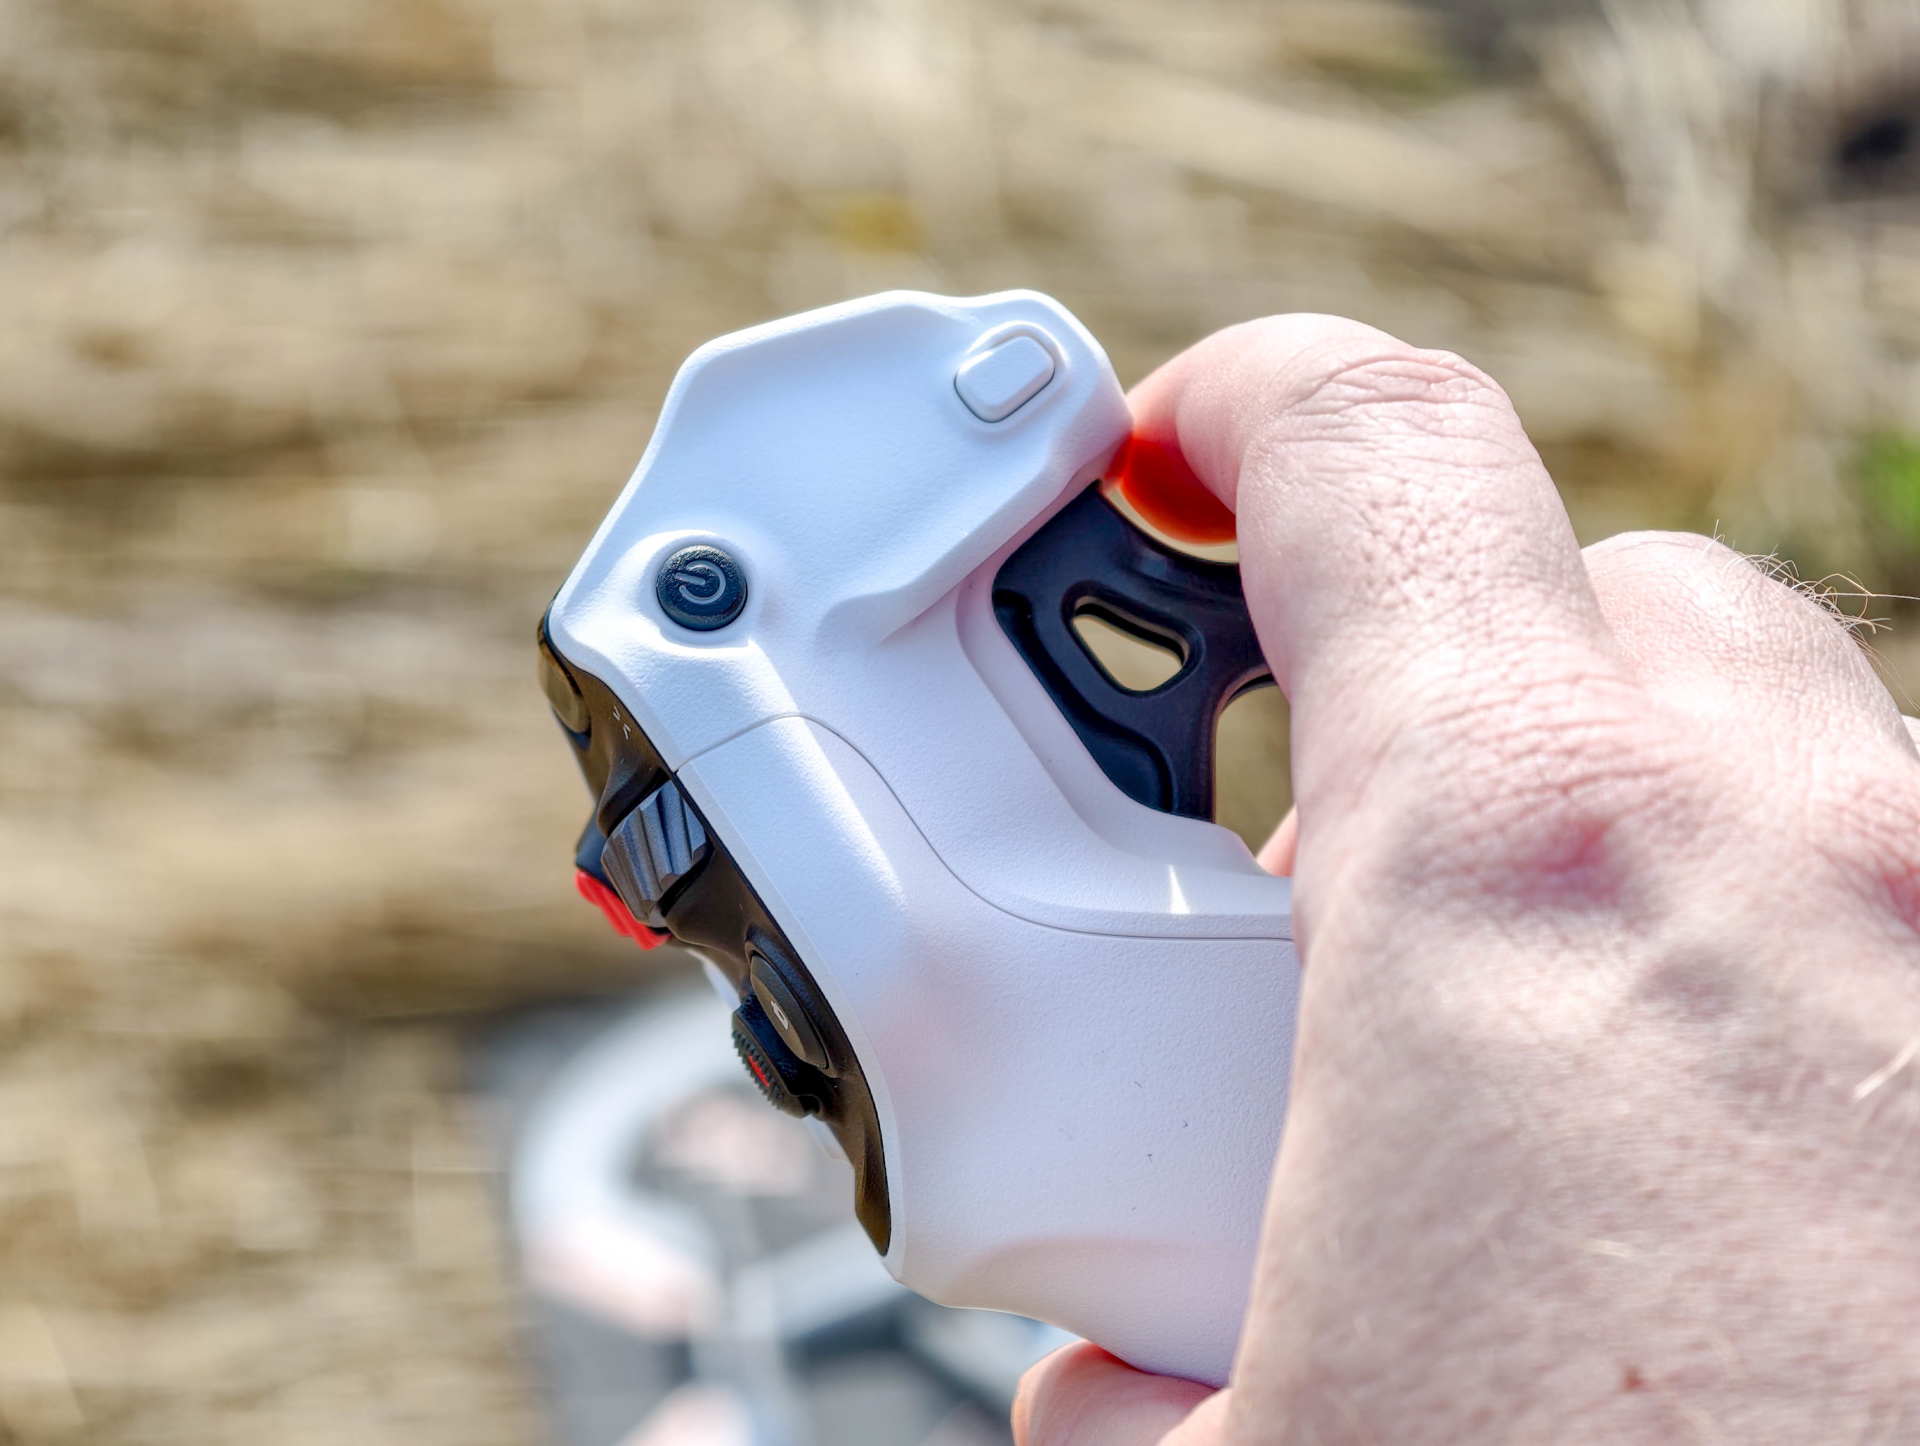
The emergency braking function is well implemented. The A1 can be stopped immediately with a button on the controller. It brakes and then hovers in place.
Holding the button down activates Return-to-Home. The drone then flies back to its saved takeoff point on its own.
This helps ease the tension during your first flights. If you briefly lose your bearings, you don't have to frantically try to correct course; you can simply stop the drone first.
Image quality: How good is the 8K footage?
The Antigravity A1 records video using two 1/1.28-inch sensors, which together produce a full 360° image. It can record at up to 8K at 30 frames per second. For smoother footage, you can switch to 5.2K at 60 fps or 4K at up to 100 fps.
In good lighting, the A1 produces attractive footage with natural colors and plenty of detail. Landscapes and wide-open scenes look particularly good. Stabilization is handled by software; there is no mechanical gimbal. As a result, videos remain largely steady even when the drone is moving.
8K isn't always 8K
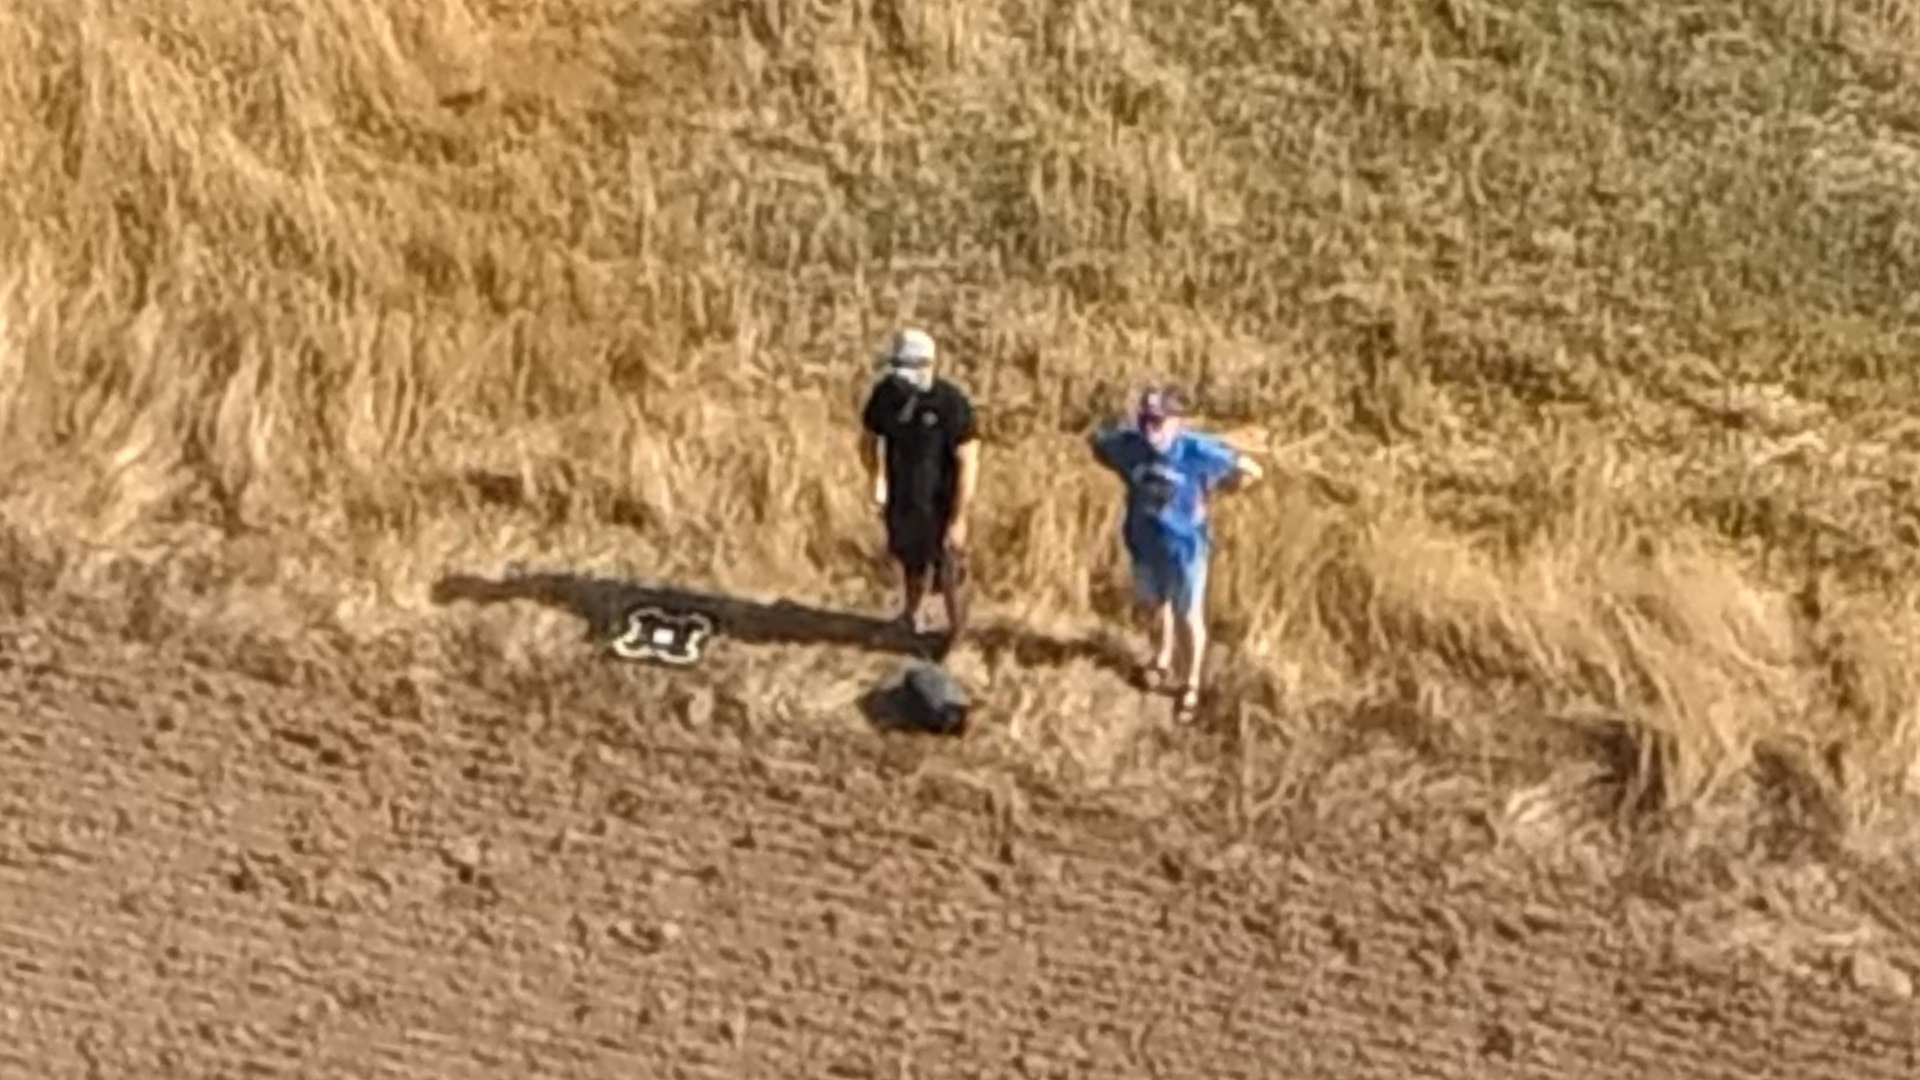
However, it's worth taking a closer look at the resolution. The specified 8K is spread across the entire 360° image. If you later crop it to a regular 16:9 frame, only part of the original resolution remains.
This is most noticeable with fine textures such as trees, grassy areas, or distant buildings. While the full 360° video contains lots of detail, individual crops look noticeably softer than footage from a good 4K camera drone.
Digital zoom should also be used sparingly. The tighter the crop, the more noticeable the loss of detail.
The upside is that the camera doesn't need to be pointed at a particular subject during the flight. I can simply fly the drone along an interesting route and decide on the desired framing later.

Backlighting and challenging lighting conditions
The A1 reaches its limits with strong brightness differences. In high-contrast scenes, bright areas can become overexposed while details are lost in darker parts of the image.
The relatively small sensor also becomes noticeable in low light. The image looks softer and image noise becomes more pronounced. The A1 is therefore better suited to daylight recording than to night flights.
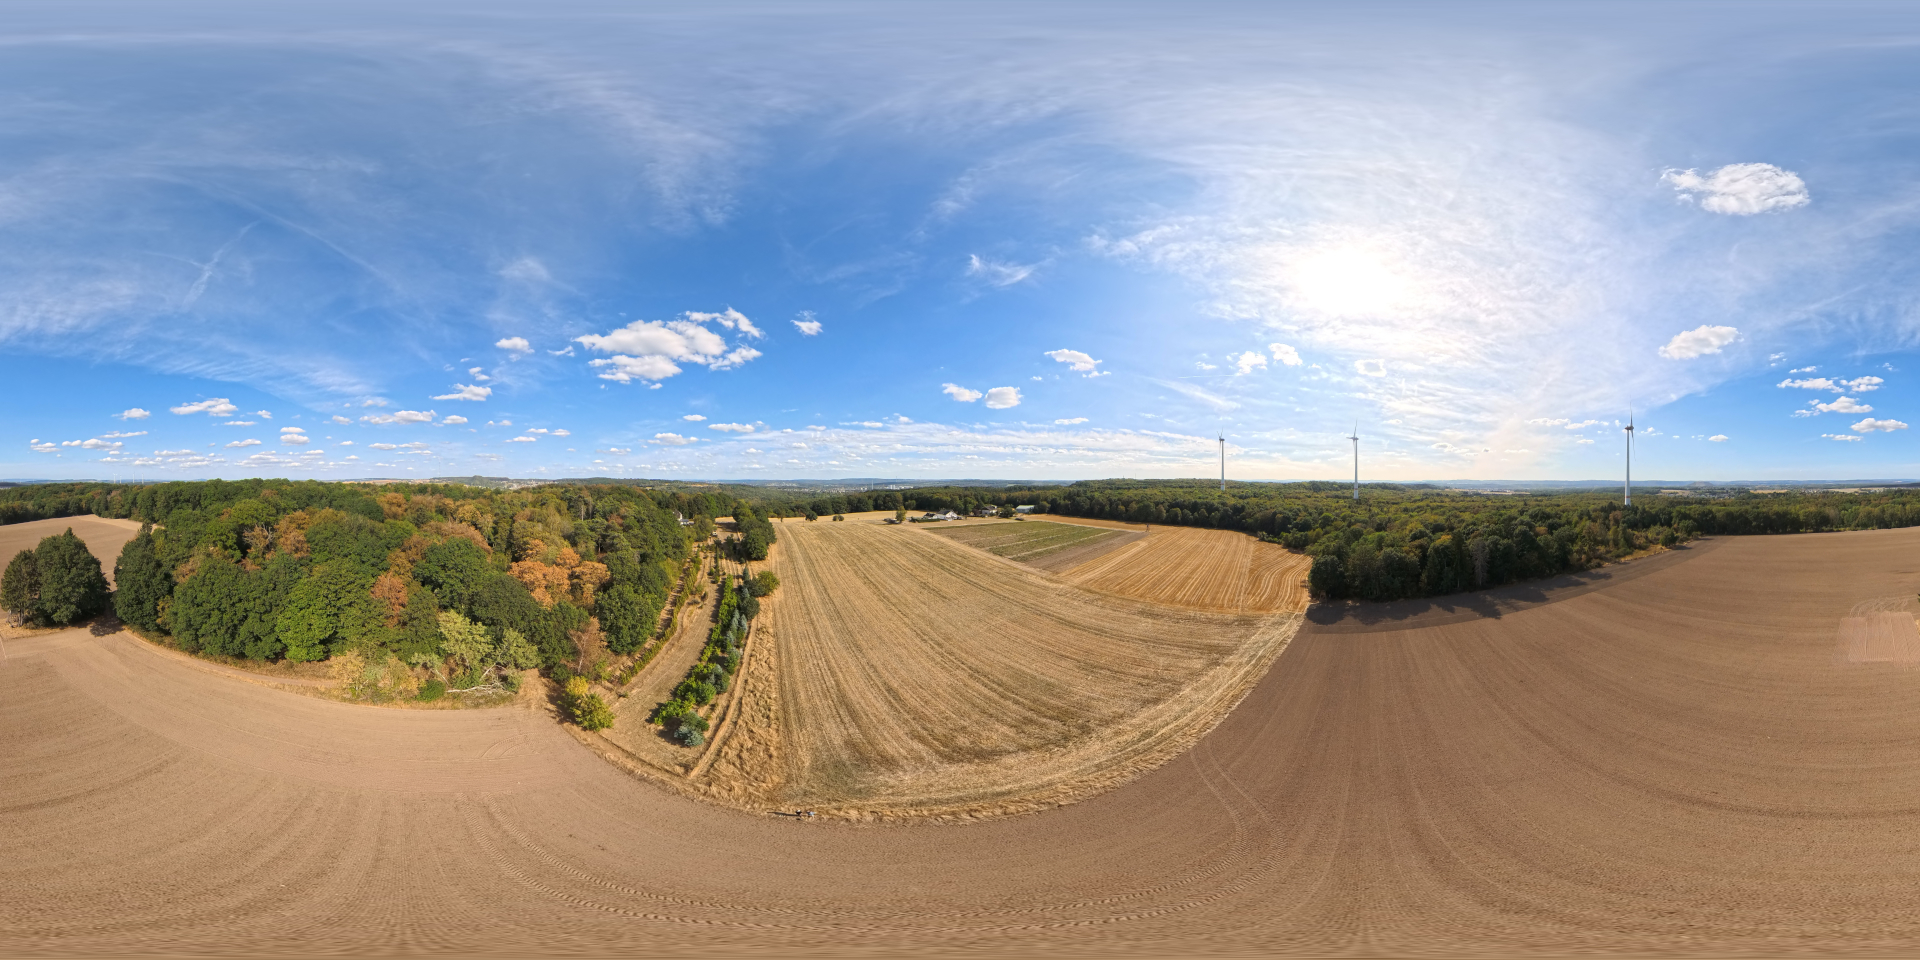
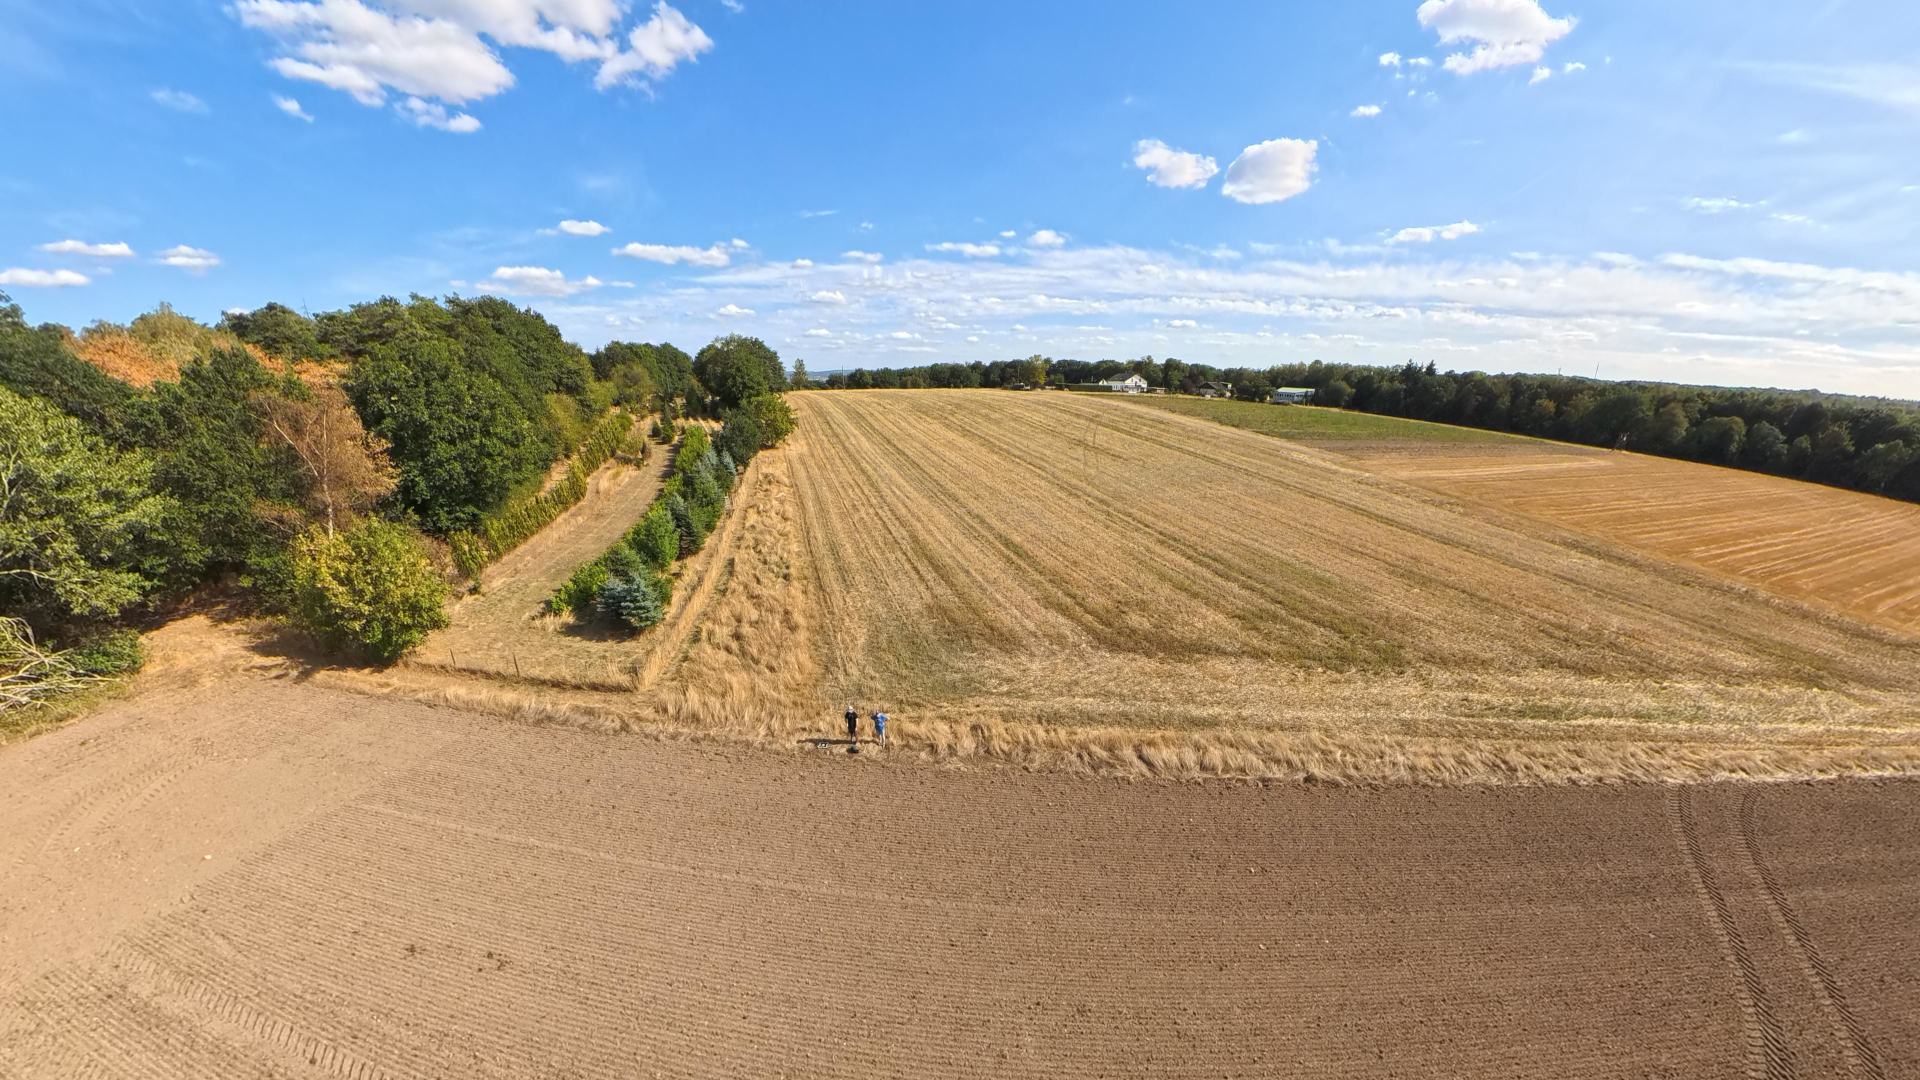
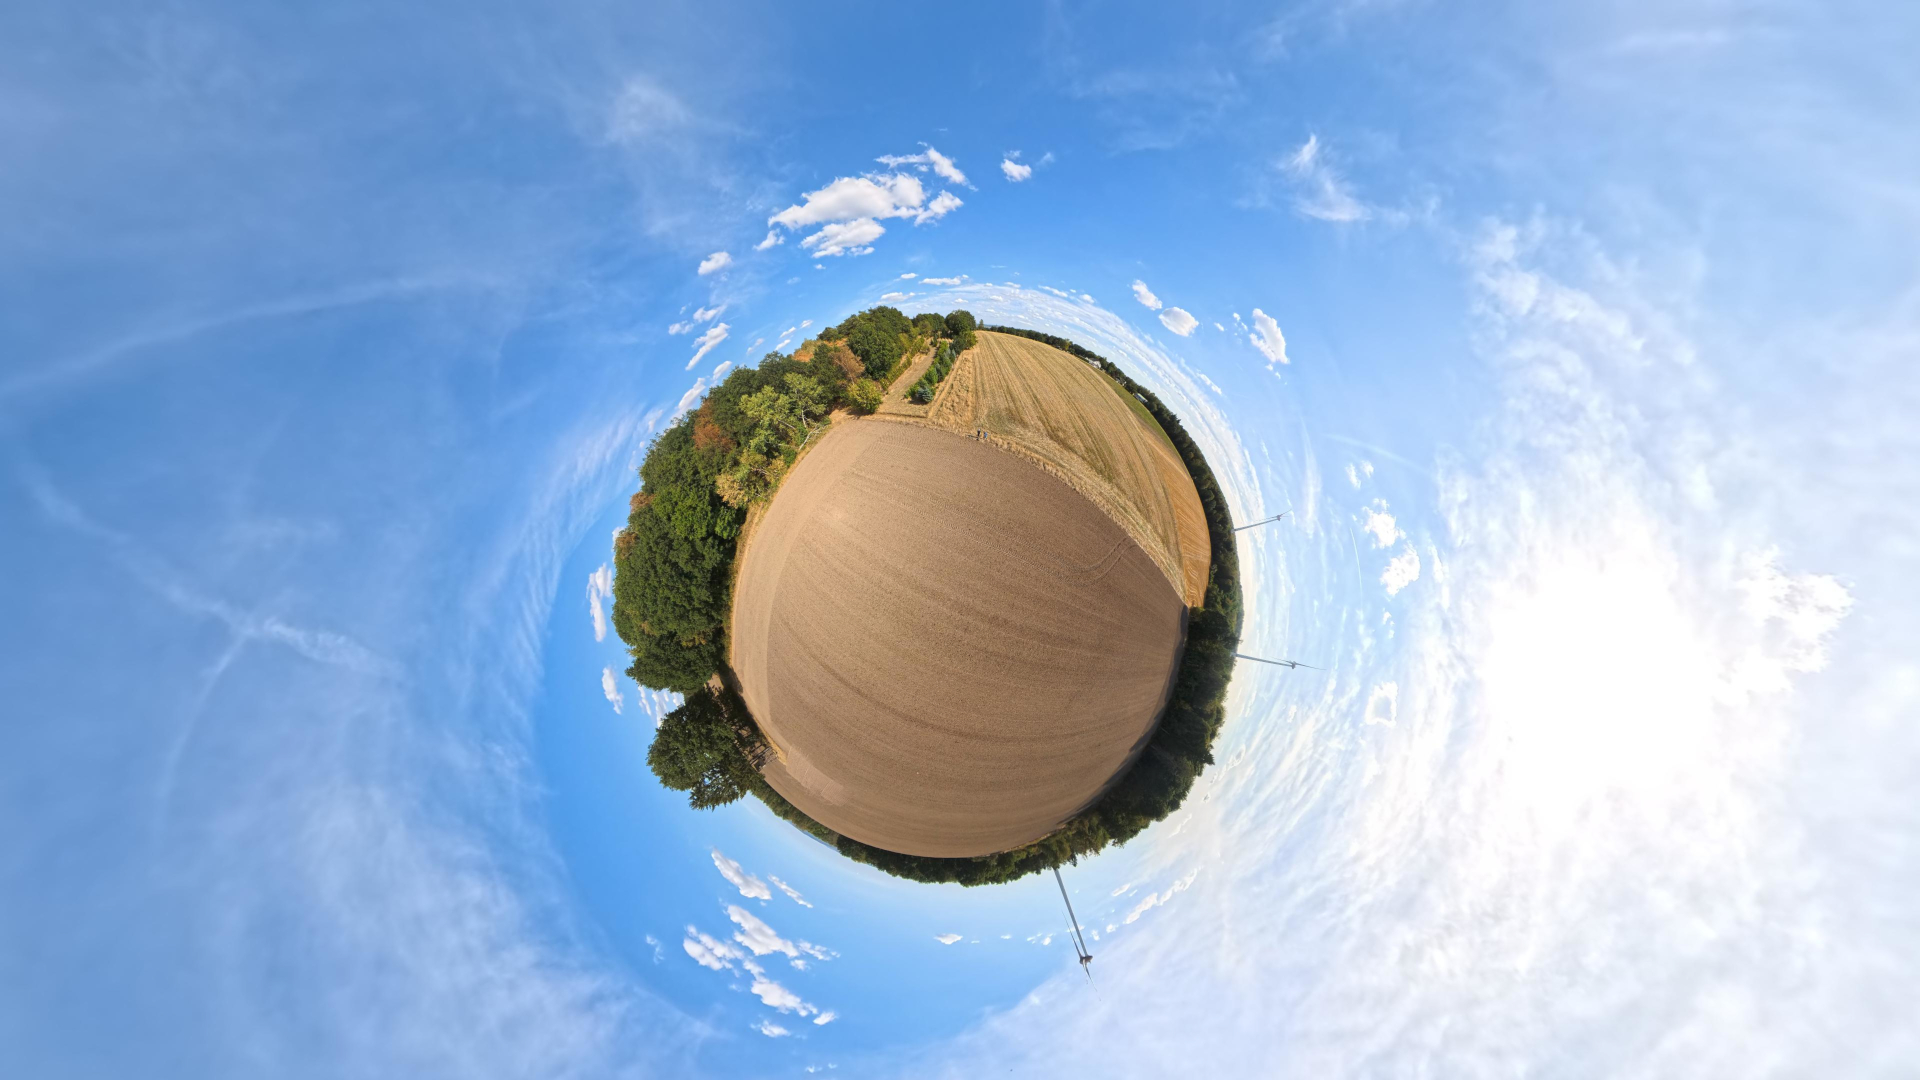
There are also occasional stitching errors. In unfavorable lighting conditions, visible edges can appear where the two camera images meet. Direct sunlight in particular can cause noticeable reflections that end abruptly at the seam.
The A1 does not offer a LOG color profile. This gives users who want to color-grade their videos extensively less flexibility than with some more expensive camera drones.
Here’s an 8K 360° test recording. Open the video directly on YouTube for a 360° view.
 Play video on YouTube
Choose the framing later
The biggest advantage of 360° recording becomes apparent during post-processing. The videos can be edited in the free Antigravity app or on a computer with Antigravity Studio.
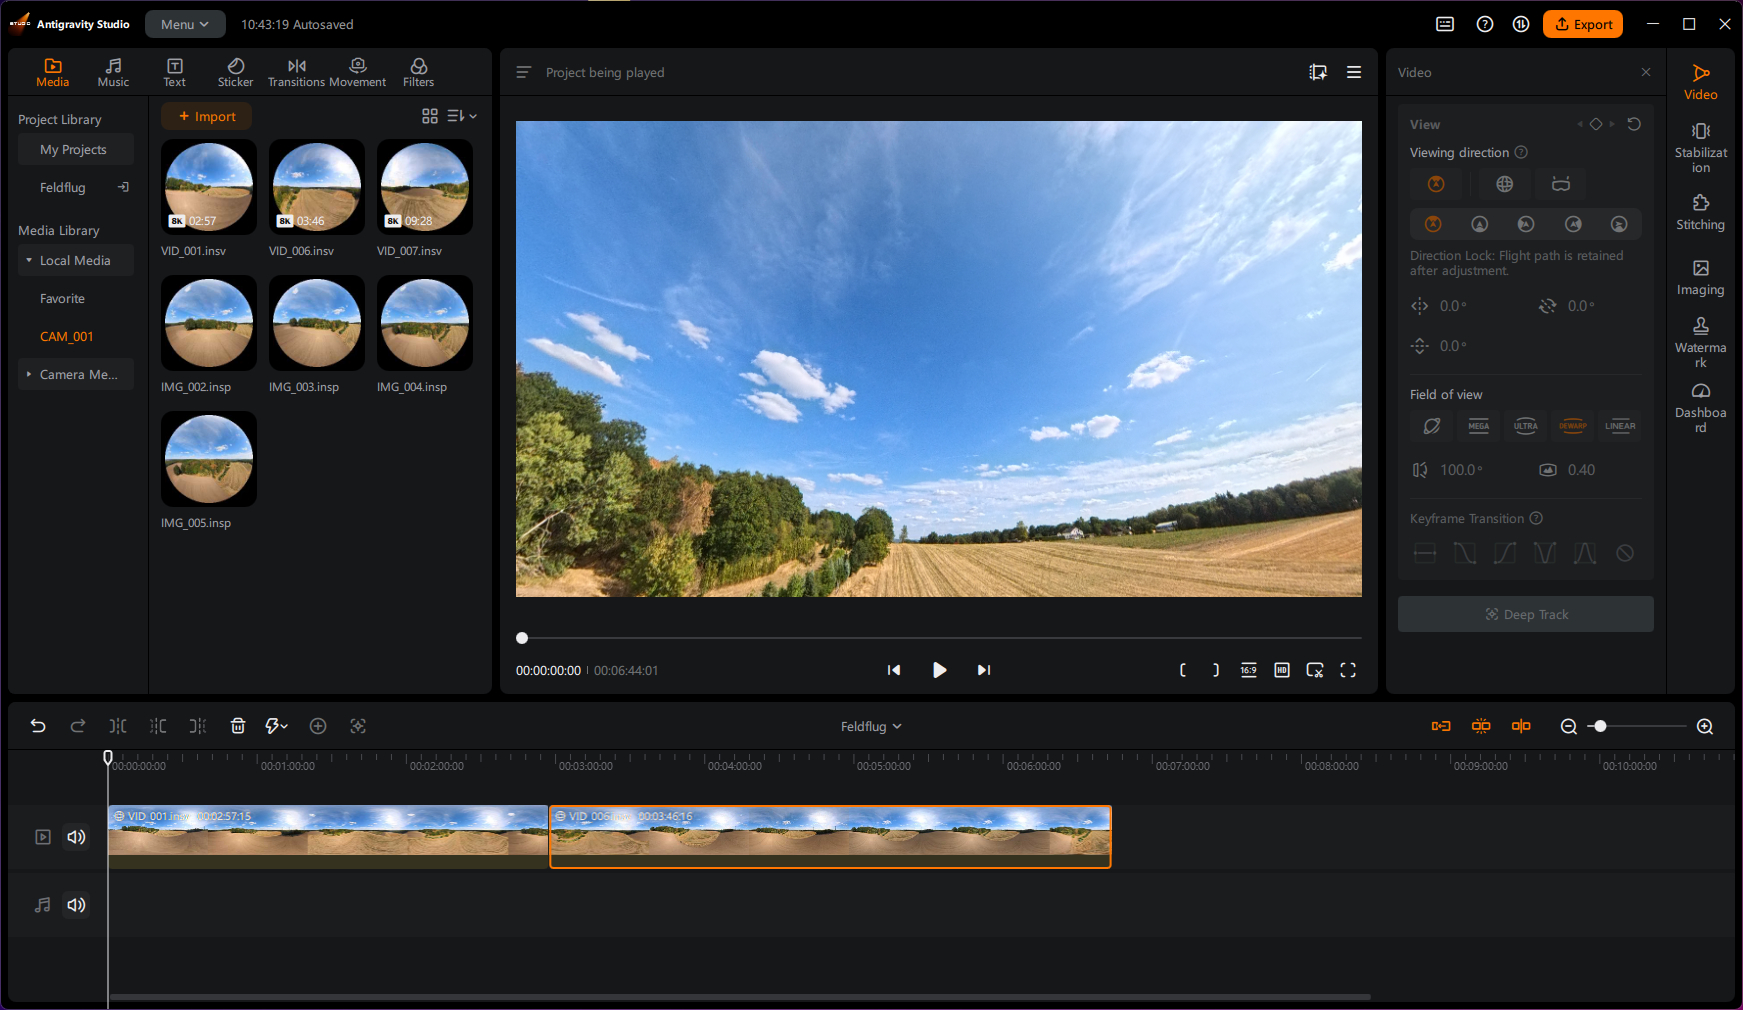
There, I can freely change the viewing angle, create virtual camera pans, and track individual subjects. This makes it possible to create several completely different videos from a single flight.
For example, I can first point the view forward, then pan to the side, and finally create a top-down view. With a conventional drone, shots like these would require multiple camera movements or even additional flights.
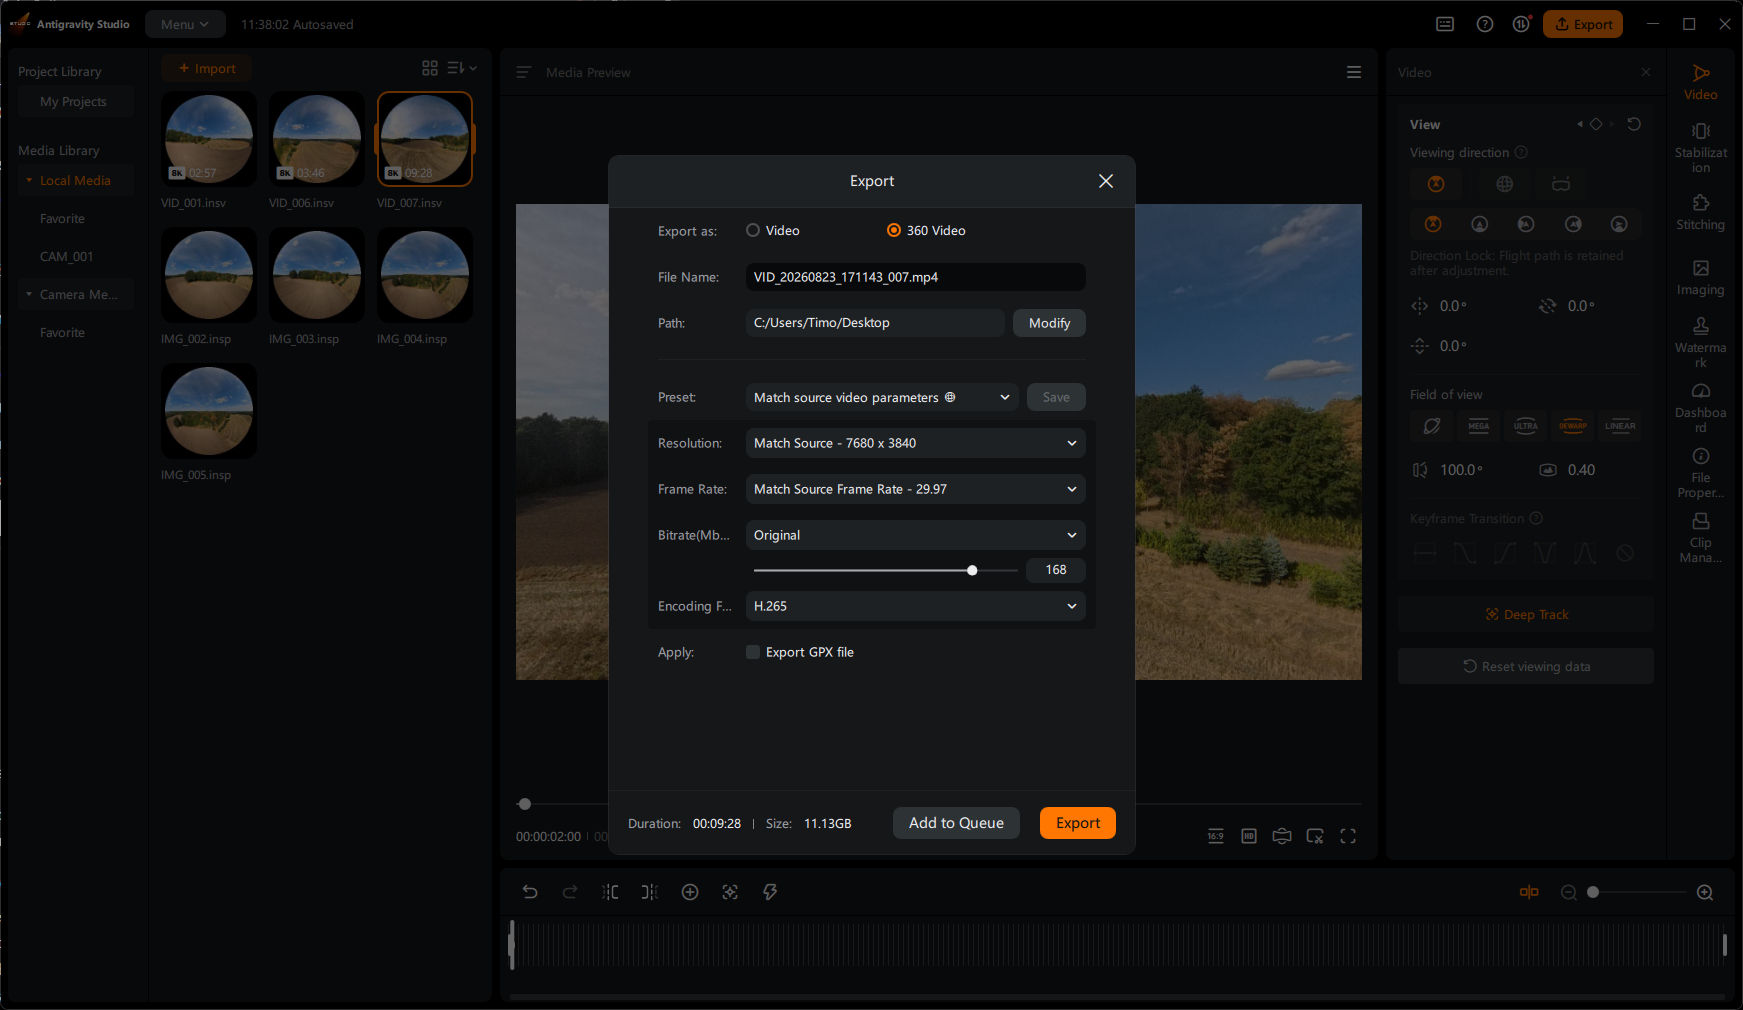
Vertical videos for Instagram, TikTok, or YouTube Shorts can also be created directly from the 360° footage. The orientation can be set afterward.
The editing process is quite straightforward. Anyone who has used an Insta360 camera will quickly find their way around the software. However, you need to allow extra time for reframing. While the A1 takes care of composition during the flight, that work has to be done later on a computer or smartphone.
Gaussian Splatting with the Antigravity A1
Alongside the usual aerial shots, I wanted to see whether the A1 could also be used for 3D capture of interiors. To do this, I flew the drone through a new-build property and recorded each room in full 360°.
The challenge was less about capturing the footage than flying the drone itself. In enclosed spaces, walls, doorframes, and ceilings are never far away. To prevent the A1 from constantly slowing down automatically, I disabled obstacle detection and flew using only the live view in the Vision Goggles.
It worked surprisingly well. In FPV mode, I was able to steer the drone slowly through doorways while looking around in every direction. The all-around view was particularly helpful in the individual rooms, since I didn’t have to keep turning the drone to check my surroundings.
Even so, caution was essential. The propellers are completely exposed, and with obstacle detection disabled, the drone won’t automatically intervene if a collision is imminent. Such flights therefore require enough space, a secure environment, and a steady hand on the controller.
360° footage becomes a 3D model
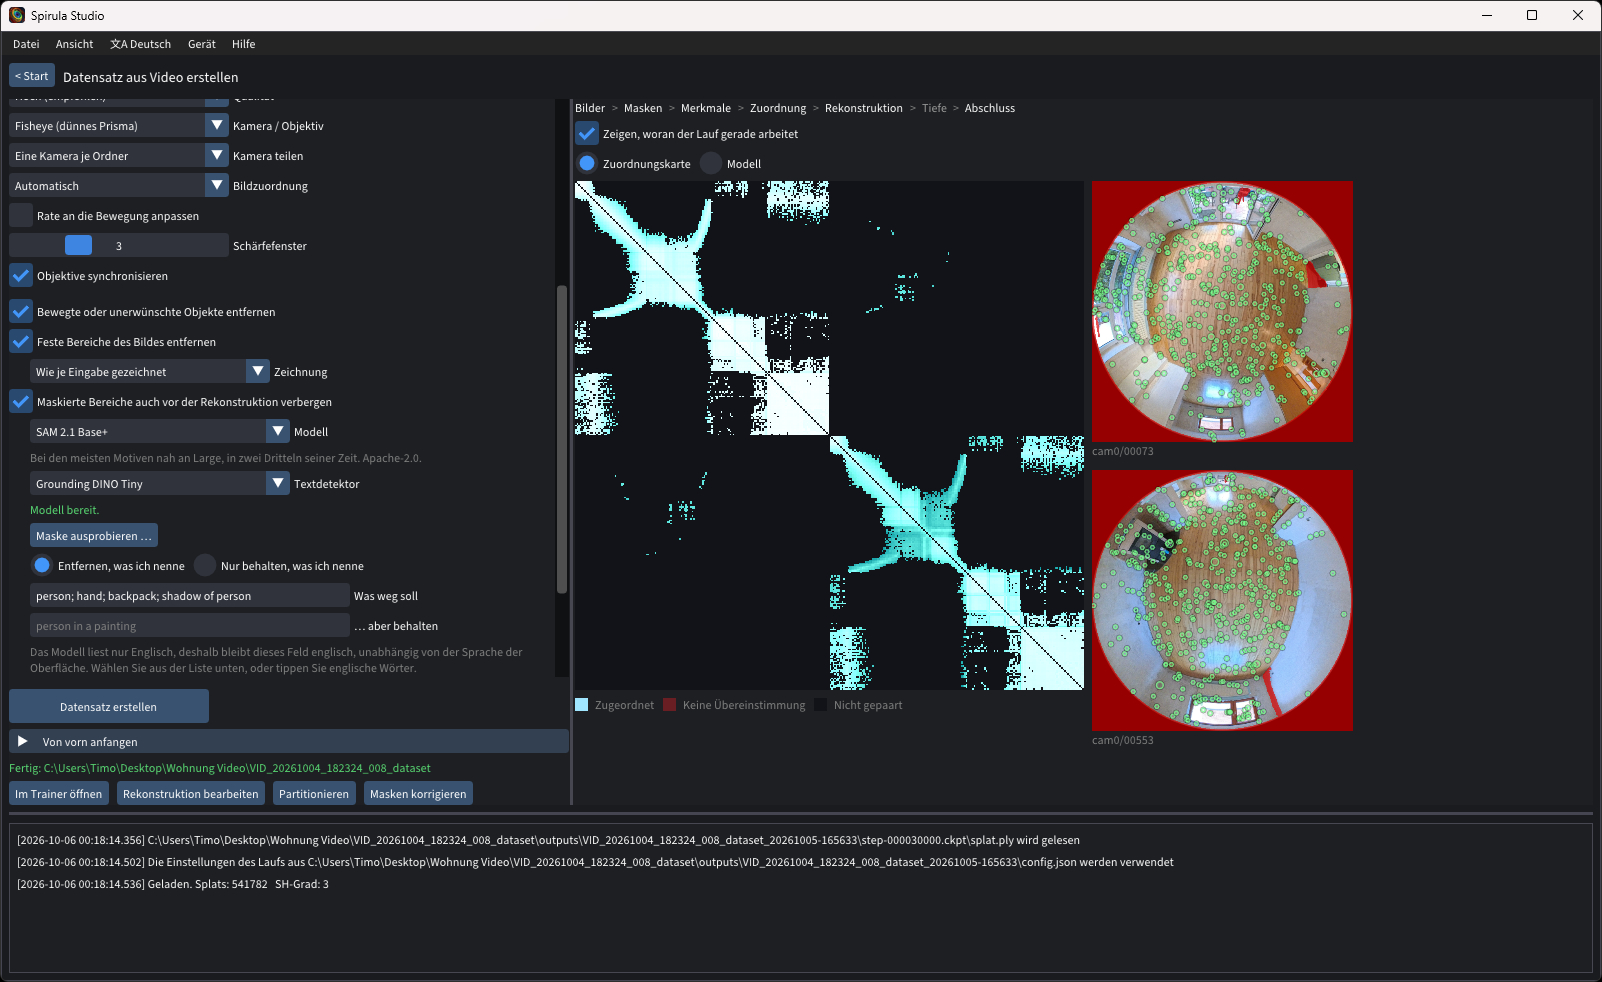
After the flight, I split the recorded 360° video into individual frames and used them to create a dataset for Gaussian Splatting.
Gaussian Splatting is a method for reconstructing a three-dimensional scene from many different image views. Instead of painstakingly modeling a building by hand, spatial information is calculated from the footage.
To do this, it’s important to capture as many perspectives of the same environment as possible. The A1’s two cameras record the walls, floor, and ceiling simultaneously as the drone moves through the room.
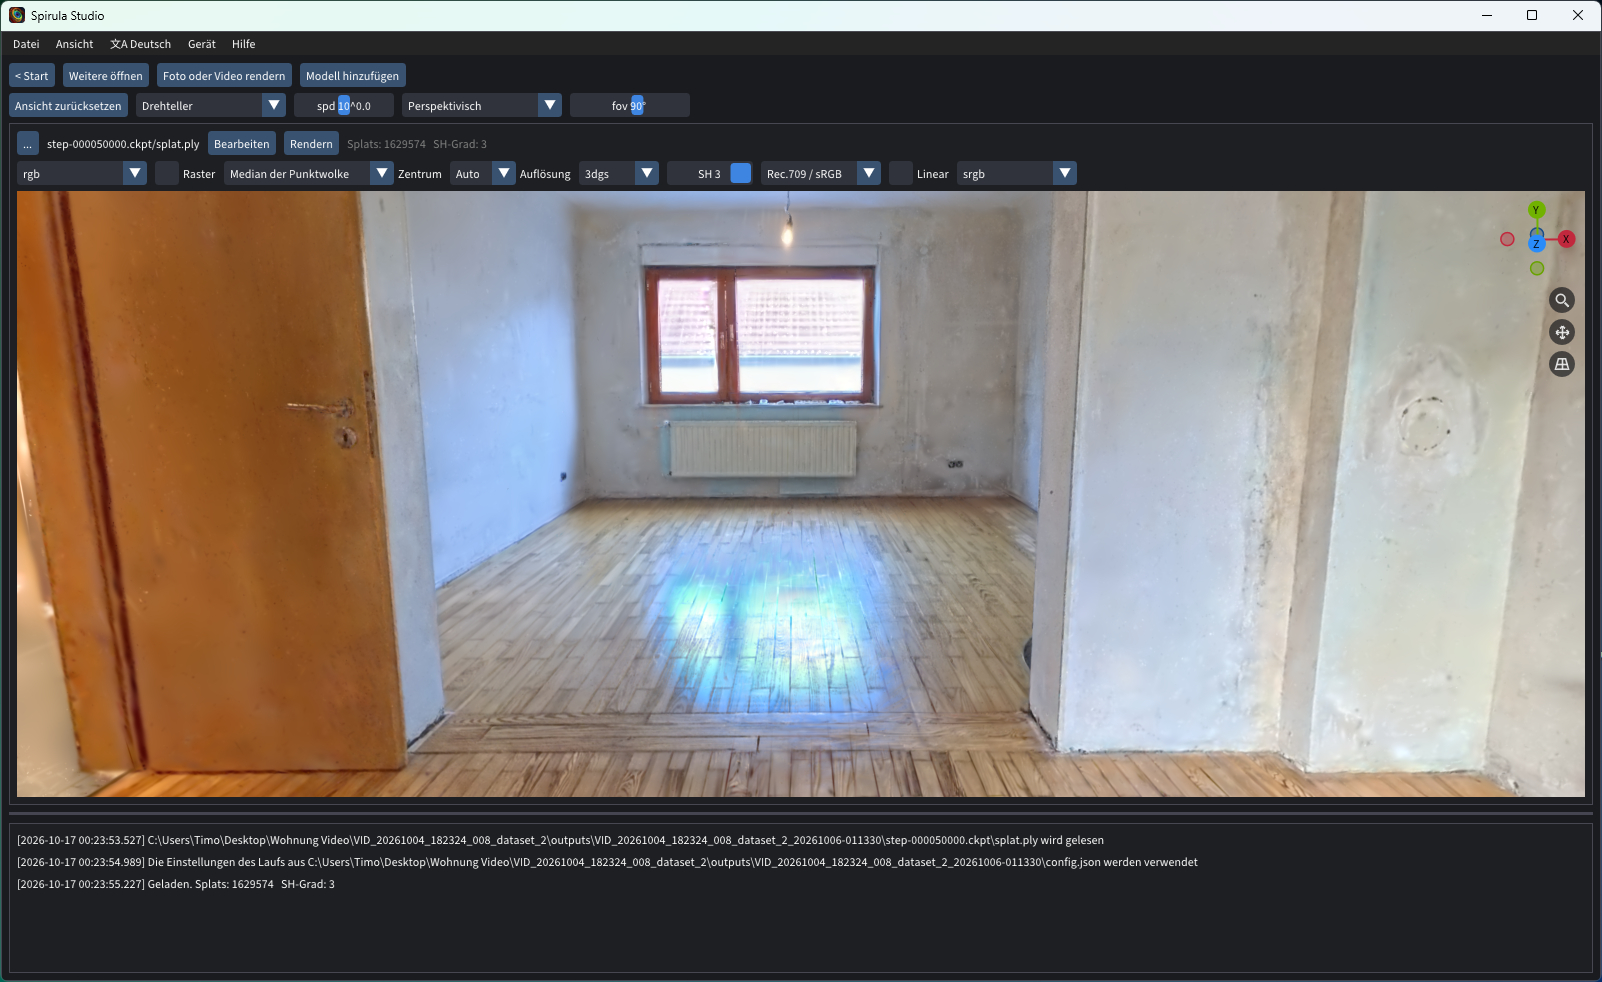
The result surprised me: despite the many bright walls, the resulting dataset worked extremely well for Gaussian Splatting. This made it possible to reconstruct the interiors in 3D and then explore them virtually.
Of course, this kind of reconstruction is no substitute for a professional 3D scan with precise measurements. However, the method is interesting for virtual tours, documenting construction progress, or visualizing spaces.
Battery life
There are two different batteries available for the Antigravity A1. According to the manufacturer, the standard battery with 2.360 mAh provides up to 24 minutes of flight time. The larger high-capacity battery (4.345 mAh) is said to offer up to 39 minutes, but it also raises the takeoff weight to around 291 grams, placing the A1 in class C1. An EU A1/A3 certificate of competence is then required.

During my flights, I never felt that I had to keep an eye on the battery level. With several batteries in my bag, even longer outings are easy to cover.
Antigravity offers a hub for up to three batteries for charging. They are charged one after another, not simultaneously.
Our verdict
I was especially impressed by the Antigravity A1’s flying experience. After a long break from drones, I was immediately back in the groove. Flying around in FPV mode and freely looking around as I go is especially fun. The controls are incredibly easy to use, and the flight performance is first-rate.
I also like its compact design. All the gear fits in a small shoulder bag, and at 249 grams, the A1 remains in EU drone class C0. Battery life is good too, and the set with three batteries easily lasts long enough for an extended outing.
With its 360° camera, the A1 is more versatile than an ordinary camera drone, since you can freely choose the framing even after the flight. However, you have to compromise on image quality. Cropping the 8K footage to a conventional frame results in a noticeable loss of sharpness.
The price is high, the propellers are unprotected, and obstacle detection has its limits. Even so, I’d be reluctant to give the A1 back. Rarely have I had so much fun flying a drone!
Specifications
Drone
- Model
- Antigravity A1
- Drone class
- EU C0 (standard battery) / EU C1 (high-capacity battery)
- Weight
- 249 g / 291 g
- Design
- Foldable quadcopter drone
- Maximum flight time
- 24 minutes / 39 minutes
- Maximum flight distance per battery charge
- 13 km / 23 km
- Maximum speed
- 16 m/s (57,6 km/h)
- Speed modes
- Cine, Normal, Sport
- Maximum ascent speed
- 8 m/s
- Maximum descent speed
- 8 m/s
- Wind resistance
- up to 10,7 m/s (level 5)
- Maximum takeoff altitude
- 4,000 m / 3,000 m
- Operating temperature
- -10 °C to 40 °C
- Positioning
- GPS, Galileo, BeiDou
- Hovering accuracy
- – Vertical
- ±0,1 m (visual) / ±0,5 m (GNSS)
- – Horizontal
- ±0,1 m (visual) / ±0,5 m (GNSS)
Camera
- Camera system
- Dual 360° fisheye camera
- Image sensor
- 1/1.28 inches
- Aperture
- f/2.2
- Photo resolution
- – 55 MP (10496 × 5248 pixels)
- – 14 MP (5248 × 2624 pixels)
- Video resolution
- – 8K (7680 × 3840 pixels) at 30/25/24 fps
- – 5.2K (5248 × 2624 pixels) at 60/50/30/25/24 fps
- – 4K (3840 × 1920 pixels) at 100 fps
- – 4K slow motion (3840 × 1920 pixels) at 30/25/24 fps
- Video formats
- INSV, export via Antigravity App / Studio
- Photo formats
- INSP, DNG
- Video codecs
- H.264, H.265
- Maximum video bitrate
- 170 Mbit/s
- ISO range
- 100–6400
- Shutter speed
- – 14 MP
- 1/8000 to 1/2 second
- – 55 MP
- 1/8000 to 1/20 second
- Stabilization
- Electronic (FlowState)
- Video modes
- Standard video, slow motion
- Photo modes
- Standard photo, HDR, burst shooting, AEB
- Features
- 360° capture, invisible drone body, post-capture reframing, object tracking
Sensors and flight functions
- Obstacle detection
- Front and bottom
- Front sensors
- – Detection range
- 0,5–18 m
- – Field of view
- 93° horizontal / 104° vertical
- – Maximum detection speed
- 12 m/s
- Downward-facing sensors
- – Detection range
- 0,3–7,5 m
- – Field of view
- 107° front/back, 90° left/right
- – Maximum detection speed
- 6 m/s
- Additional sensors
- Infrared sensors on the underside
- Obstacle detection
- In Cine and Normal modes
- Safety features
- Emergency braking, Return-to-Home, automatic landing
- Automatic flight features
- Sky Path, Sky Genie, Deep Track
- Landing gear
- Automatically deployable
Storage
- Internal storage
- 20 GB
- Storage expansion
- microSD up to 1 TB
- File system
- exFAT
- Recommended memory card
- microSDXC UHS-I, V30, A2
Wireless and connectivity
- Video transmission
- OmniLink 360
- Live view resolution
- 2K at 30 fps
- Maximum transmission range
- – CE (Europe)
- 6 km
- – FCC
- 10 km
- – SRRC
- 8 km
- – MIC
- 4 km
- Transmission frequencies
- 2,4 / 5,1 / 5,8 GHz
- Maximum transmission rate
- 30 Mbit/s
- Average latency
- Approx. 150 ms
- Antenna system
- 4 antennas, 2T2R
- Wi-Fi
- IEEE 802.11 a/b/g/n/ac
- Bluetooth
- 5.0
- Connection
- USB-C
Vision Goggles
- Display type
- Micro-OLED with pancake optics
- Display size
- 1.03 inches per eye
- Display resolution
- 2560 × 2560 pixels per eye
- Refresh rate
- 72 Hz
- Field of view
- 90° diagonal / 65° horizontal and vertical
- Interpupillary distance (IPD)
- 59–72 mm
- Diopter correction
- -5 to +2 diopters
- Extended correction
- Up to -8 diopters with optional prescription lenses
- Head tracking
- Yes, 360°
- Front display
- Yes, for displaying the live view
- Real View
- Yes, black-and-white passthrough mode
- Real View resolution
- 1088 × 1088 pixels at 50 fps
- Real View field of view
- 115° diagonal
- Screen recording
- MP4, 1600 × 1600 pixels at 30 fps
- Internal storage
- approx. 30 GB
- Storage expansion
- microSD up to 1 TB
- Playback formats
- MP4, MOV, JPG, PNG, INSP, INSV
- Weight
- 340,4 g (without battery)
- Battery capacity
- 4.500 mAh (32,85 Wh)
- Battery life
- up to 2.5 hours
- Battery weight
- 175 g
- Power supply
- External battery via USB-C-to-DC cable
Grip Motion Controller
- Control modes
- FreeMotion, FPV
- Operation
- One-handed motion control
- Controls
- Trigger, dial, function buttons, mode selector
- Functions
- Takeoff/landing, acceleration, directional control, emergency braking, photo/video
- Operating frequency
- 2,4 GHz
- Connection range to the Goggles
- under 10 m
- Battery capacity
- 2,300 mAh
- Battery life
- approx. 4 hours
- Charging time
- under 2.5 hours
- Weight
- 124,3 g
- Dimensions
- 143 × 45 × 72,5 mm
Battery and charging
- Battery technology
- Lithium-ion, 2S
- Nominal voltage
- 7,16 V
- Full-charge voltage
- 8,6 V
- Standard battery
- – Capacity
- 2,360 mAh
- – Energy
- 16,9 Wh
- – Weight
- under 67,5 g
- – Flight time
- up to 24 minutes
- – Charging time in hub
- approx. 45 minutes
- – Charging time in drone
- approx. 58 minutes
- High-capacity battery
- – Capacity
- 4,345 mAh
- – Energy
- 31.1 Wh
- – Weight
- under 108.6 g
- – Flight time
- up to 39 minutes
- – Charging time in hub
- approx. 60 minutes
- – Charging time in drone
- approx. 103 minutes
- Charging temperature
- 5 °C to 45 °C
- Recommended charger
- Antigravity 65W GaN
- Charging hub
- Up to 3 batteries, sequential charging
- Charging hub features
- Energy transfer between batteries, power bank mode
- Charging hub output power
- up to 30 W USB-C PD
- Charging hub weight
- 118,5 g
Other
- App
- Antigravity App (Android / iOS)
- Desktop software
- Antigravity Studio
- Video editing
- 360° reframing, keyframes, object tracking, effects
- Firmware updates
- Via the Antigravity App
- Propeller guard
- Not available
- Camera lenses
- Replaceable
- Protection rating
- No IP rating specified
- Folded dimensions
- – Length
- 141.3 mm
- – Width
- 96.2 mm
- – Height
- 81.4 mm
- Dimensions unfolded (with propellers)
- – Length
- 308.6 mm
- – Width
- 382.3 mm
- – Height
- 89.2 mm
- Weight
- – Standard battery
- 249 g
- – High-capacity battery
- 291 g
Price comparison
| Store | Price | Link |
|---|---|---|
| Amazon | 869,00 € | Go to store |
| Antigravity | 869,00 € | Go to store |
Comments