
Contents
First impressions of the MonoRover R2

Order
Those who have chosen the MonoRover R2 should purchase it from an official retailer. At www.monorover.com you can find a list of official resellers. Alternatively, you can order directly via the manufacturer's website. The R2 model is available in 4 different colours (Black, White, Red and Blue) and costs 299$ normally. The "Refurbished" variant, i.e. used and reconditioned, is already available for 199$. Shipping of my test model was prompt, and the scooter arrived safely packaged after just a few days.
What’s included
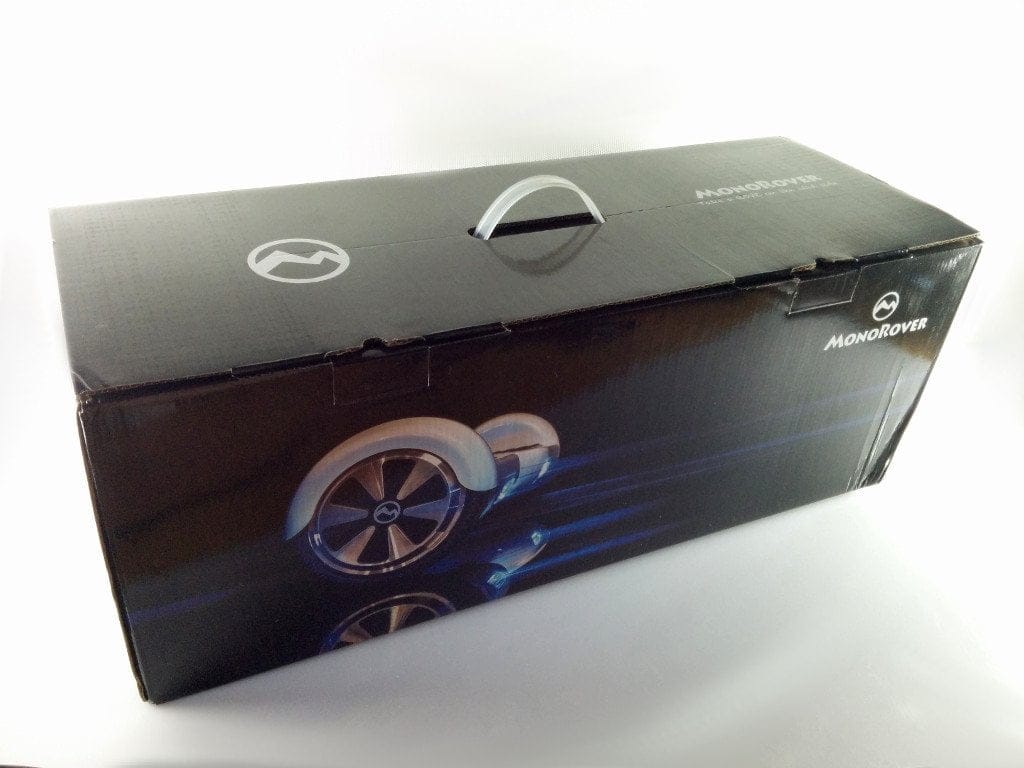
The delivery naturally includes the already ready-to-go MonoRover R2. The installed battery was also already charged, so you could start driving straight away. A suitable charger with EU plug is included, as well as a charger with US plug. Also included are an English-language instruction manual and a warranty card. A transport bag is unfortunately not included.


Design and build quality
Externally, the MonoRover R2 hardly differs from cheaper models. The scooter's housing consists of solid plastic in piano lacquer look. Due to the glossy look, the R2 is prone to dirt and scratches.
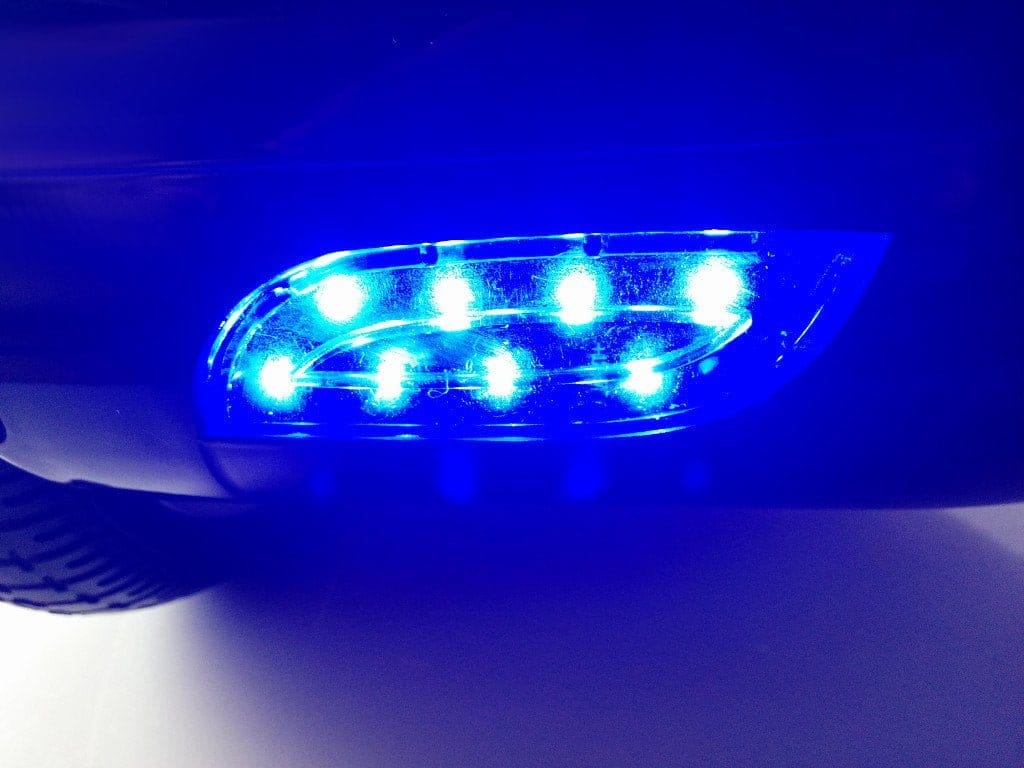
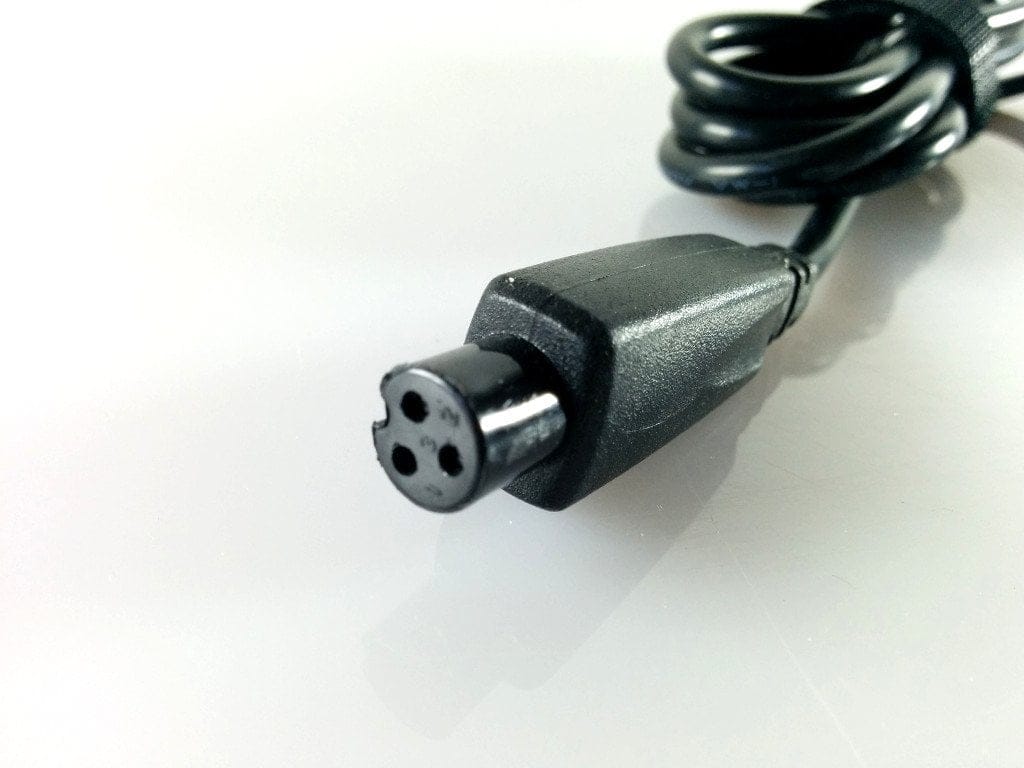
To guarantee a secure stance, the sensor plates are covered with patterned rubber mats. On the front are two bright blue LED spotlights. These spotlights provide sufficient brightness to control the hoverboard at night as well. The MonoRover R2's tyres are solid rubber tyres with tread, so there is no need to top up air. On the rear are the power button and the 3-pin charging socket. In the centre of the top side are two indicators that display battery level and status.
Setup
Setting up the MonoRover R2 is largely self-explanatory, but the user manual offers numerous tips that beginners in particular should heed. The instructions are easy to understand and detailed. What is missing from the manual, however, are instructions on calibrating the scooter and switching between beginner mode and "turbo mode".
Calibration
I stumbled upon the calibration option rather by chance. If you hold the power button down for an extended period, you enter the so-called calibration mode. The front-facing LED headlights indicate that you are in this mode. Within this mode, you can balance the scooter. To do this, you should find a flat surface and precisely align the R2's joint. Then switch the MonoRover R2 off and on again. The hoverboard is now calibrated.
Beginner mode
In beginner mode, the movement speed and rotation speed are reduced. To activate the mode, you must press the power button again after turning on the device. A longer signal tone indicates that we are in beginner mode. To switch back to turbo mode, the same steps must be repeated.


First driving attempts and practical test
I rode a self-balancing scooter for the first time on the MonoRover R2. It took some courage to dare to stand on the R2 with both feet during the first 5 minutes. Even with one foot, you can feel how the R2 wants to move. The key is to find your balance; once you do, the scooter stays still and allows you to step on with the second foot. After 10 minutes, I could stand steadily on the device. Movement is subsequently controlled purely by body tension. You might think the scooter can read minds. If I want to go forward, the scooter moves forward. Turning also works on command.
Dismounting is the next hurdle that every beginner faces. During my first attempts, I felt compelled to dismount forwards. However, this caused the MonoRover R2 to lose its balance and fly off behind me. Luckily, I had something to hold onto; otherwise, the dismount would certainly have ended in a nasty fall. When dismounting, you should ensure that you step off backwards. You should also make sure to maintain your balance until both feet are off the scooter.
First successful runs can be achieved after just 30 minutes. Driving on bumpy roads, however, requires a bit more practice. Driving at full speed (approx. 10 km/h) also requires practice and protective gear may even be recommended.
Street riding
There is currently no road approval for "hoverboards". Anyone using the vehicle on public roads is committing an administrative offence. This is also accompanied by driving without a licence and without insurance, as such a scooter reaches speeds well above 6 km/h!


Battery and range
The key difference between the MonoRover R2 and cheaper no-name models lies in the battery used. News reports often feature self-balancing scooters that literally burst into flames due to the use of substandard batteries that quickly reach their performance limits. In contrast, the manufacturer of the R2 points out that the MonoRover R2 uses high-quality Samsung or LG batteries. Specifically, it is a lithium-ion pack consisting of several 18650 cells, with a capacity of 4,400 mAh. The battery is fully charged in just over two hours. With a full charge, the possible range is up to 20 kilometres. However, this assumes optimal conditions. The range achieved in our test was approximately 16 kilometres. This depends on both the rider's weight and the load on the motors.
Manufacturer’s website: www.monorover.com

Our verdict
Although the MonoRover R2 hardly differs in appearance from other models, the R2 offers high-quality build quality and a similarly high-quality Samsung / LG battery, which in turn justifies the small price difference.
Initial driving performance can already be noted after around 30 minutes. The accuracy of the gyroscope is beyond reproach, and calibration is completed in just a few steps.
Anyone interested in a self-balancing scooter and facing a choice should definitely opt for a high-quality model. The MonoRover R2 would be a good choice!
Specifications
General
- Material
- Plastic
- Gyroscope
- 3-axis gyroscope
- Accelerometer
- 3-axis
- Speed
- max. 10km/h
- Range
- 10-20 km
- Battery
- Samsung / LG 18650
- Capacity
- 4,400 mAh
What’s included
1x MonoRover R2 2x charger 1x user manual 1x warranty card


Comments