Contents
xTool S1: Unboxing and setup
A swearing postman with a huge package was the signal that the xTool S1 had arrived at our editorial office. xTool did not skimp on packaging. The device is fully embedded in foam and secured with two transport straps. Practical, as this allows the box, weighing around 20 kilograms, to be easily lifted out.
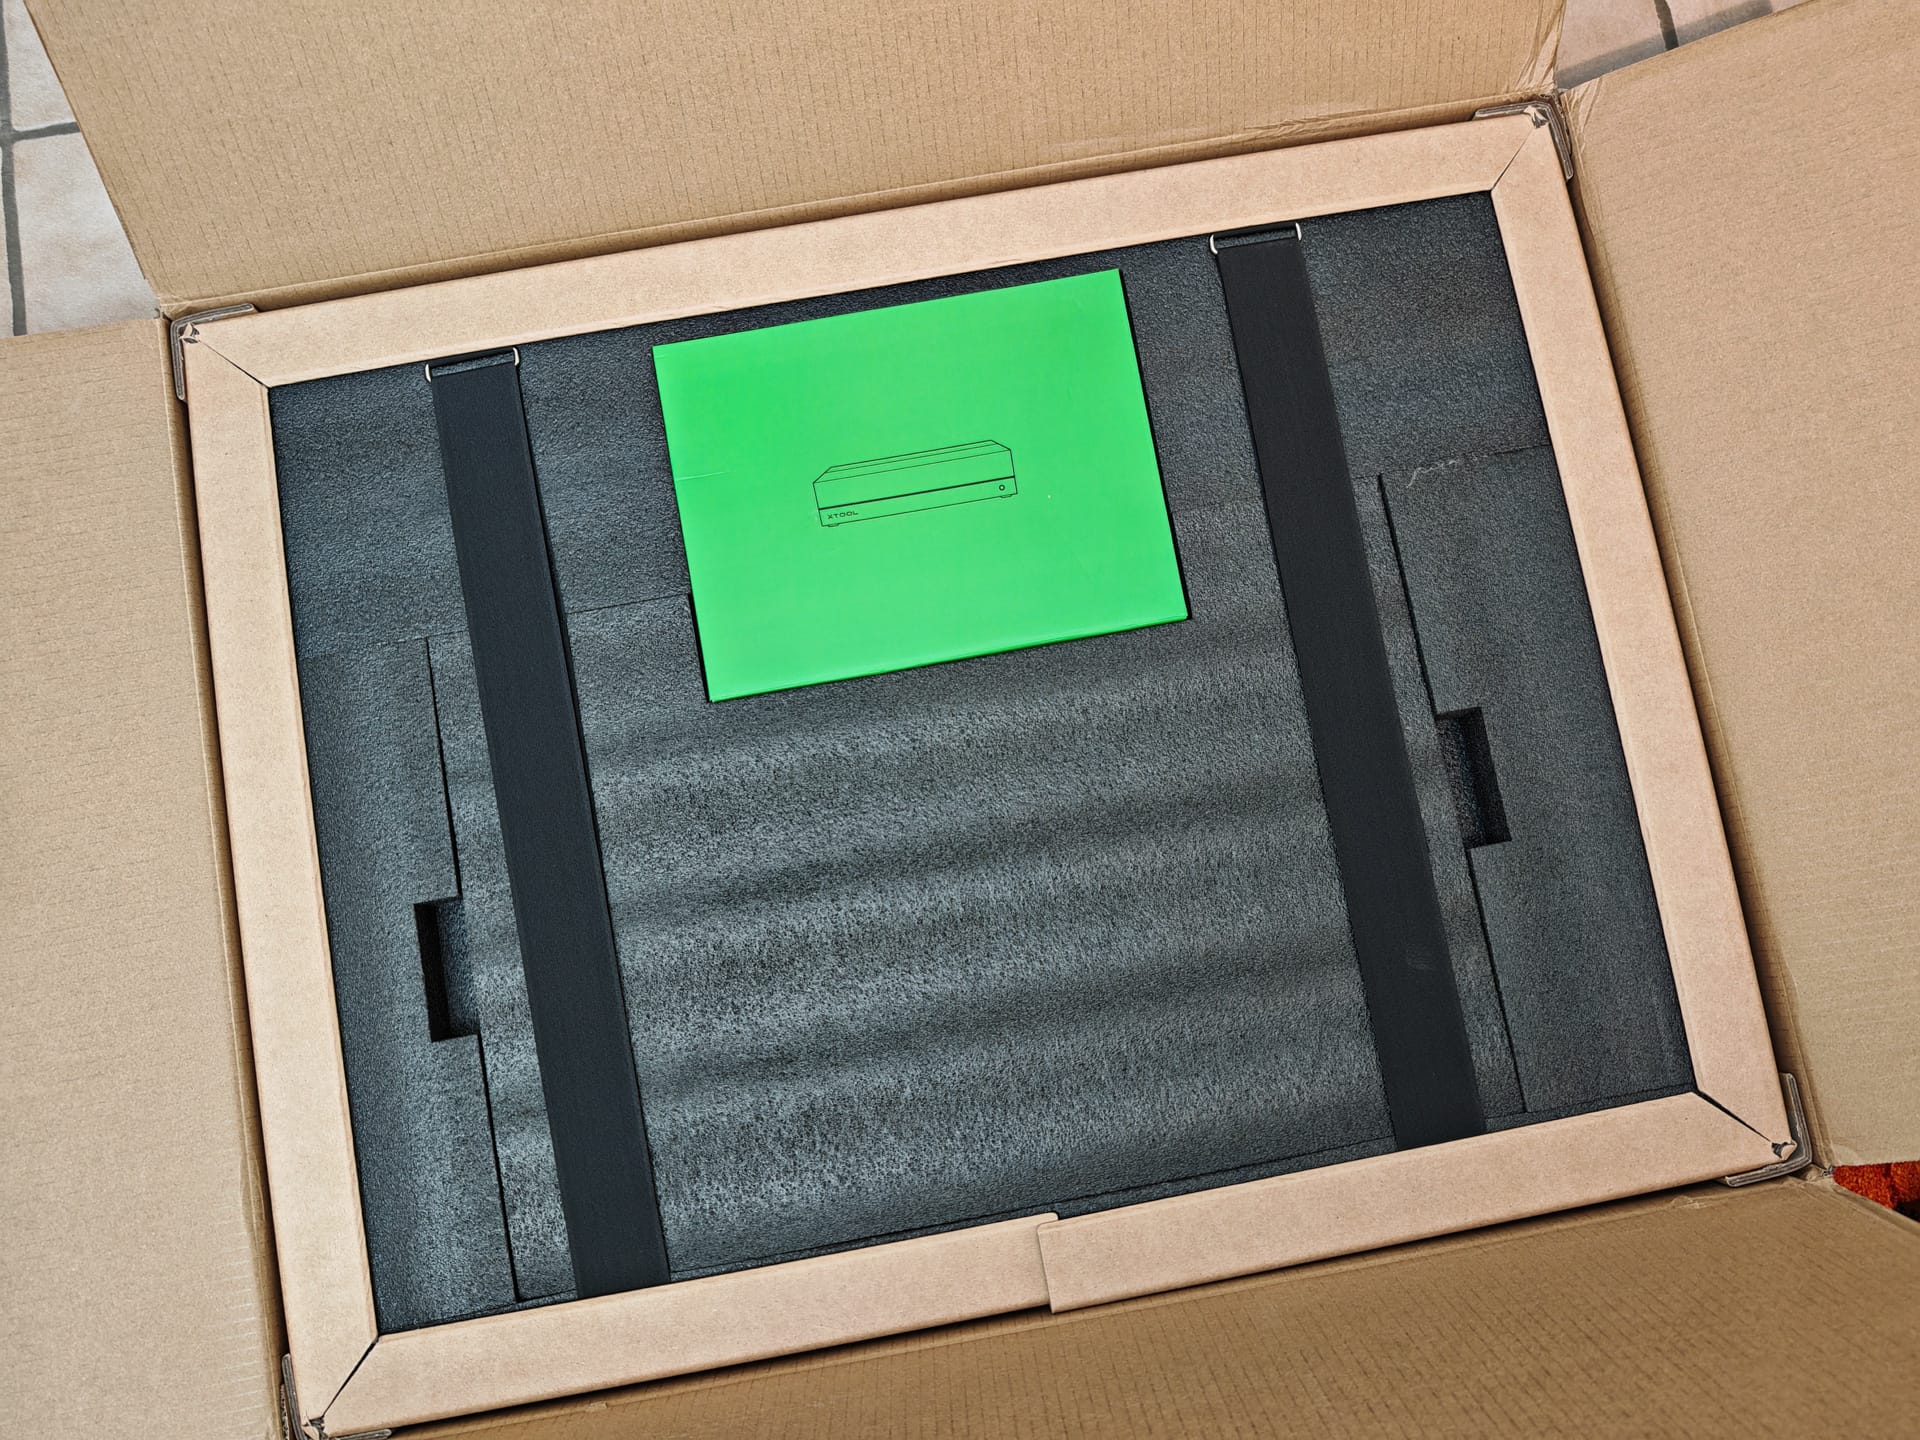
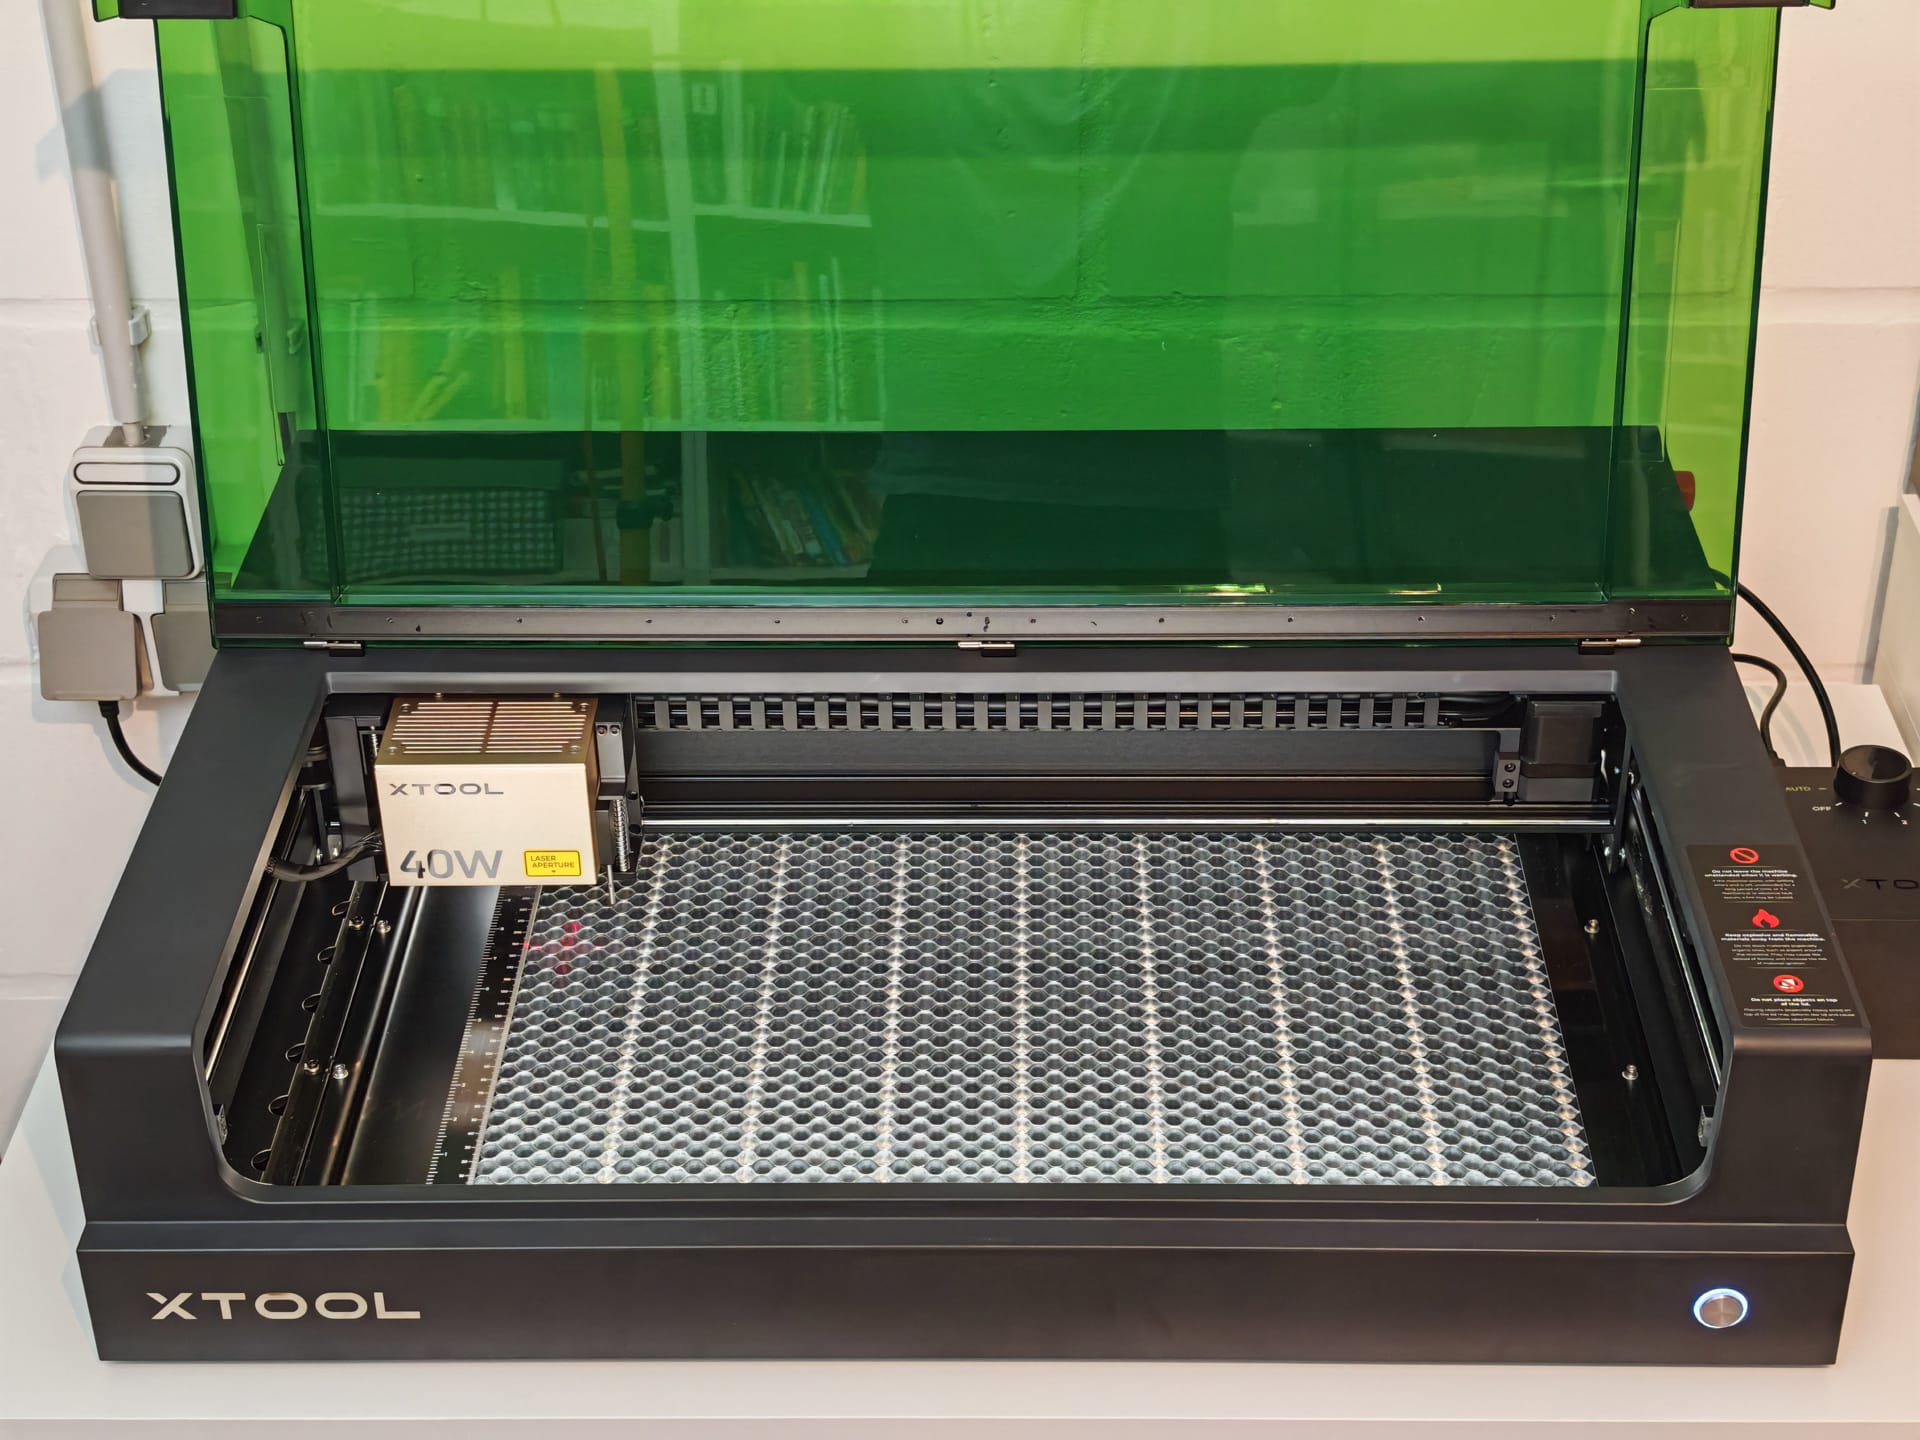
Box" is apt, because the xTool S1 is not an open laser engraver but a fully enclosed construction, which is supplied largely pre-assembled. Insert the laser module, release the transport securing and connect the power supply – nothing more is needed for setup. The necessary tool is included, so you do not need to unpack any of your own.
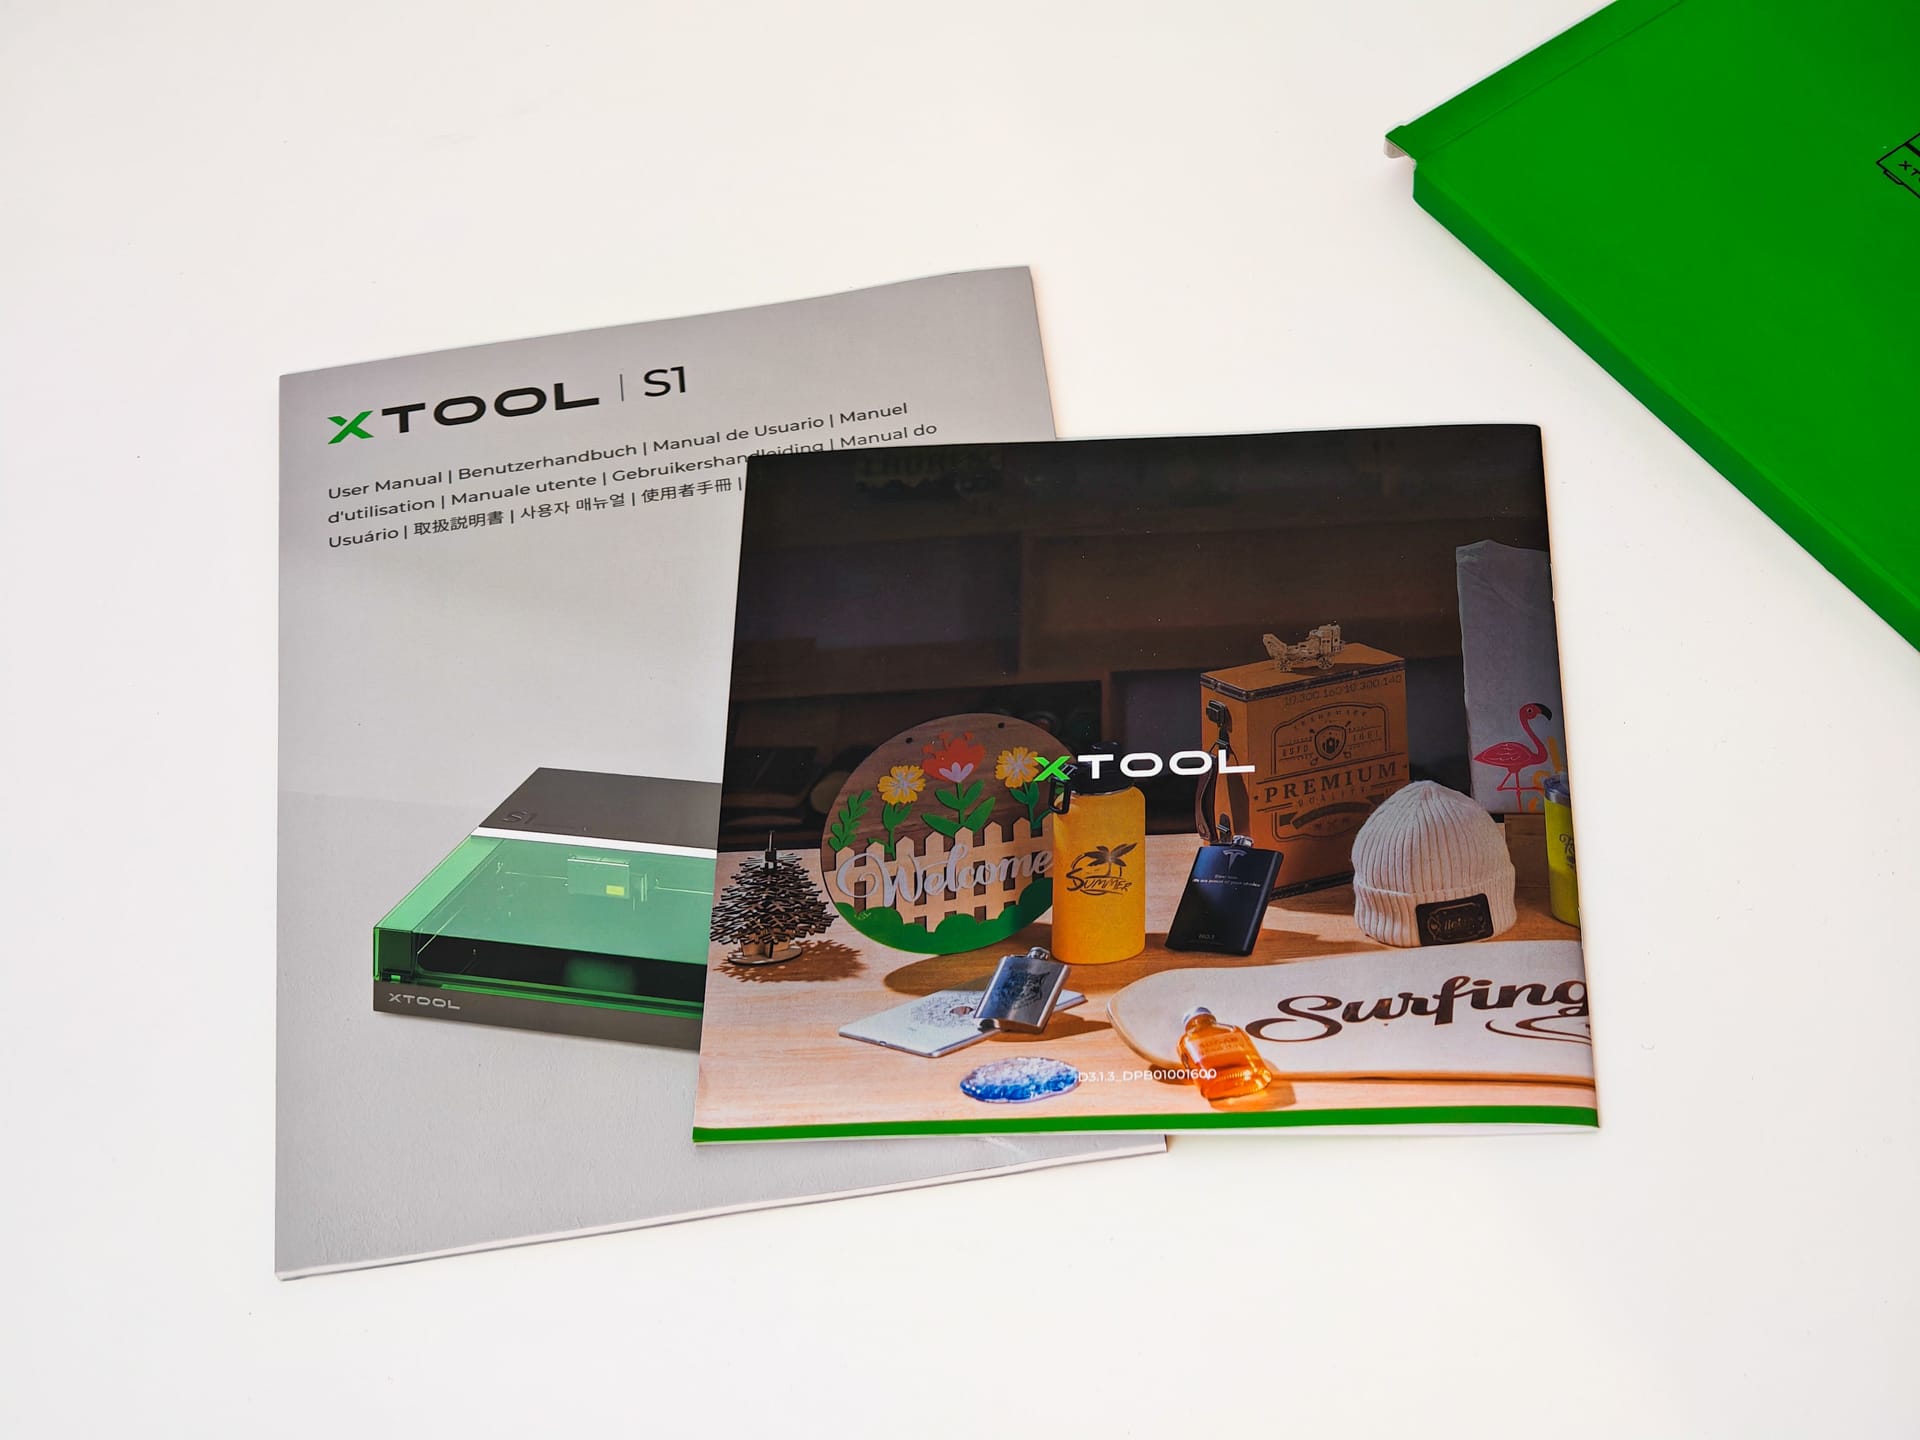
The entire setup takes less than 20 minutes and is explained very well in the illustrated manual. To get you started immediately, the delivery includes various test samples such as a slate coaster, a piece of leather, stainless steel key rings and a wooden board.
Incidentally, this laser engraver can be operated without issues in an enclosed space. Odours generated during cutting or engraving can be vented out of the window via the integrated ventilation and the supplied flexible hose. However, the hose is somewhat short, which may cause attachment difficulties depending on the window height.
Alternatively, xTool offers an exhaust filter as optional accessory. At around 700 Euro, which adds to the already 2,000 Euro laser engraver, the exhaust filter is not a cheap affair.
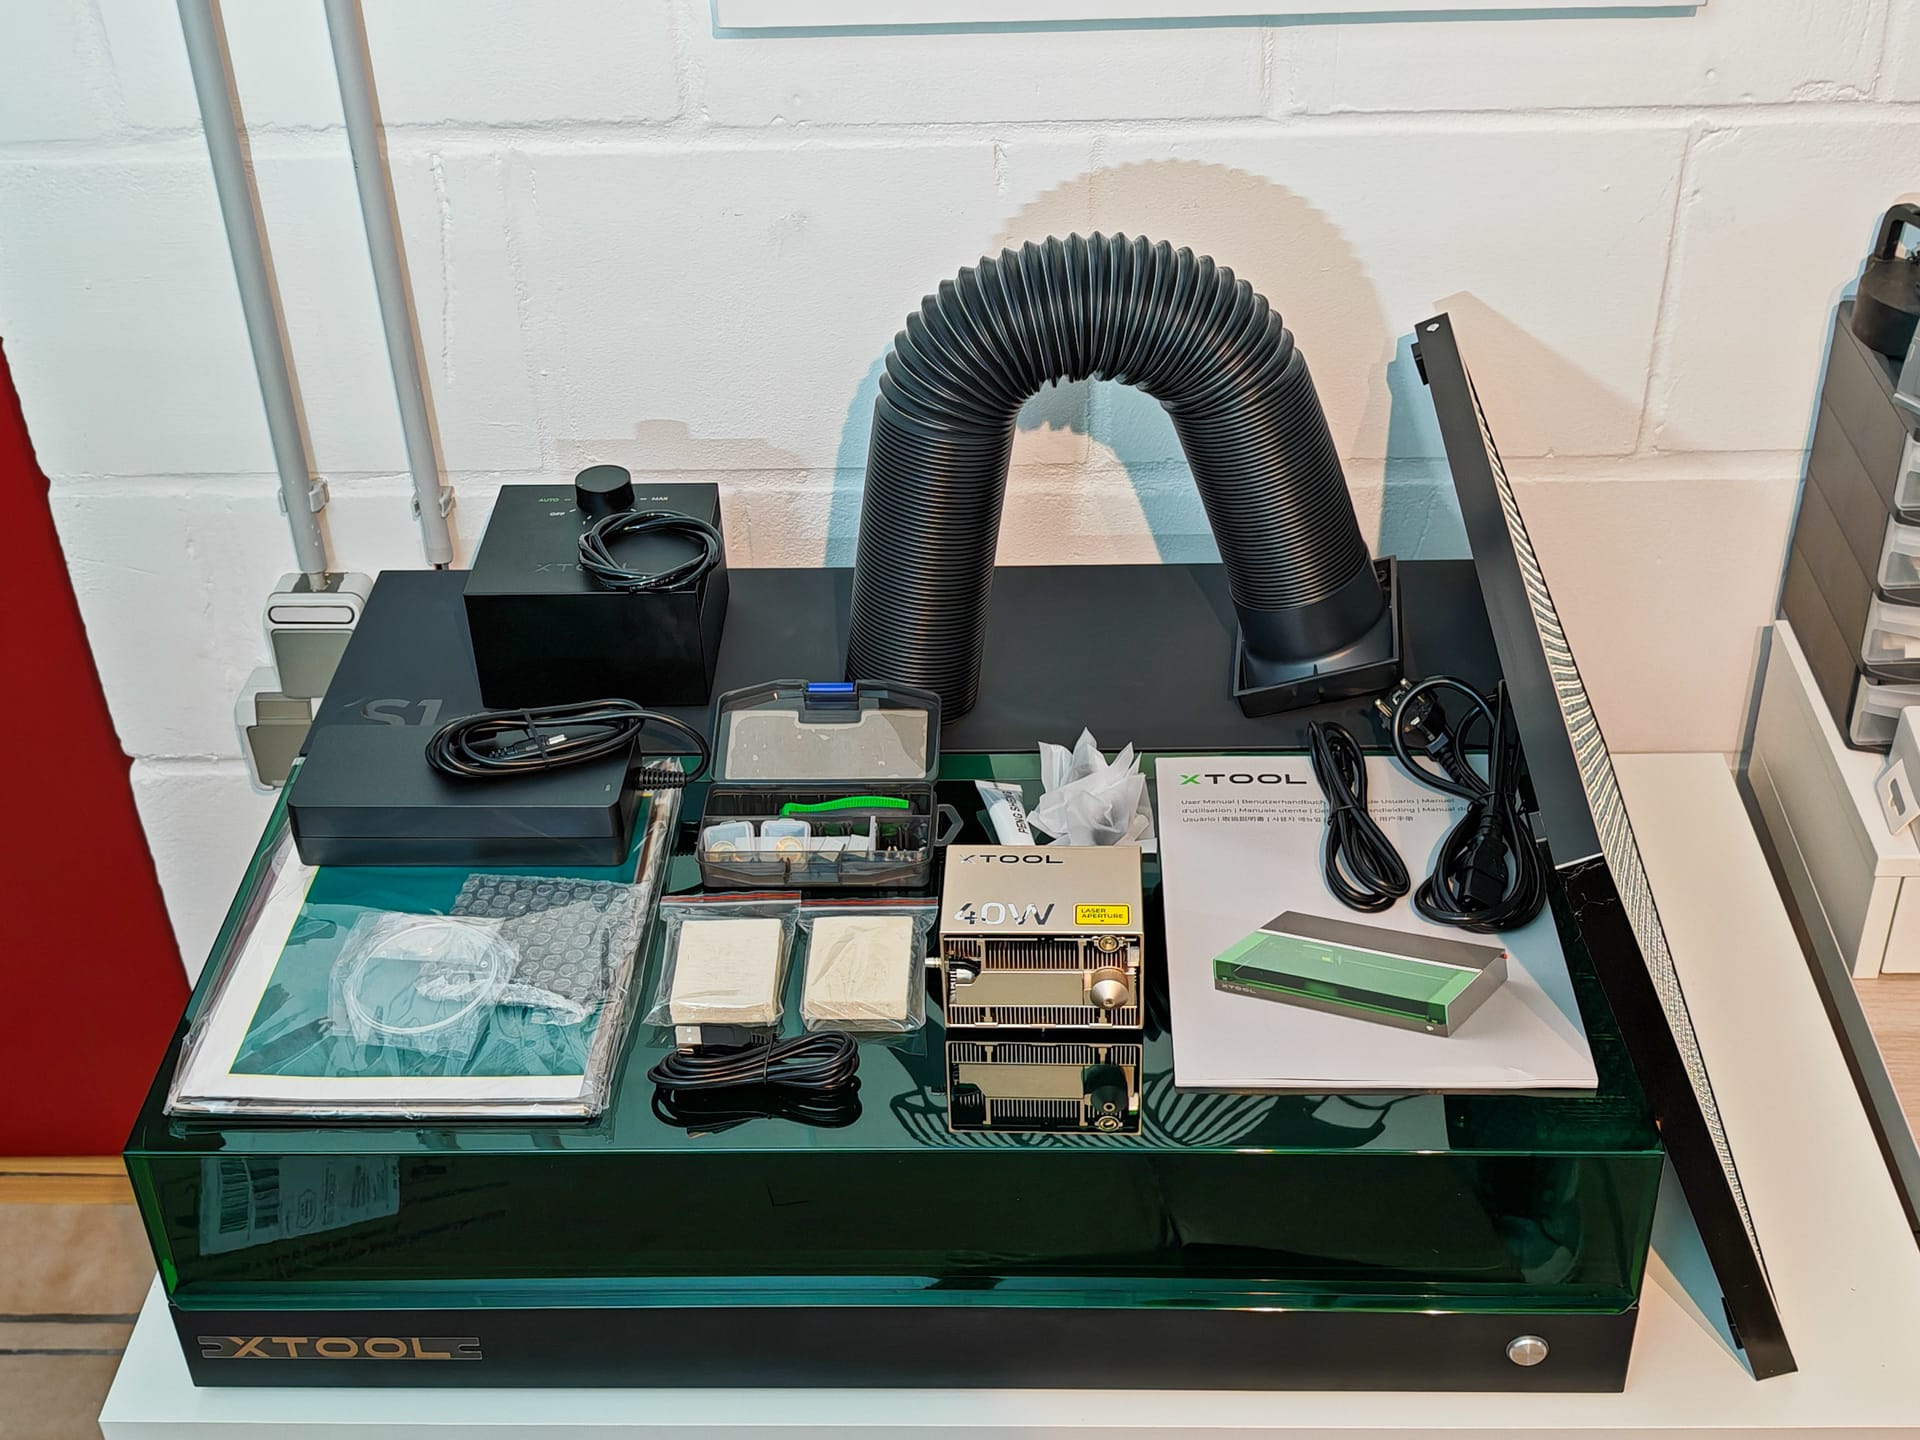
There is also additional accessories, such as a Rotary Kit (approx. EUR 270), a screen printer (approx. EUR 270) and a riser (approx. EUR 200). Anyone looking to expand their laser engraver can hardly avoid original xTool accessories. The system is so proprietary that there is hardly any possibility of switching to suitable third-party accessories.
xTool S1: Safety
To prevent accidents or apartment fires, xTool has equipped the S1 with a variety of safety measures. According to the manufacturer and the international testing and certification company SGS, the xTool S1 falls under Laser Class 1. This means that the laser is safe under normal conditions and poses no danger to eyes or skin. No protective measures are required for this class.
A TÜV certification is still pending but is expected to follow soon. The SGS test report can be found here as a download or under test number GZEE230700241131.
Closed system
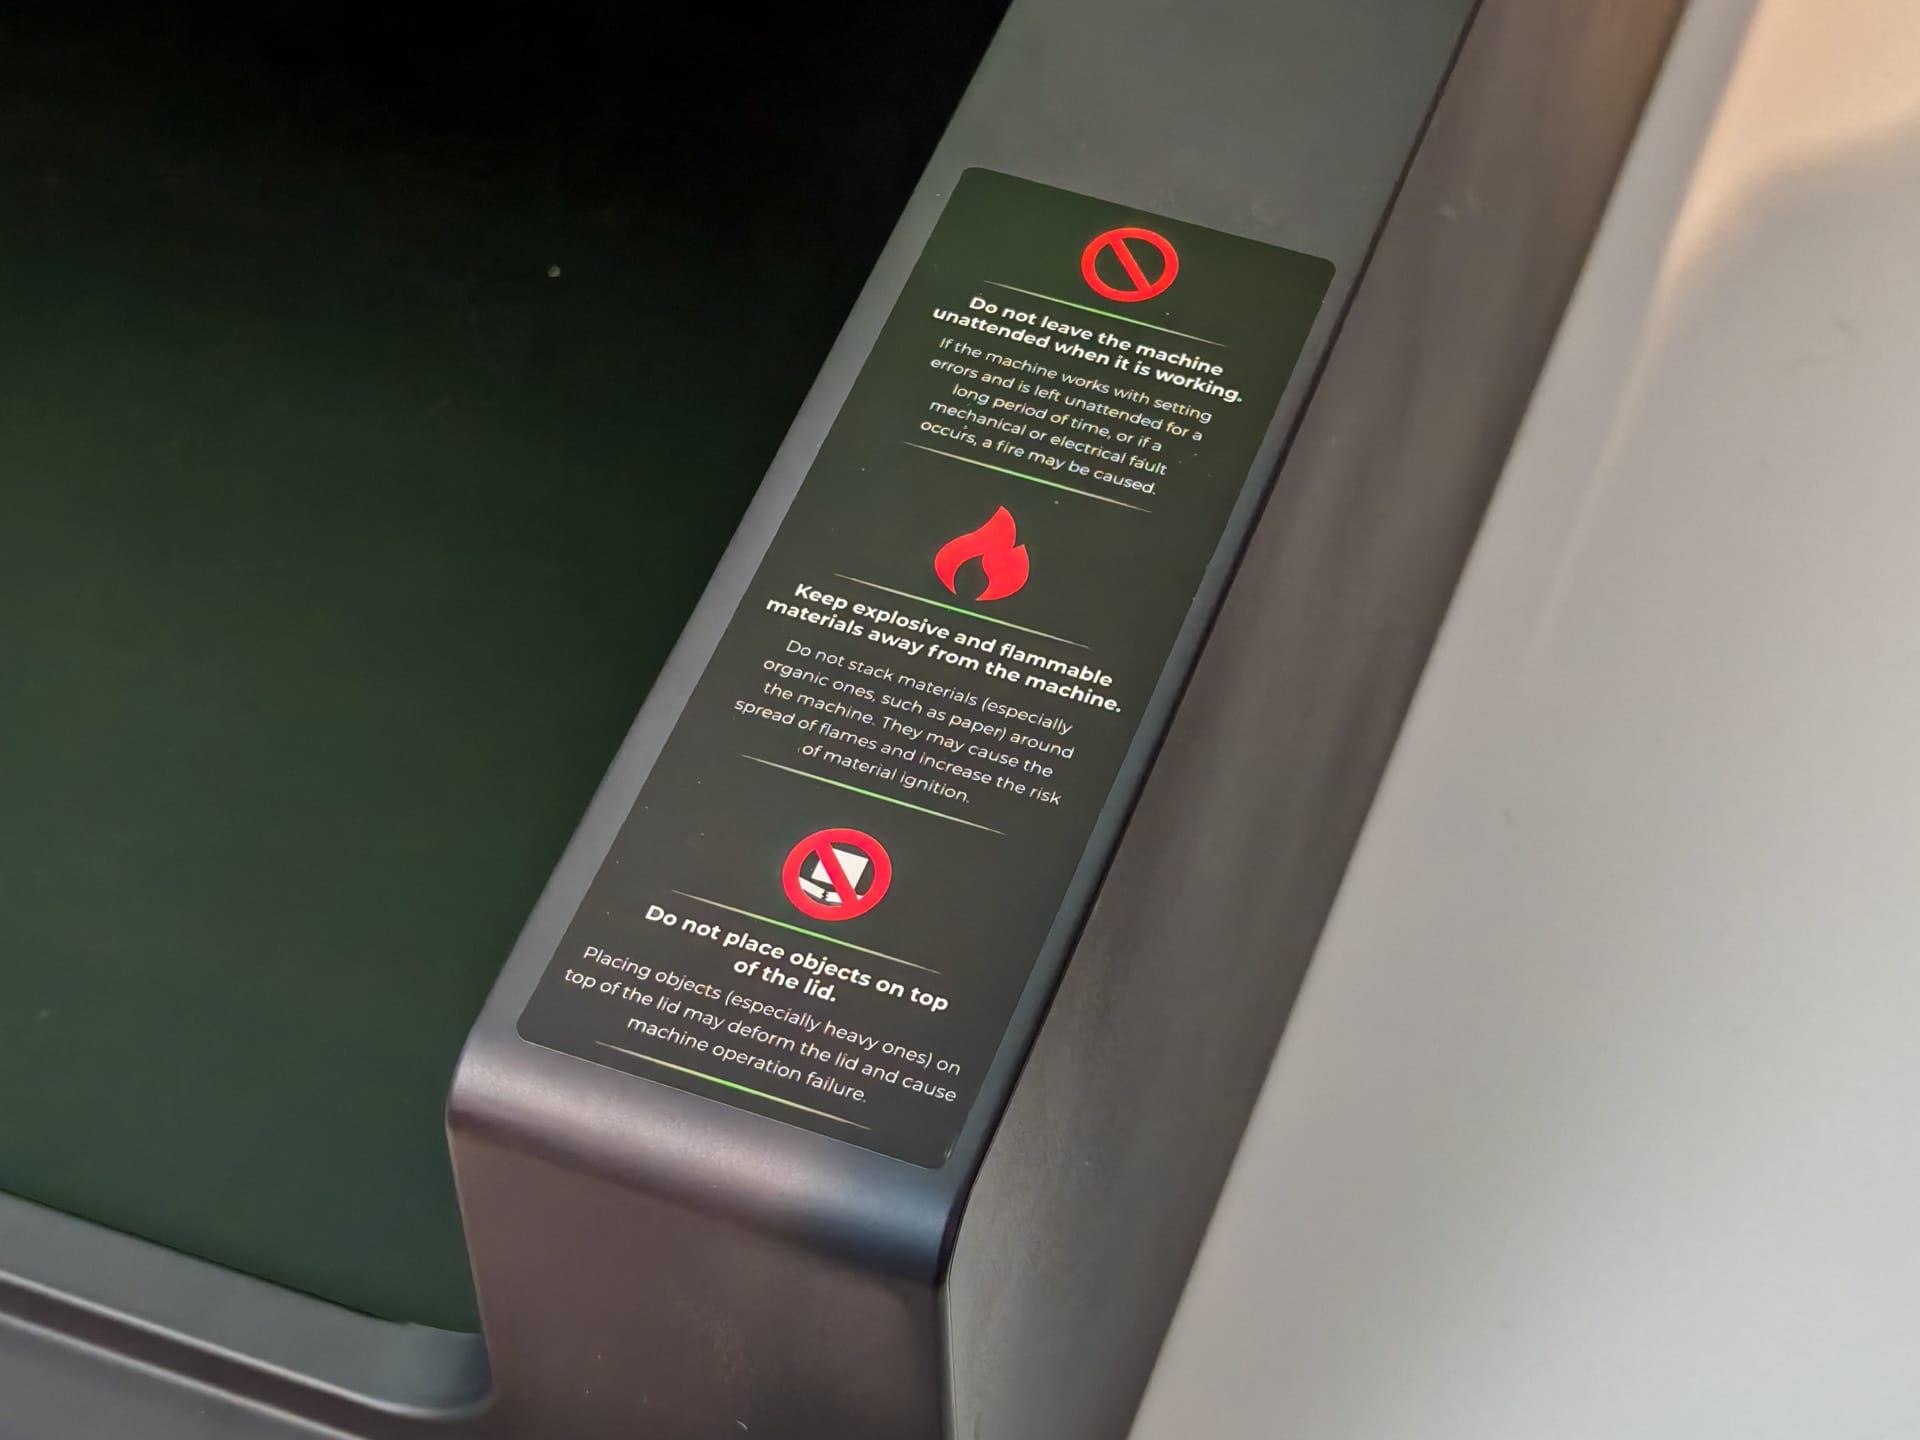
Safety features are led by the enclosed design, which prevents any laser beam from escaping and thus no safety glasses are required. This is a massive advantage over open designs, where users prefer not to remove their safety glasses at all.
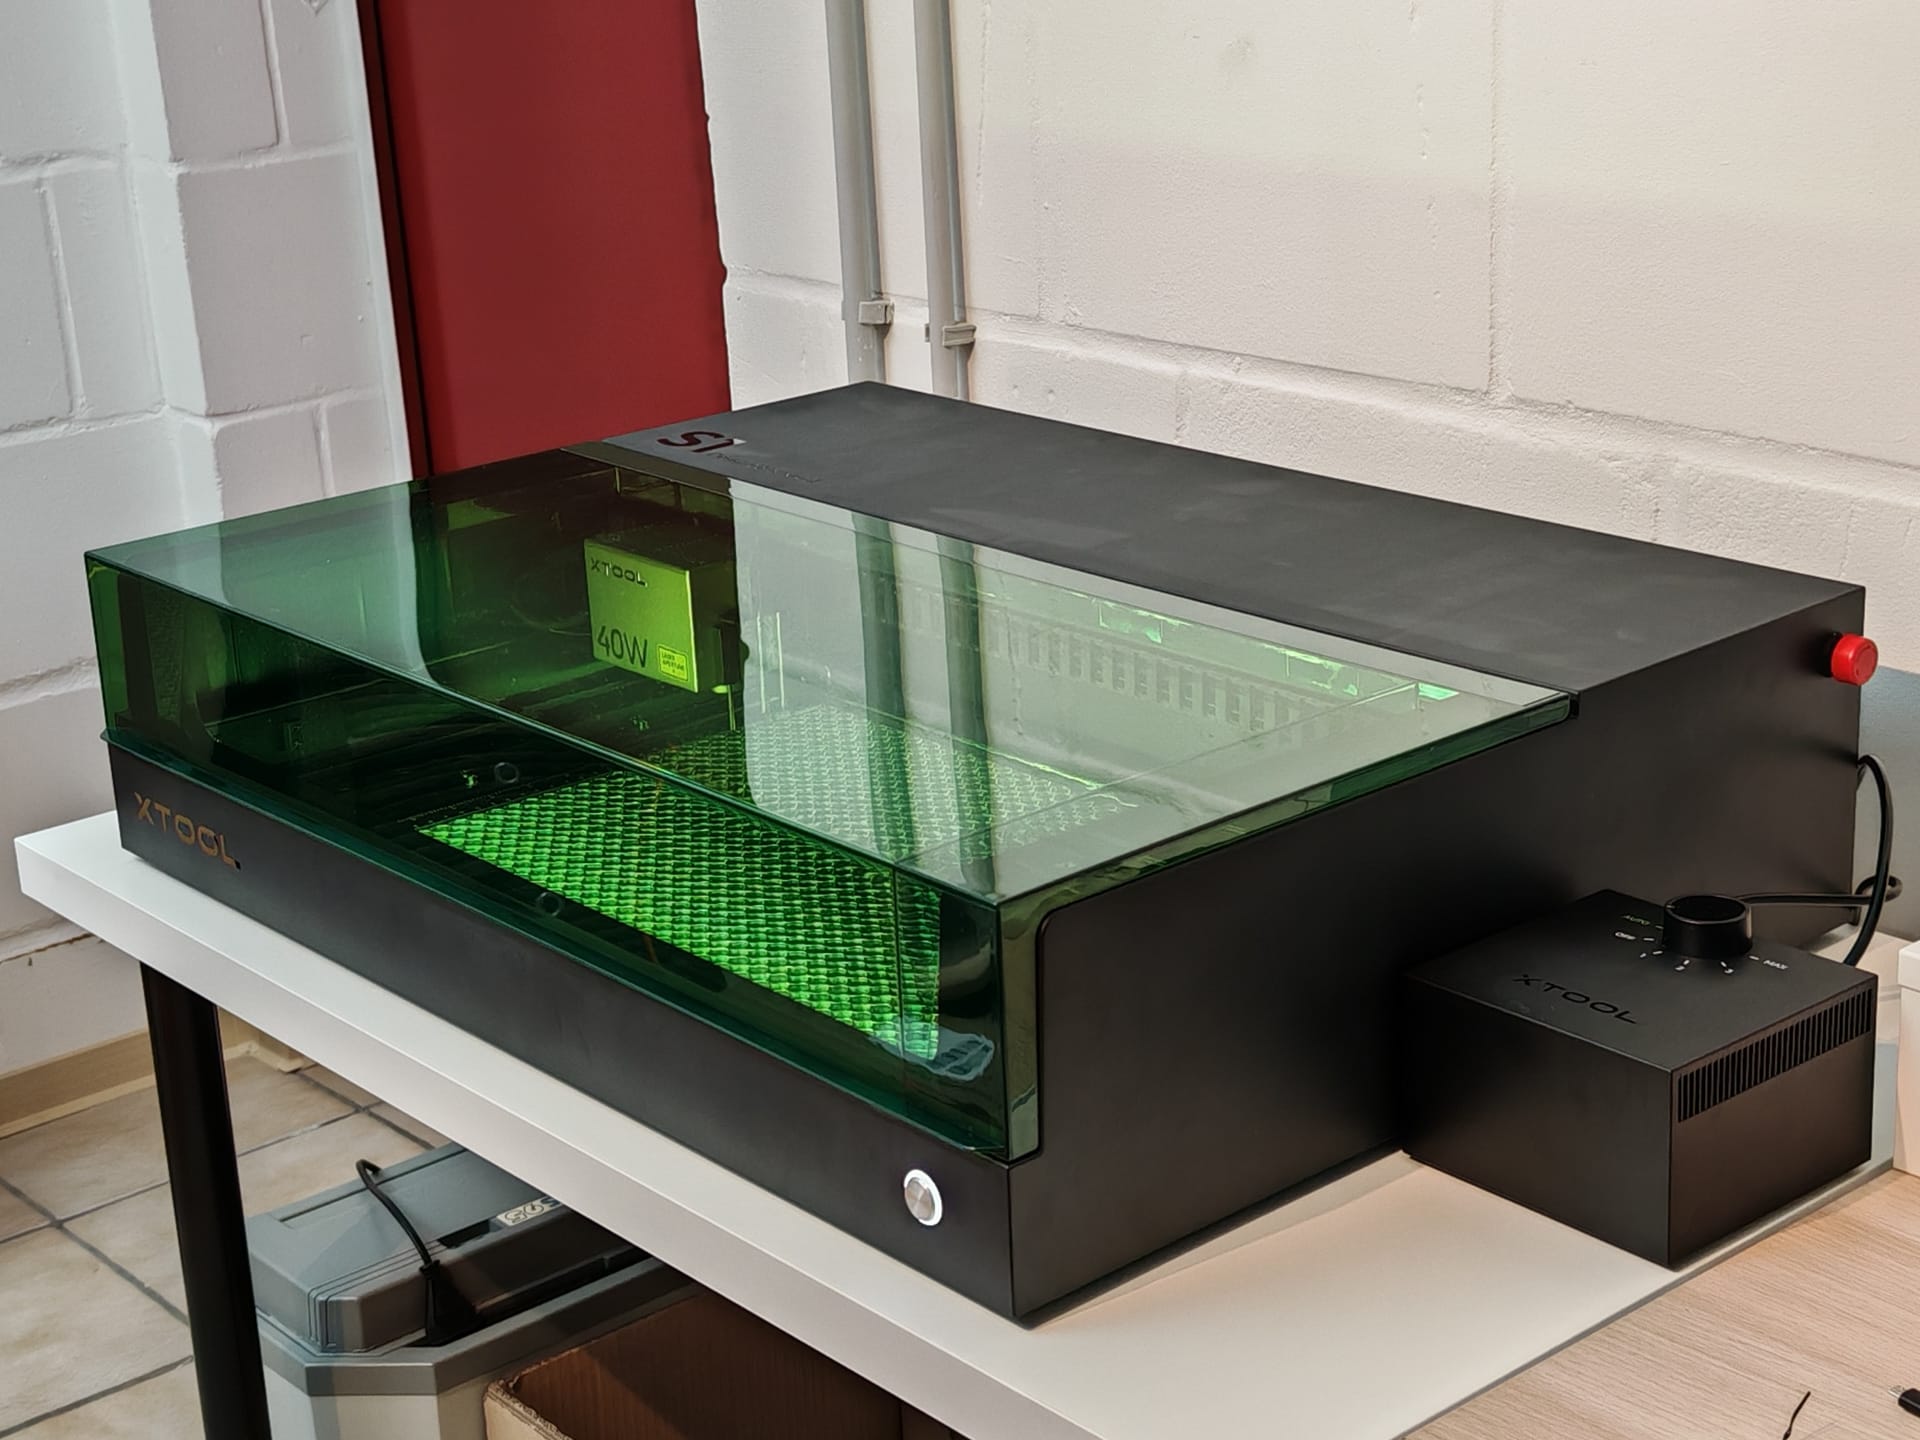
To still be able to see what is happening inside the box, xTool has integrated the laser filter directly into the housing lid. If the lid is opened during operation, the laser switches off automatically. Those who want to be on the safe side should still prefer to wear protective glasses.
IR flame and motion sensors
Five IR flame sensors provide additional safety by monitoring the working area and shutting down the device as soon as fire is detected. Vibrations or movements during operation also cause the laser engraver to shut off automatically.
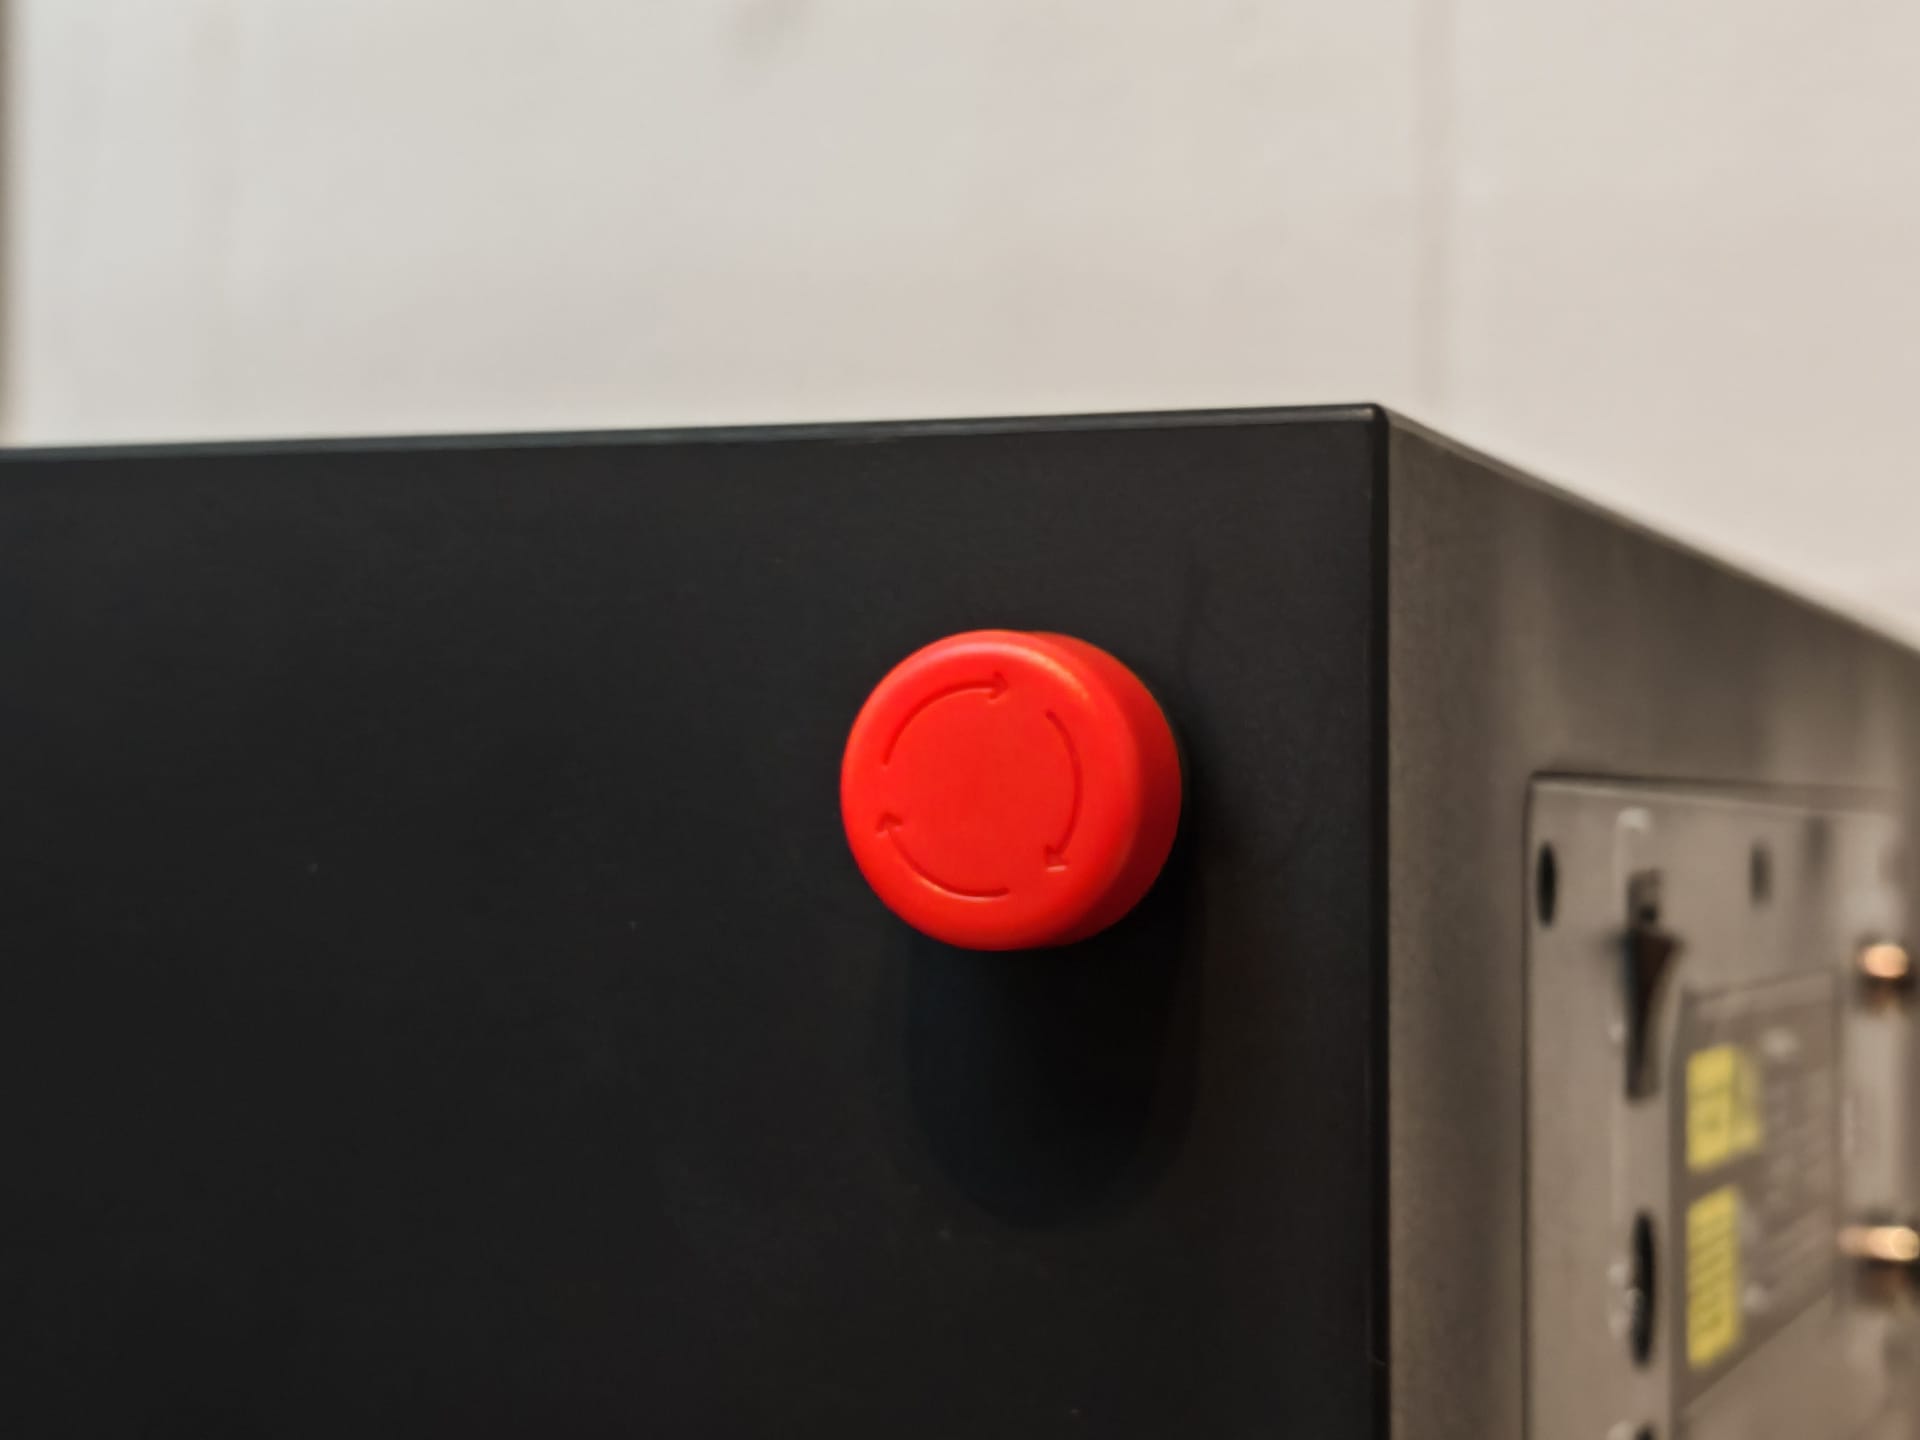
Emergency stop button
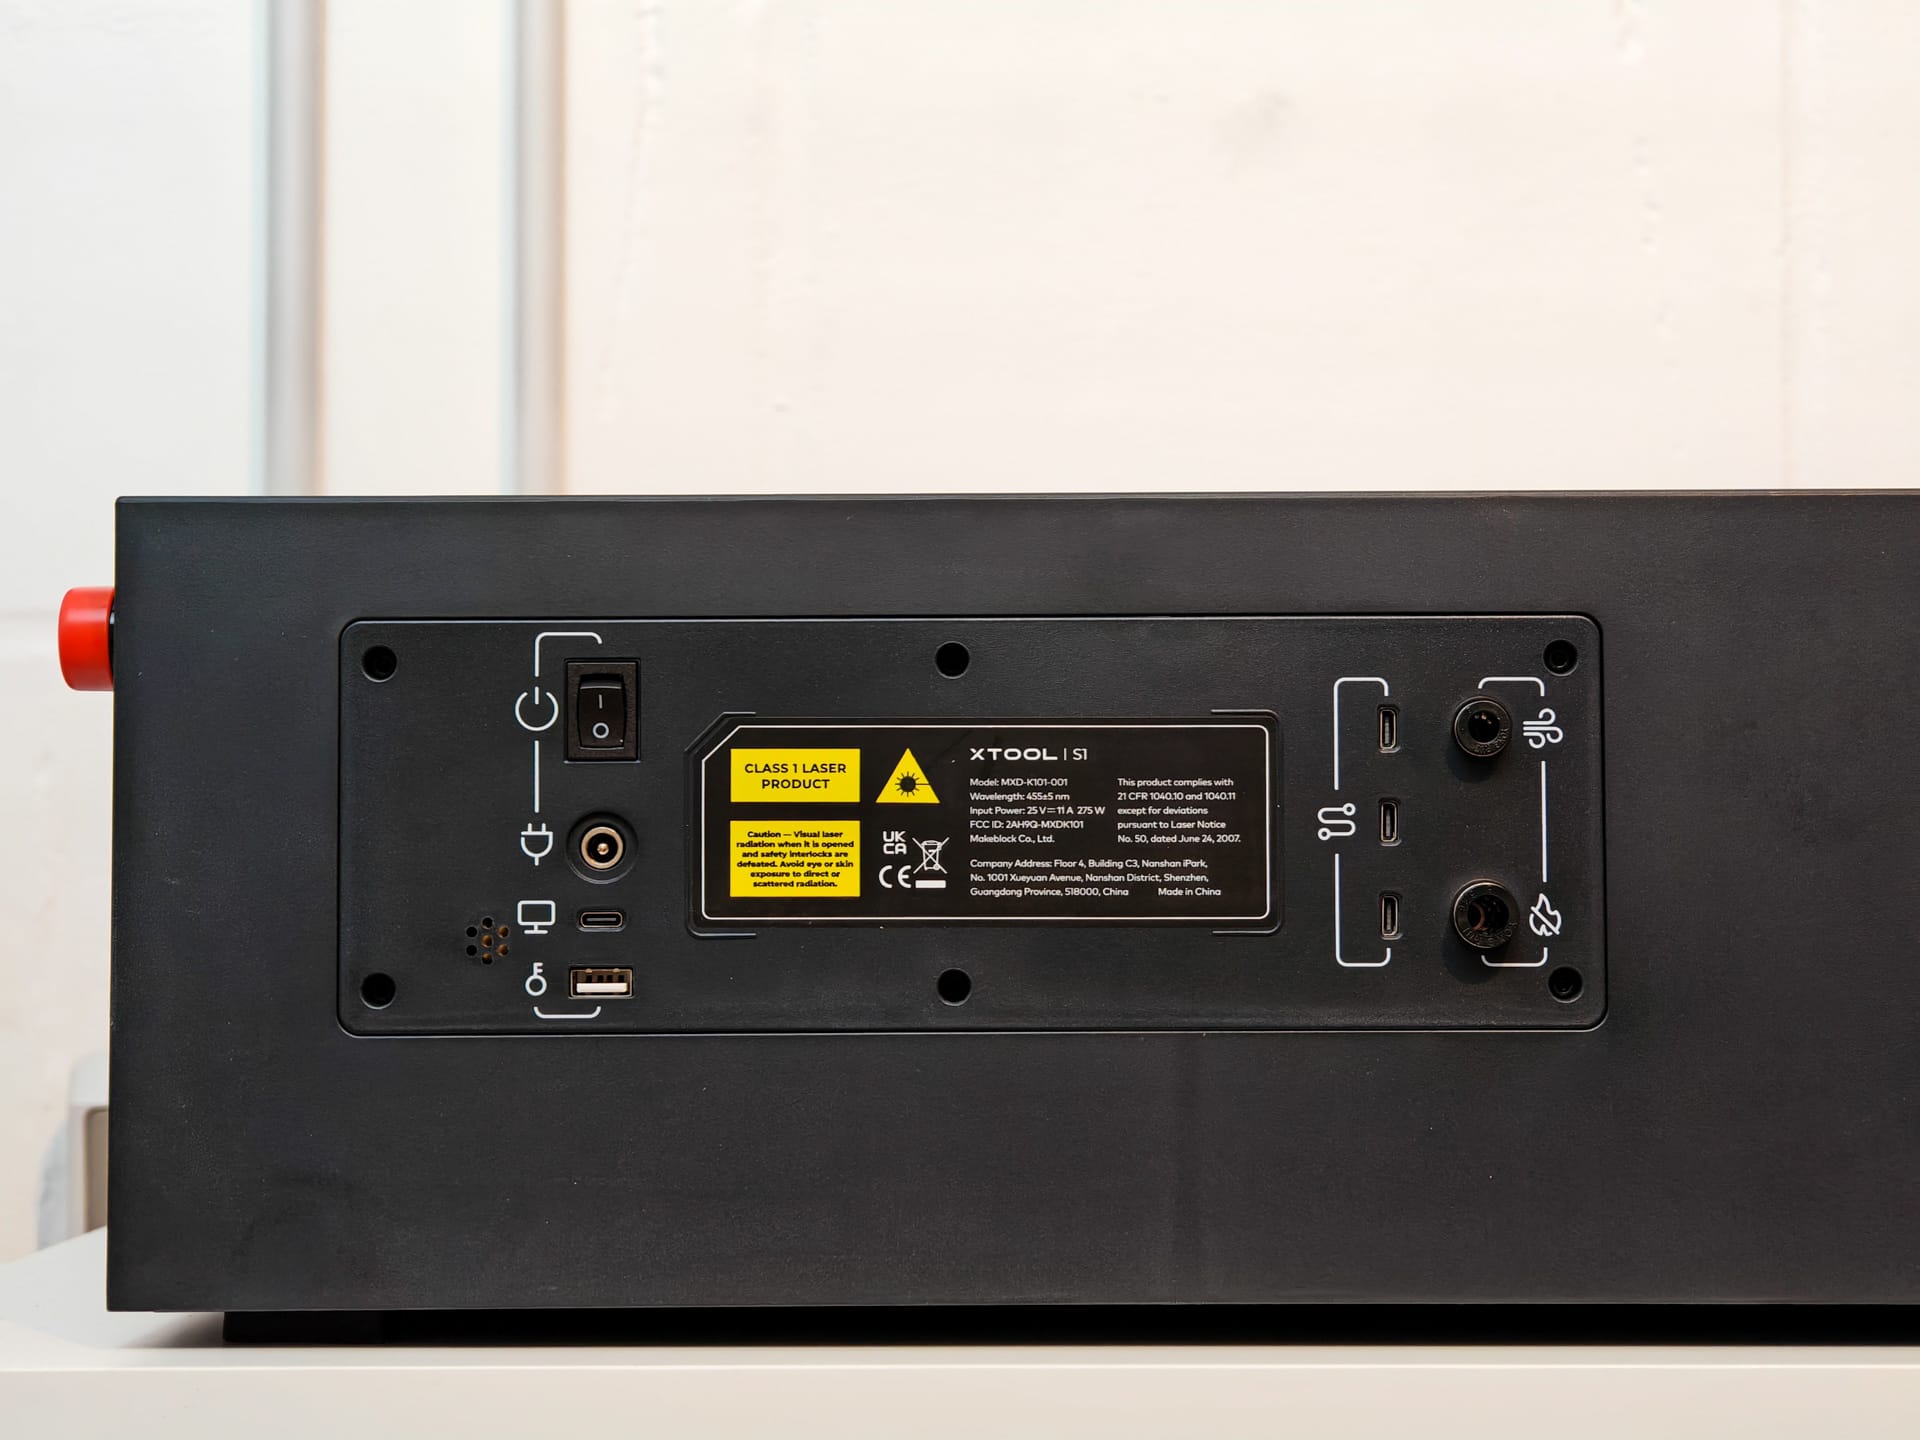
Finally, there is the emergency stop button. It is easily accessible on the side and switches off the laser immediately upon contact.
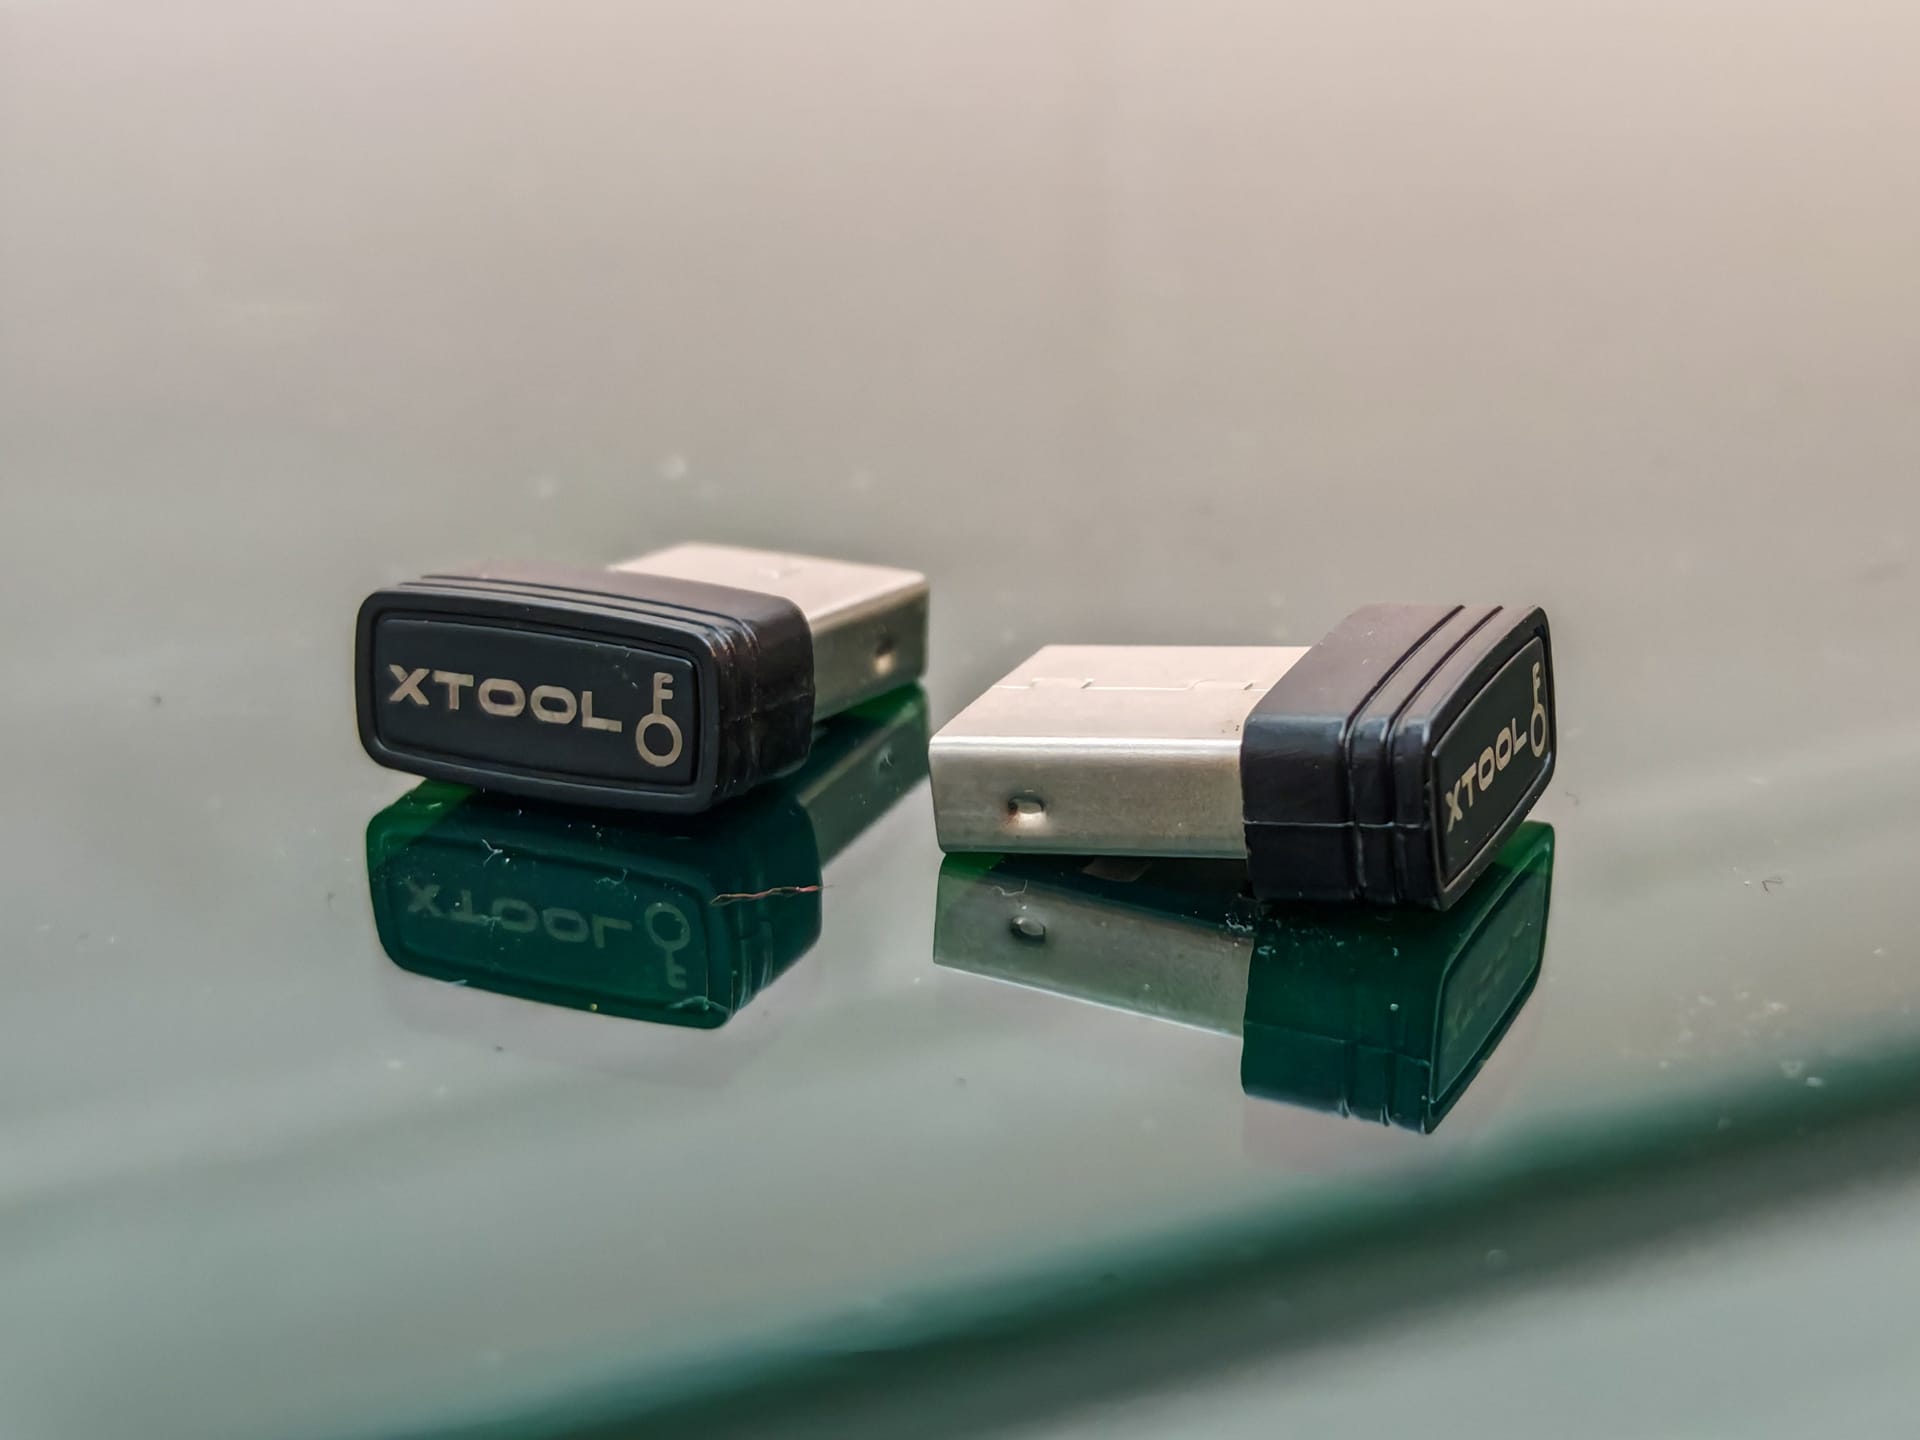
USB flash drive
For the laser engraver to start, a key in the form of a small USB stick must be inserted. Two such keys are included in the scope of delivery.
xTool S1: Software
Software is also required after assembly. The manufacturer provides xTool Creative Space (XCS) for Windows, macOS and as an app for iOS and Android.
An alternative is Lightburn. However, this software costs money, is aimed more at experienced users and, with regard to the xTool S1, has the disadvantage that not all functions of the laser engraver are supported. For example, XCS supports mapping curved surfaces, which Lightburn (currently) cannot do.
We chose XCS from the start here, which we would also recommend to new users to get familiar with the laser engraver. It is worth trying out LightBurn afterwards as well. The programme can, after all, be used free of charge for a 30-day trial.
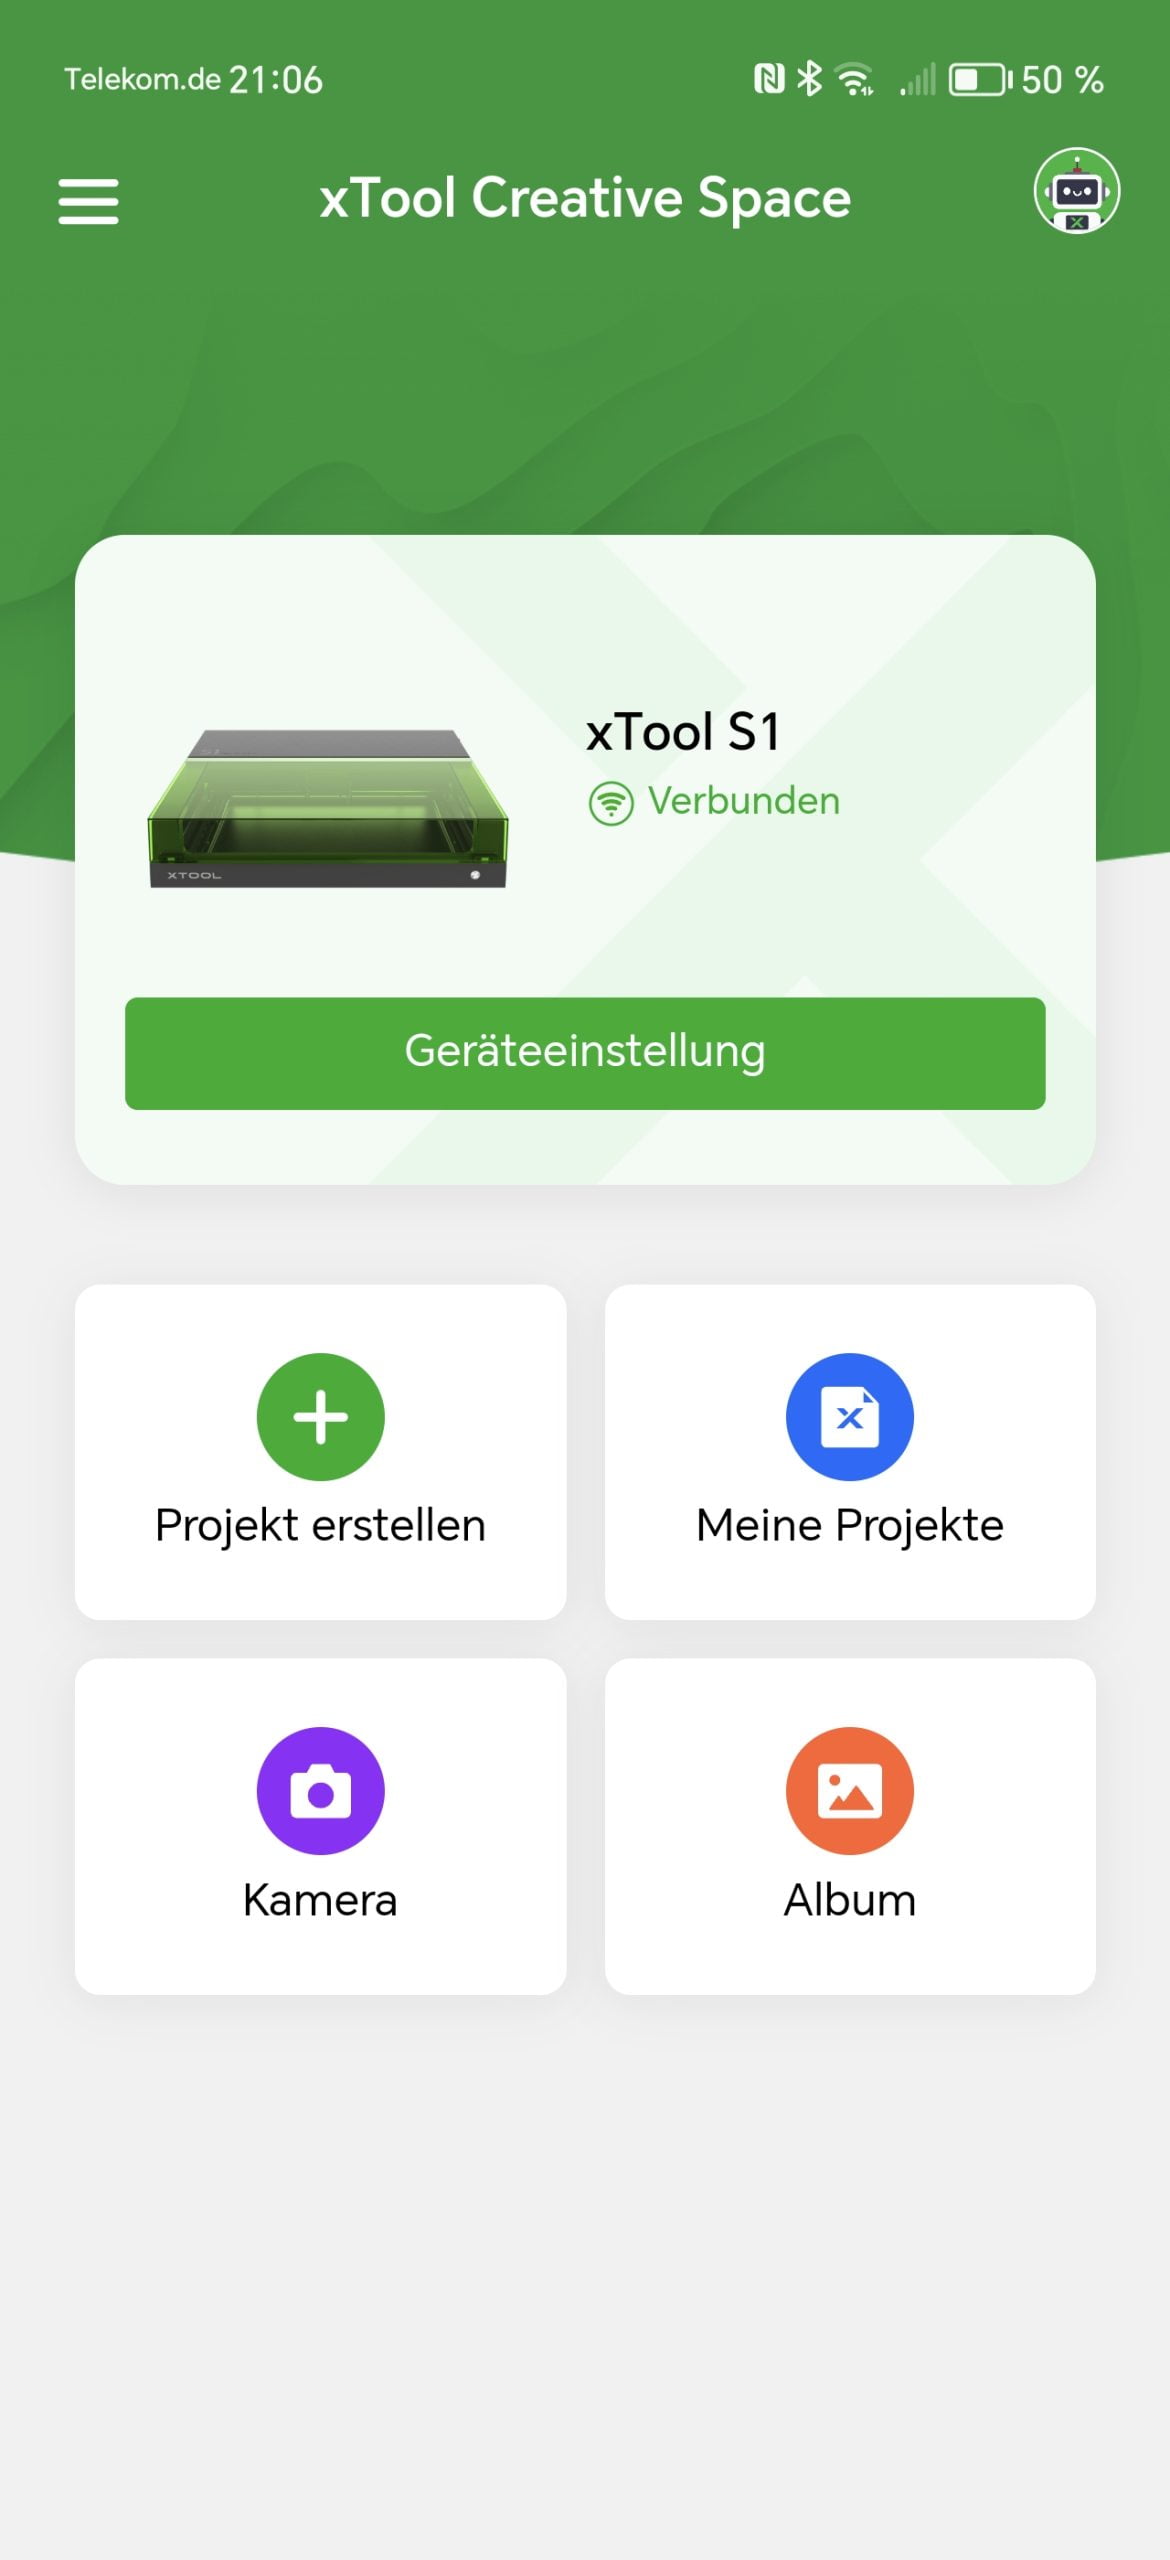
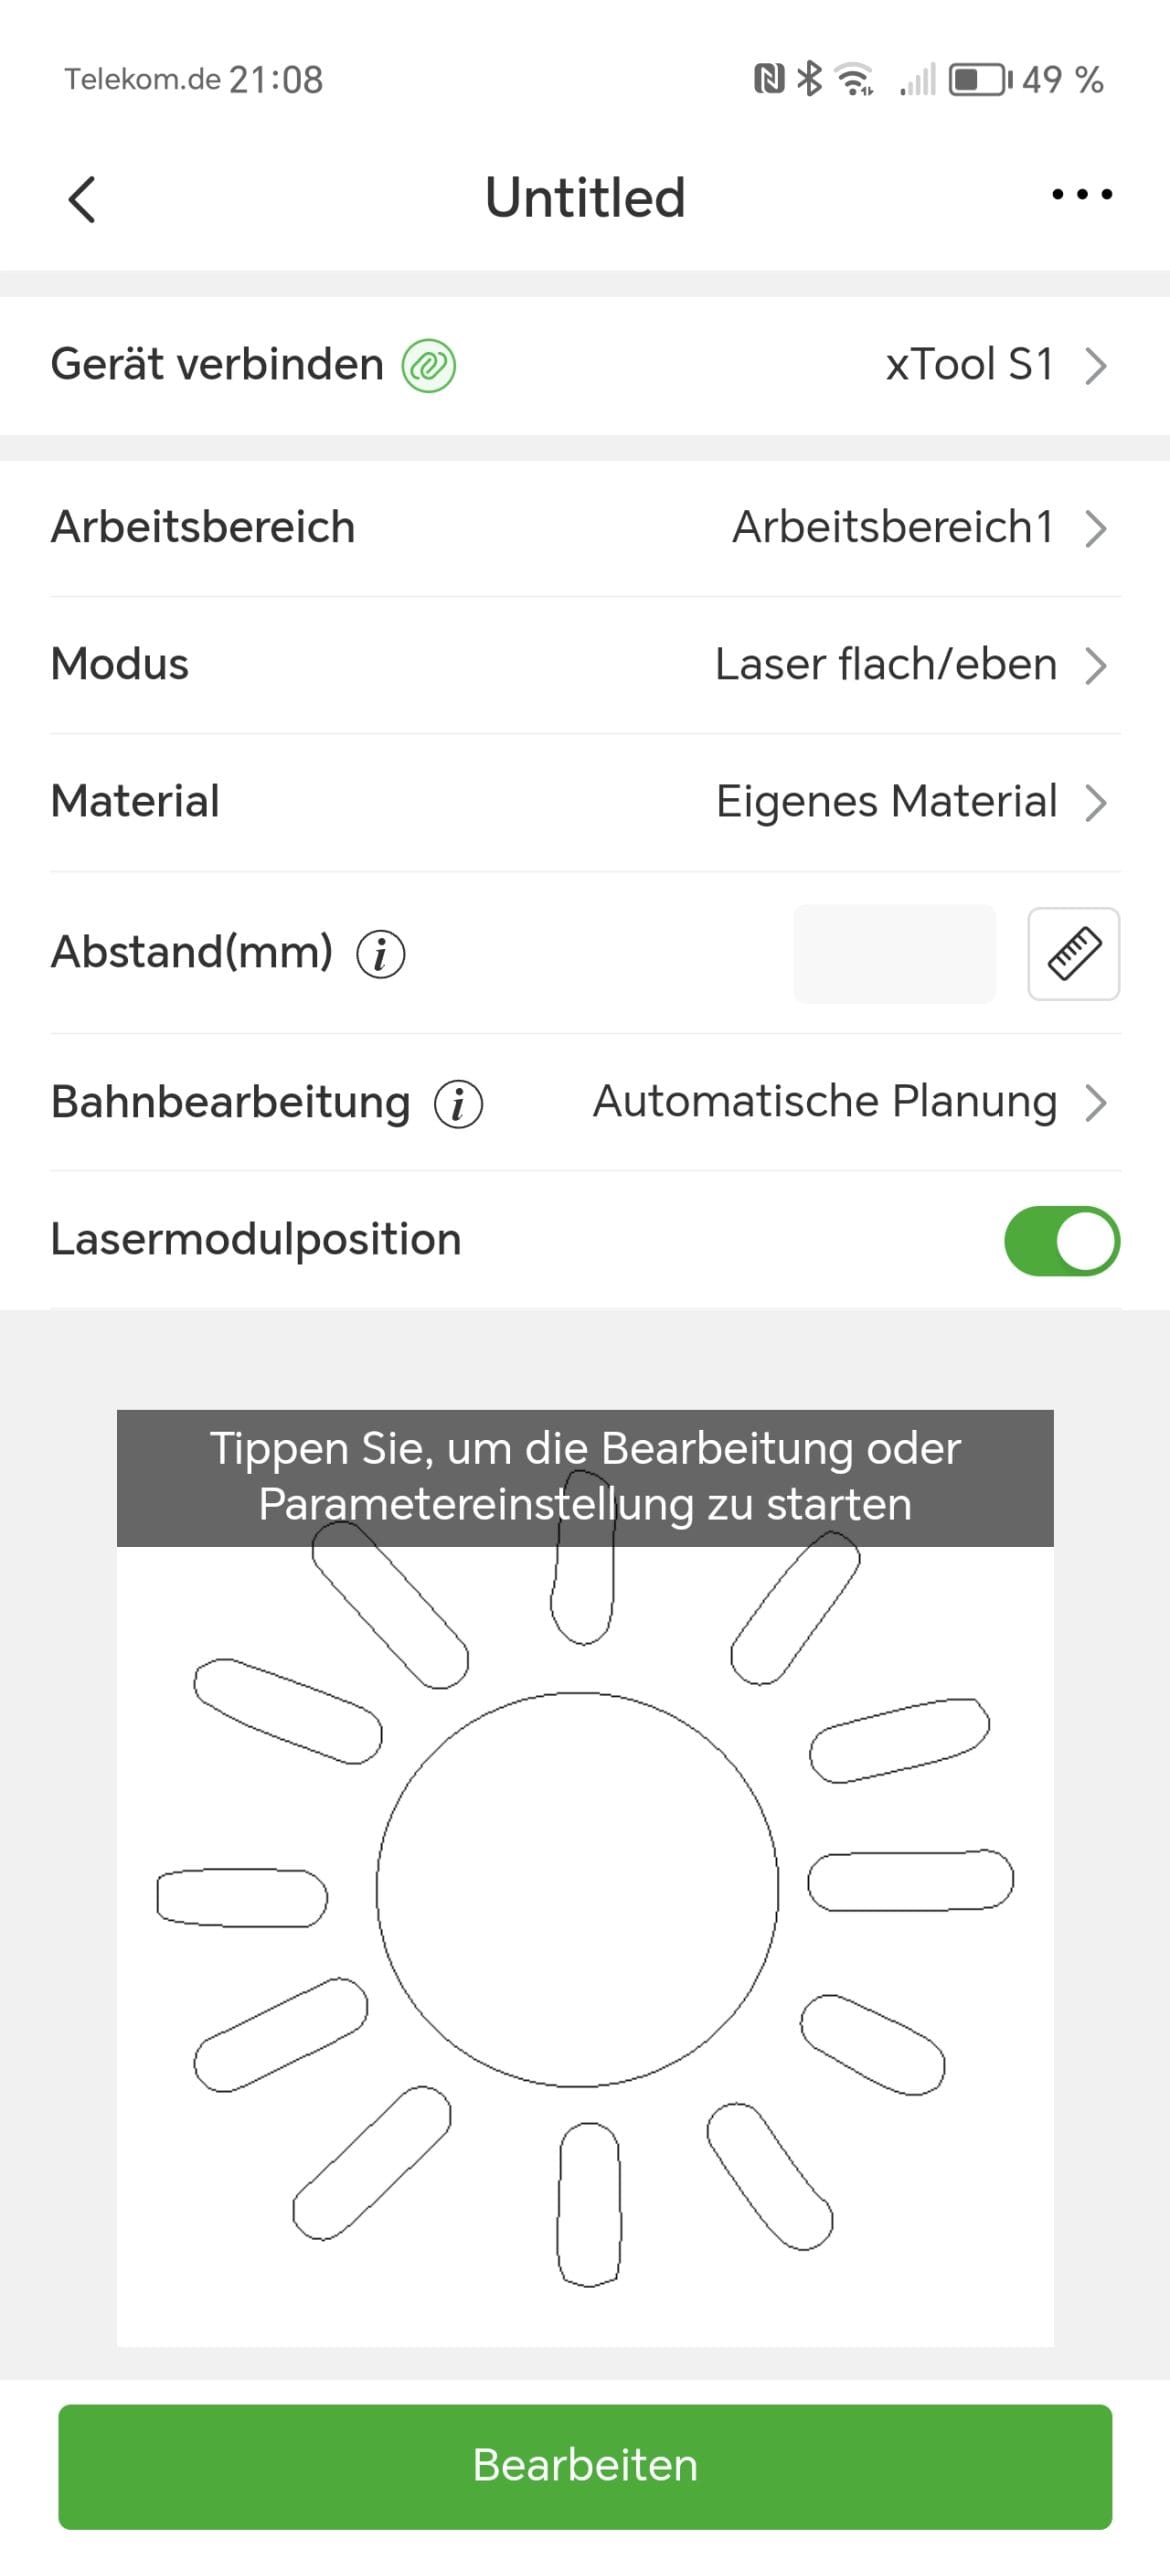
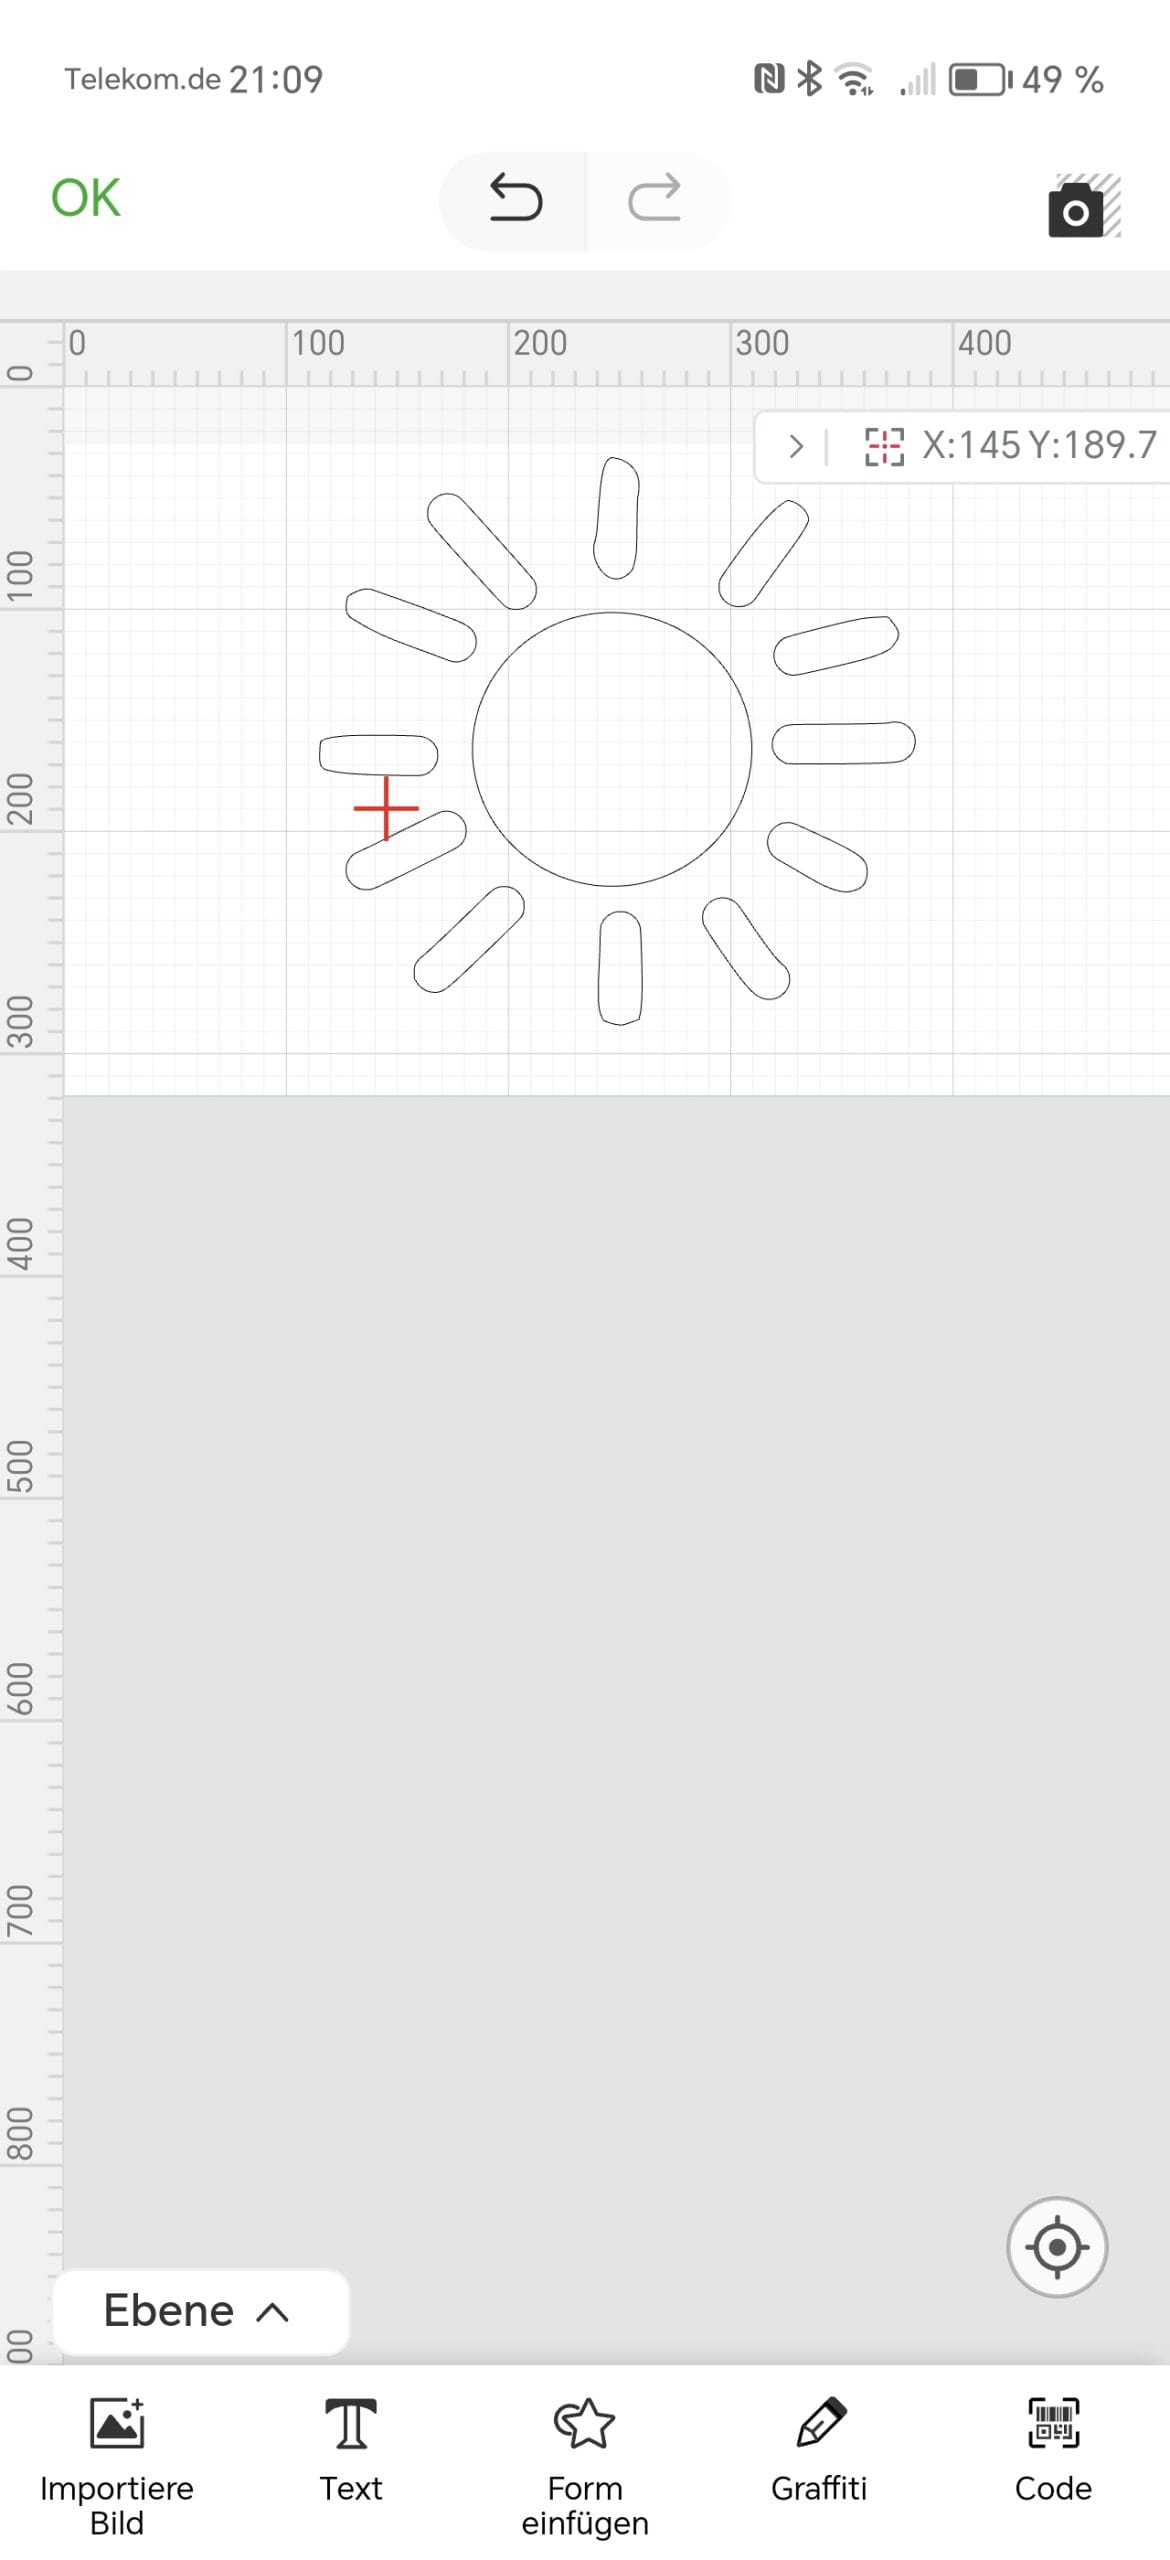
XCS is a very user-friendly software that you can quickly get the hang of and is ideally matched to the xTool S1. Here are some of the features that XCS supports:
- Material library: Pre-configured material profiles help to find the right settings for various materials, which is particularly helpful for beginners.
- Design tools: XCS offers basic design tools that allow you to create and edit simple shapes and text.
- Import function: The software supports a variety of file formats such as SVG, DXF, JPG, JPEG, PNG, BMP, and TIF, which facilitates working with externally created designs.
- Layer management: The ability to create and manage different layers facilitates the organisation of more complex projects.
- Autofocus and surface mapping: XCS can automatically focus the laser and map curved surfaces, enabling precise engraving on uneven materials.
- Real-time preview: The software offers a real-time preview of the engraving, so you can see exactly what the final result will look like before starting.
The connection to the laser engraver is established either via cable or Wi-Fi. Both worked immediately in testing.
xTool S1: Practical test
Preparations
Let's get to the main point: how well does the xTool S1 perform in practice? Engraving or cutting with the xTool S1 is remarkably simple and requires no prior knowledge. You definitely do not need to be a pro to achieve impressive results.
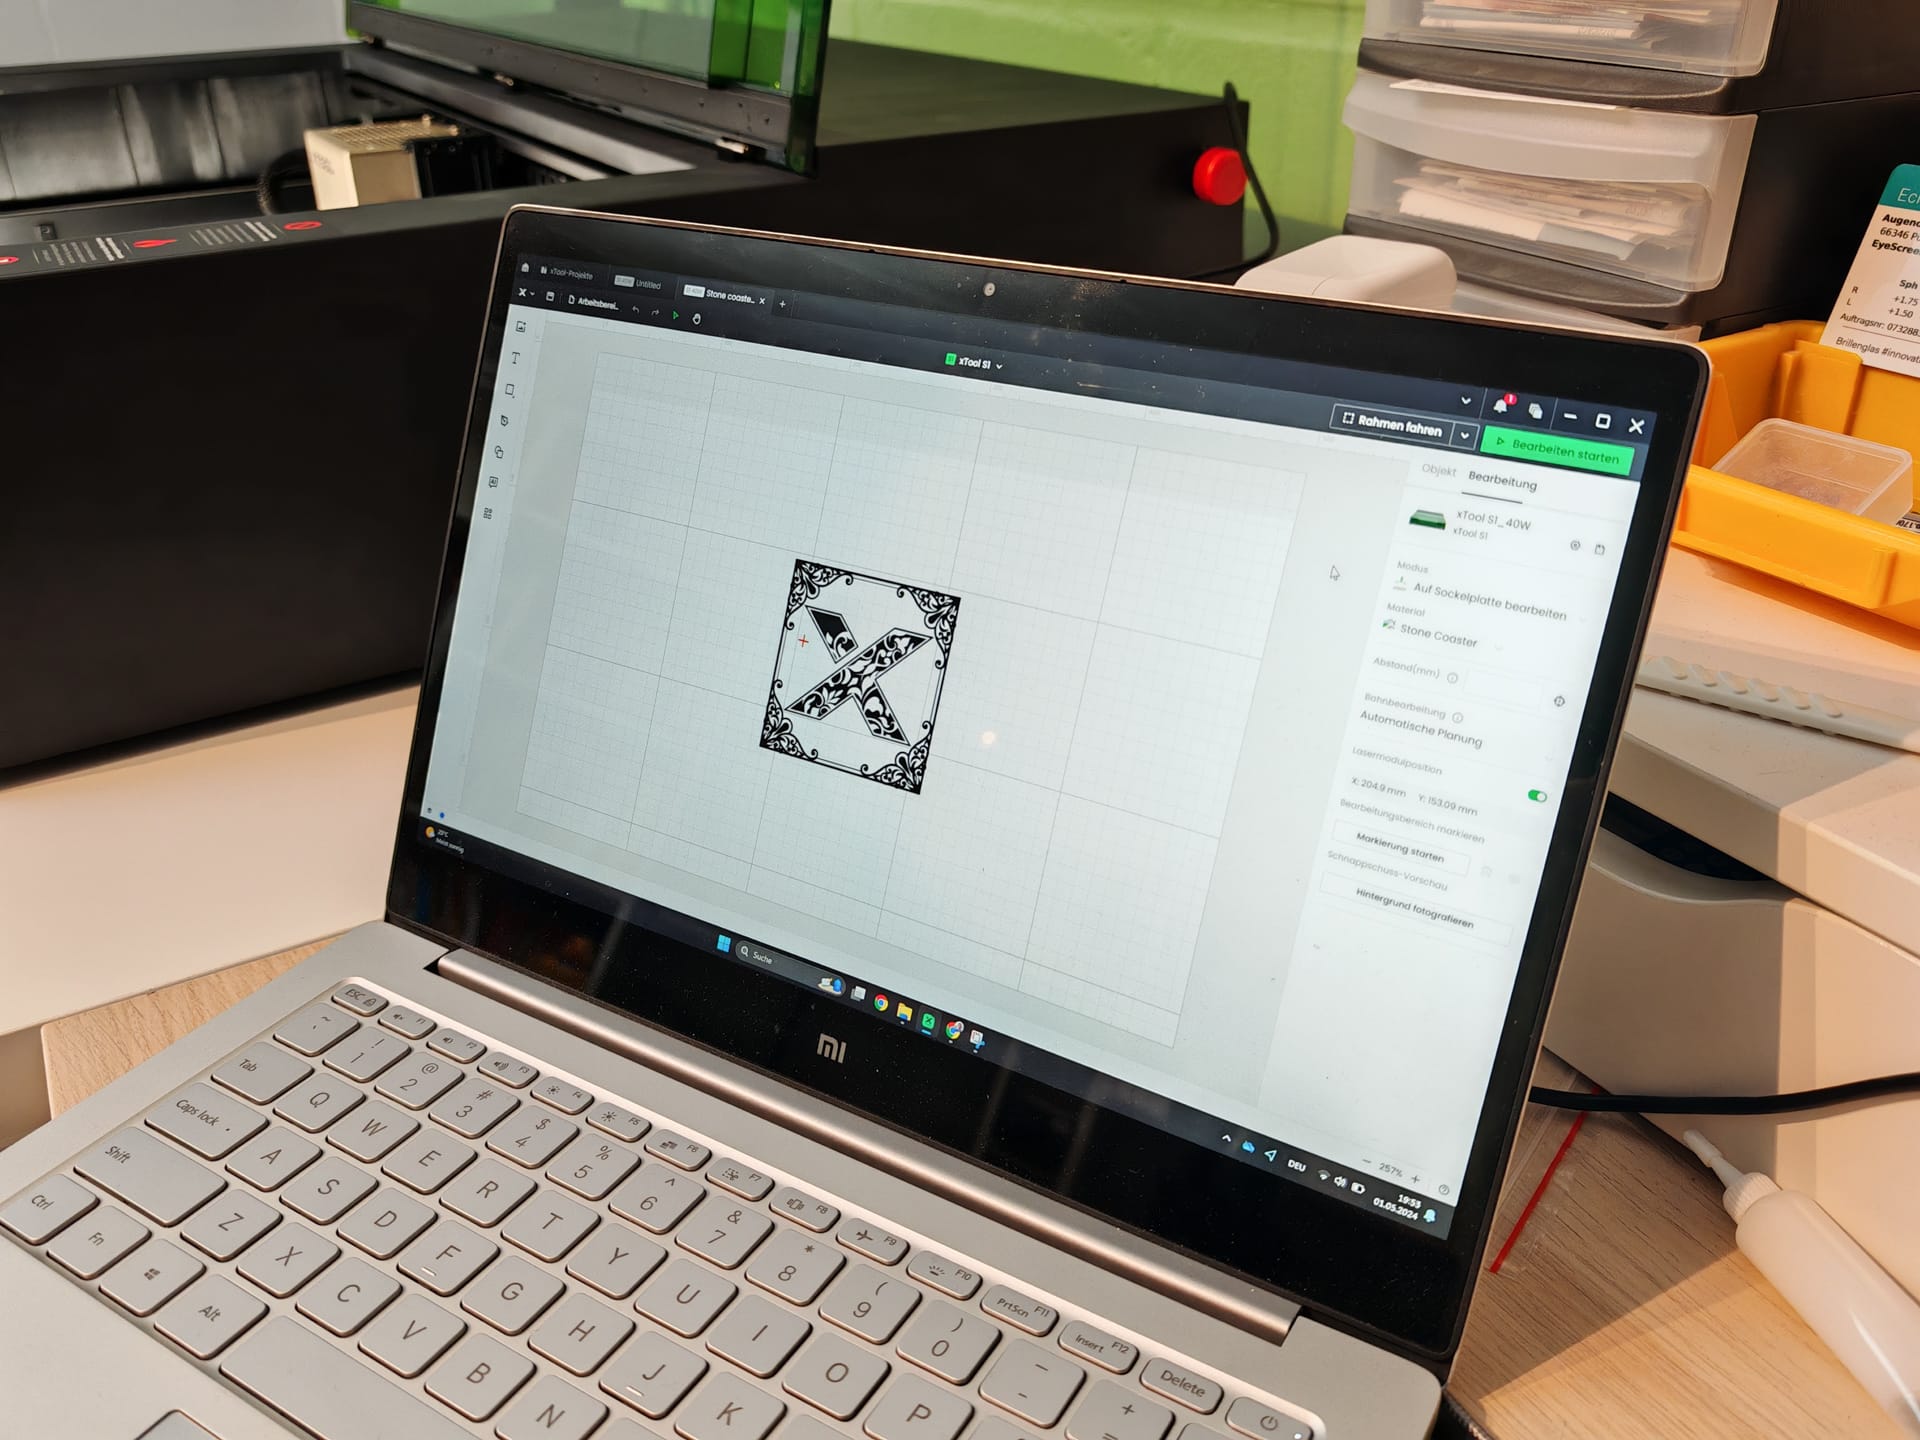
First, you load the desired design directly from your computer into the XCS software. Alternatively, you can choose from a wide variety of templates, some of which are free. For our first attempt, we chose the xTool slate coaster, which is already included in the delivery. Fittingly, xTool also provides a template for download.
We place the slate coaster on the honeycomb plate in the generous work area of approximately 50 x 32 centimetres. Next, we position the laser by manually sliding it towards the workpiece and aligning the cross laser with it.
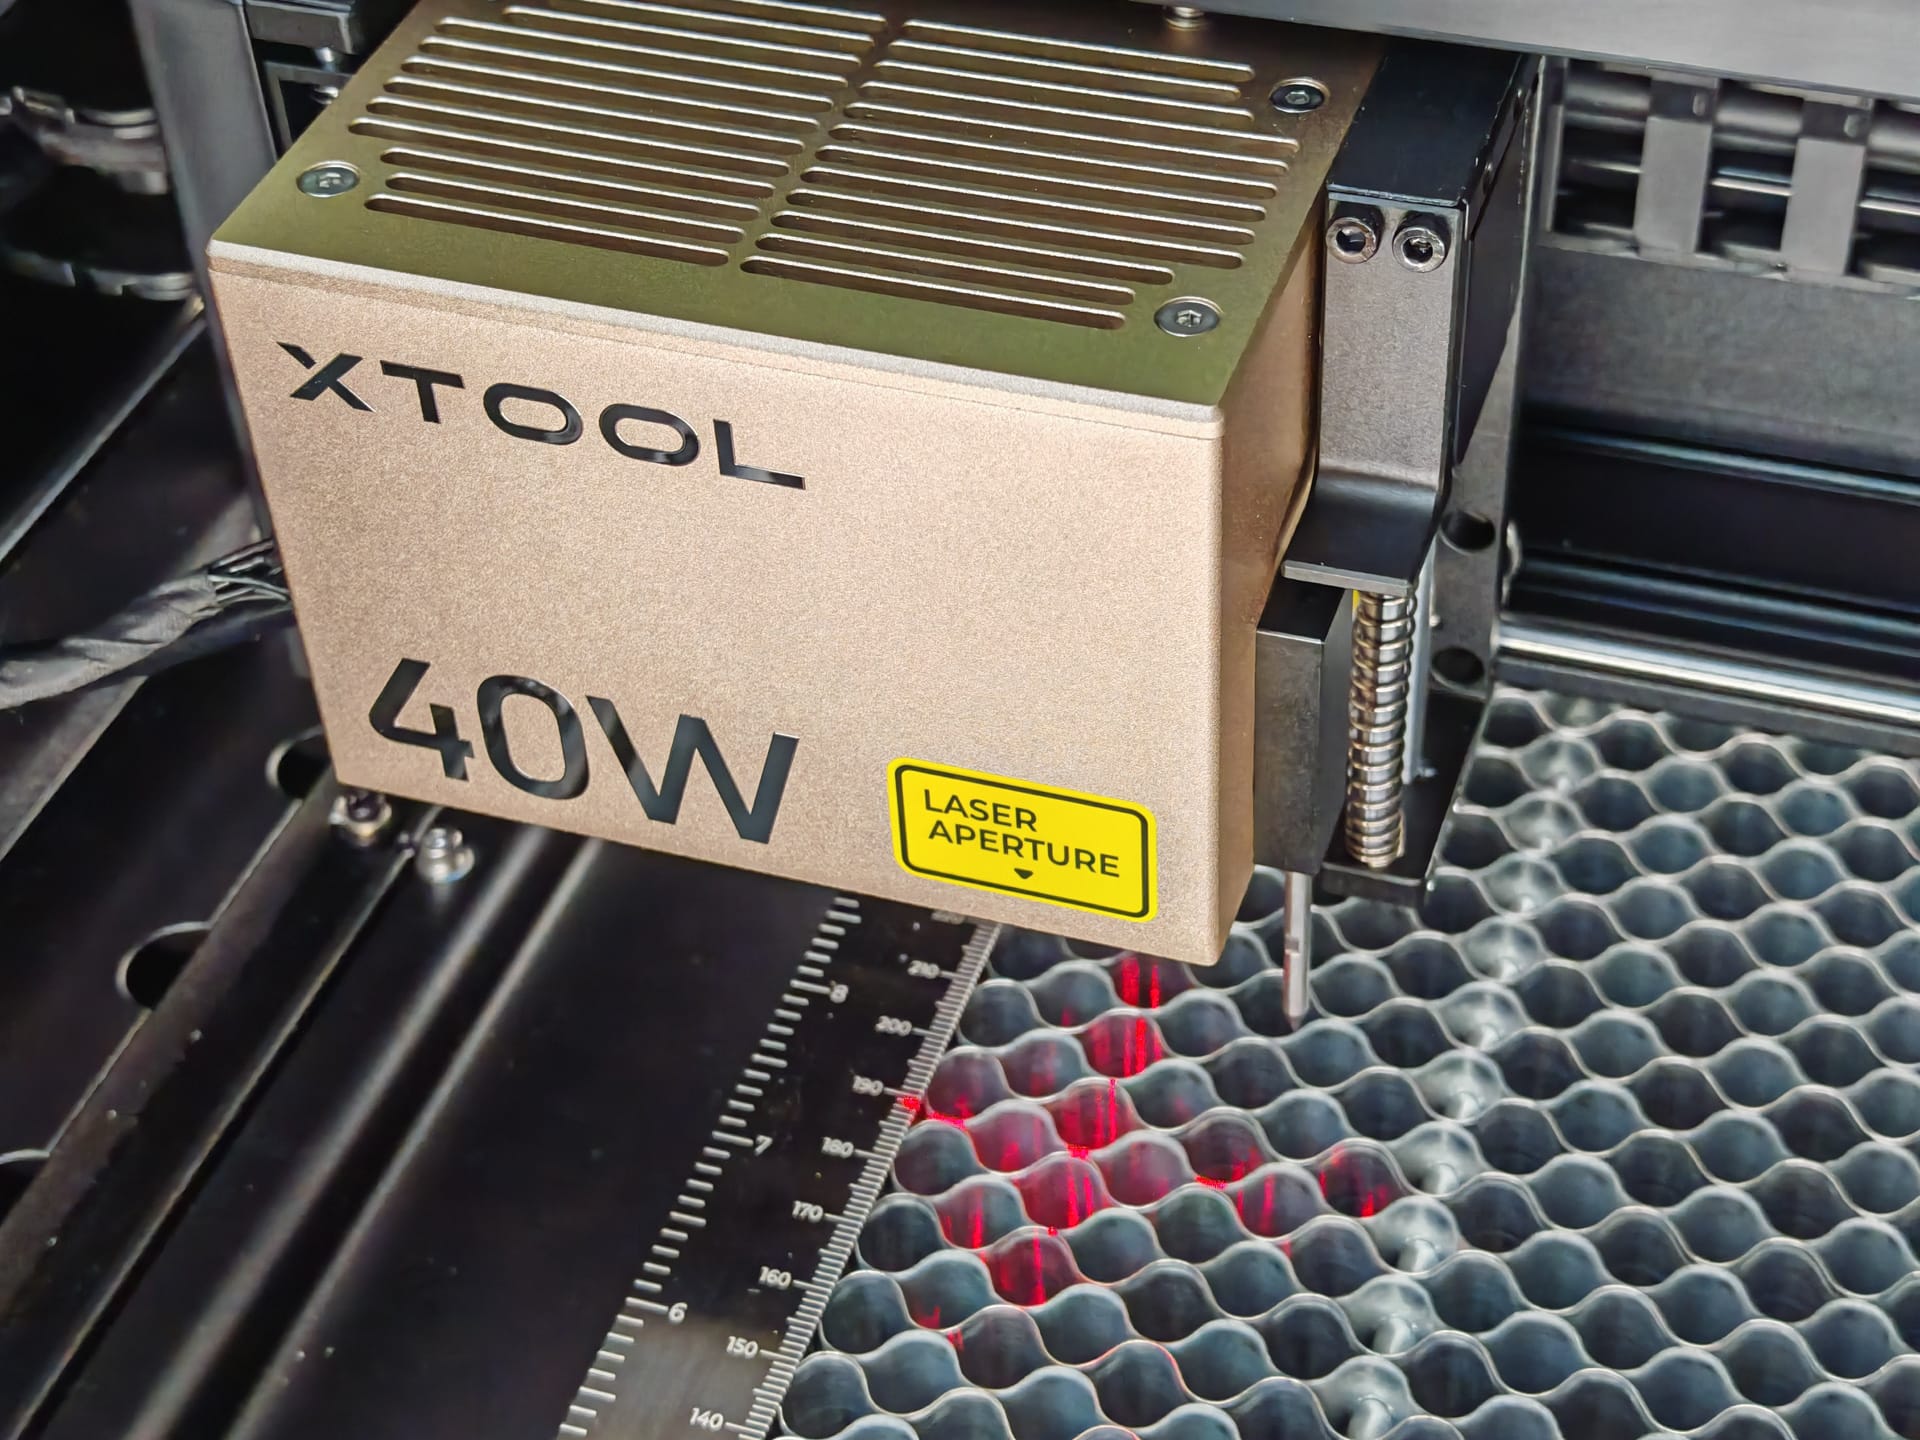
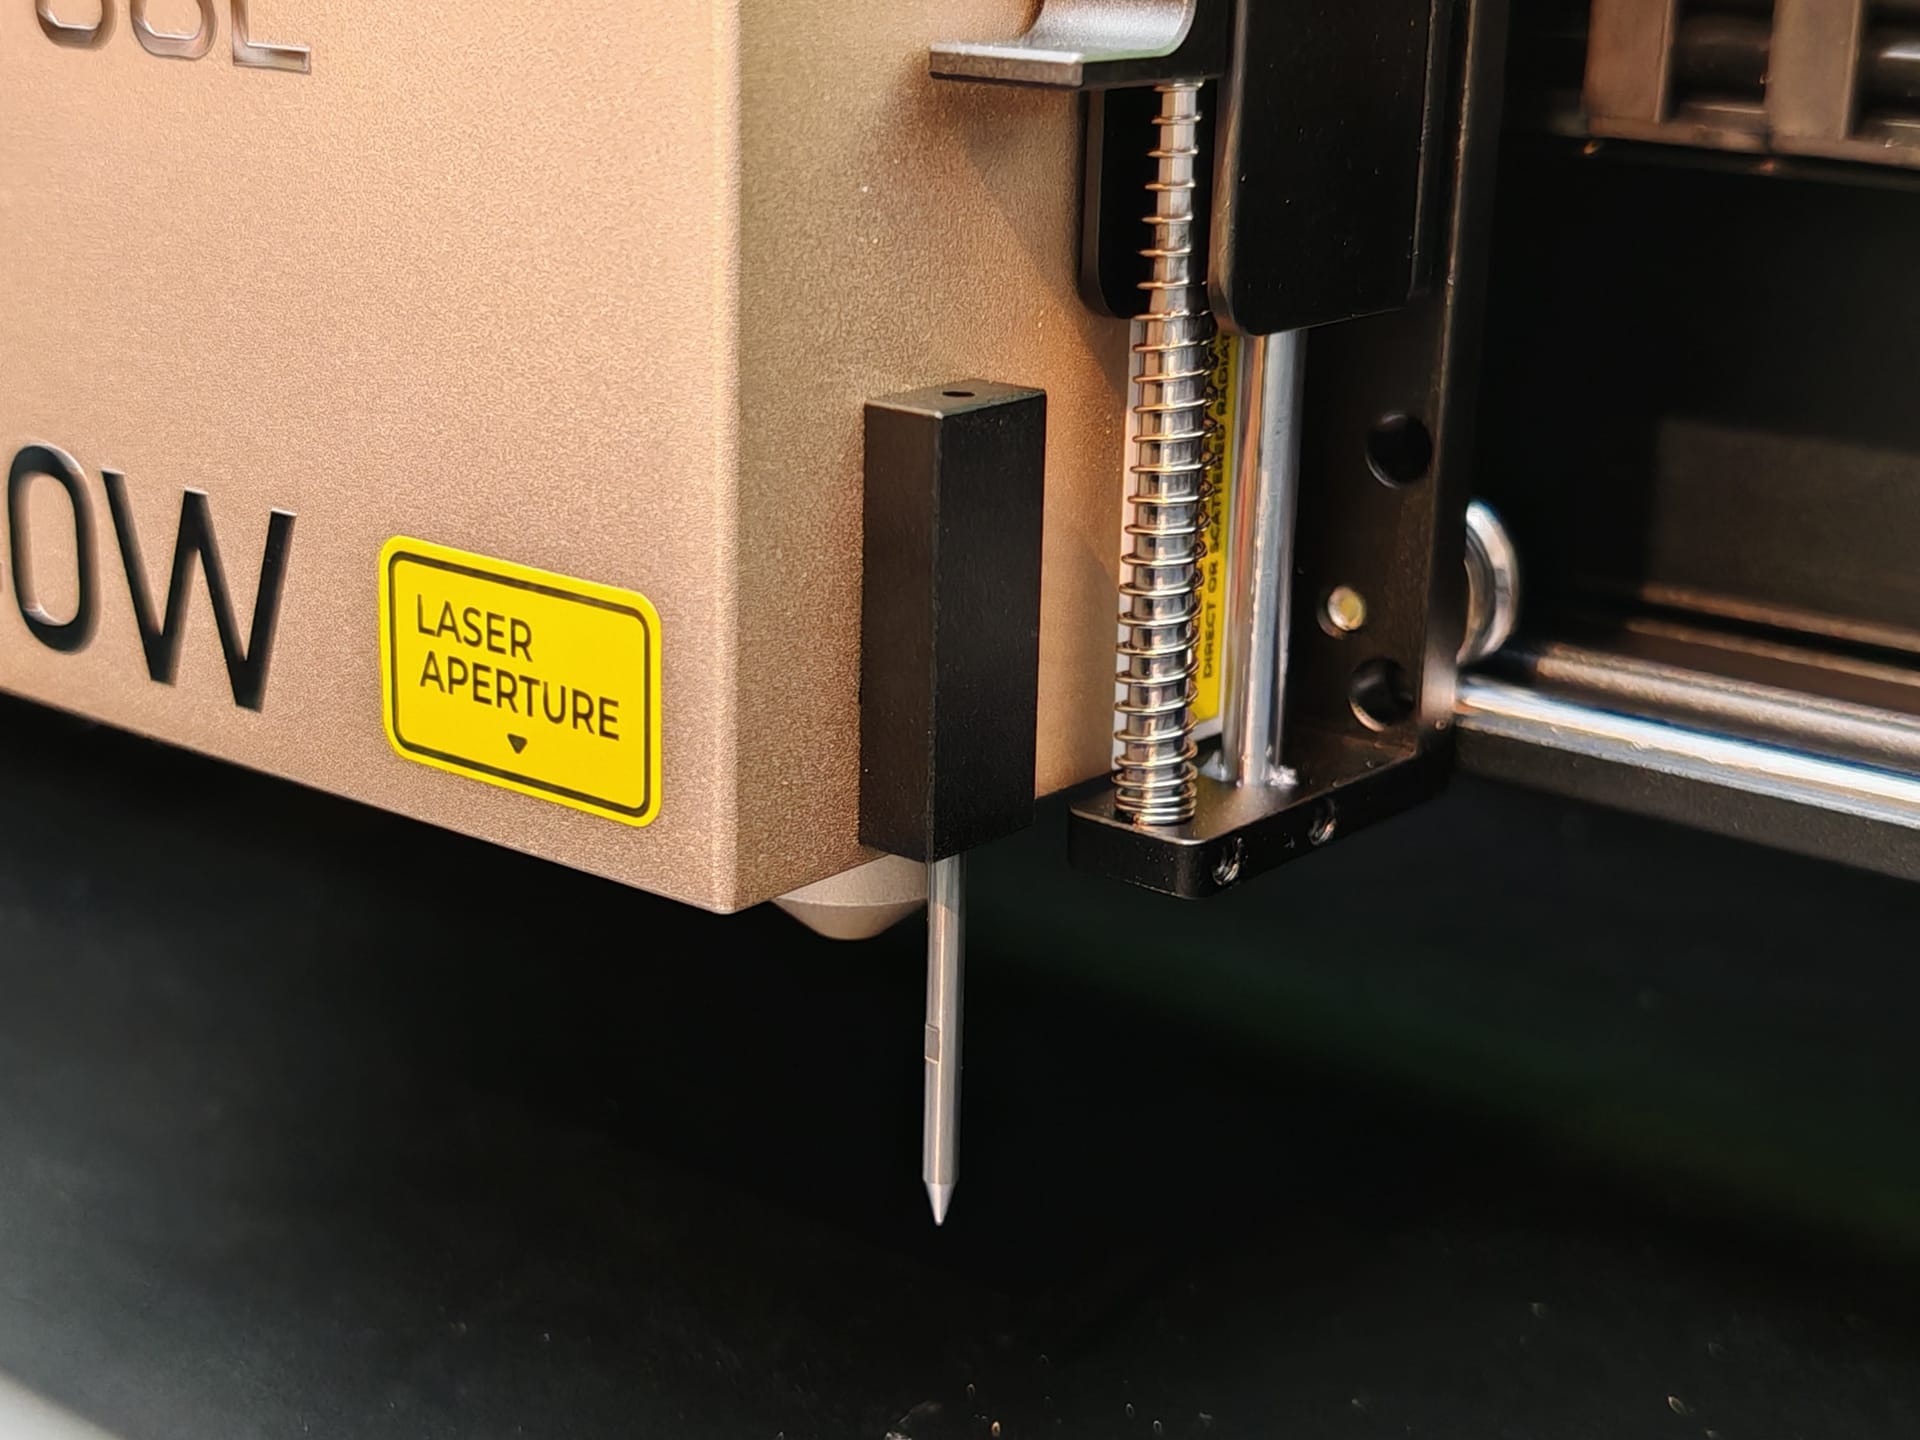
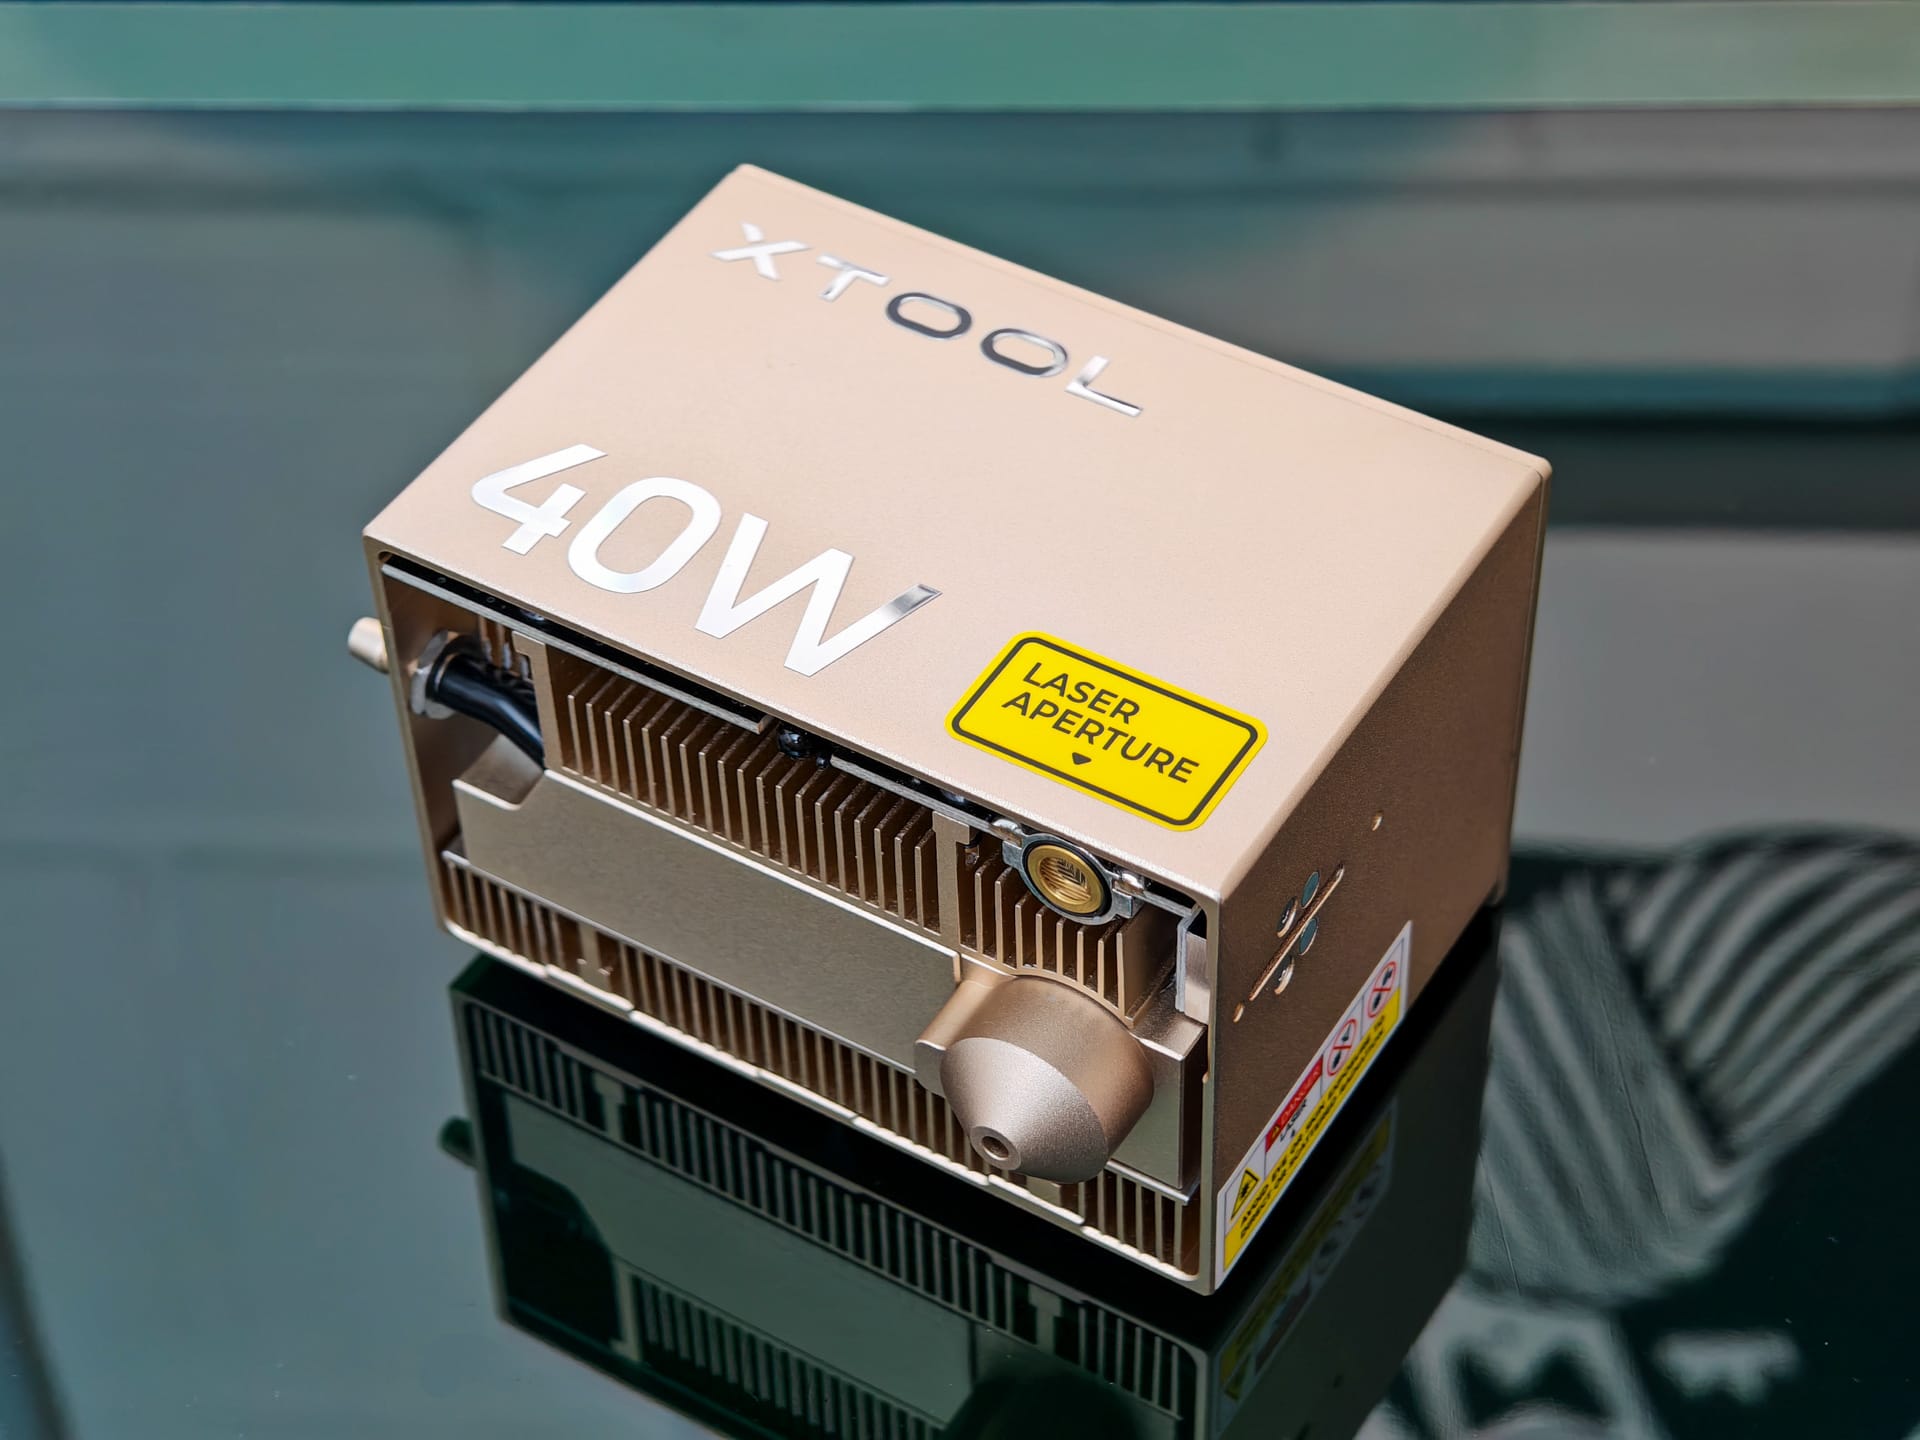
In the software, we also select the material and set the distance to the workpiece with the press of a button. For this, the laser module uses a mechanical distance meter with a retractable metal pin that precisely records the distance.
The positioning of the template on the workpiece is particularly well executed. For this, xTool uses a unique "Pin-Point" positioning method where the position of the workpiece can be captured in real time. XCS guides you step by step through the process.
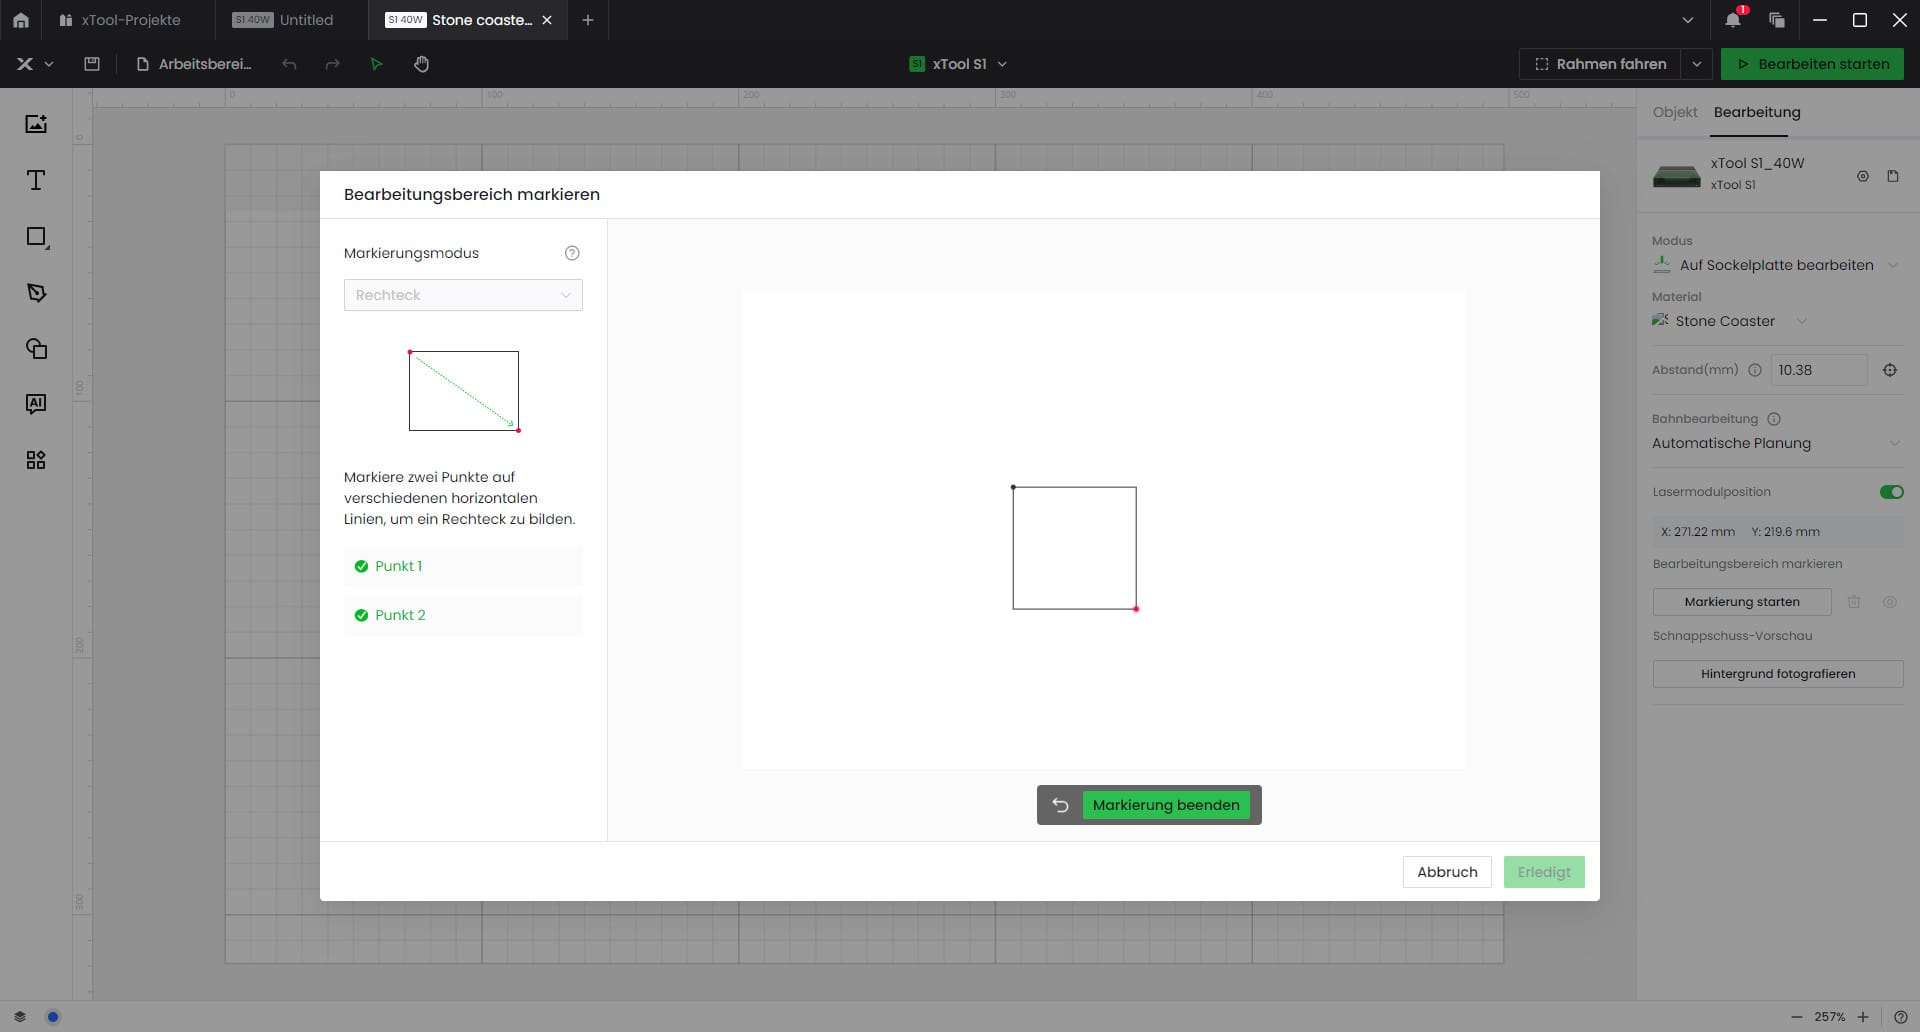
First, you select the shape of the workpiece (rectangle, circle or polygon). Then you set two (or more) reference points by moving the laser to the corresponding corners or edges of the object. The software automatically recognises the size and position and perfectly adapts the template to the workpiece.
Once everything is aligned correctly, you can display a preview. The laser then traces the outlines of the motif on the workpiece without engraving. This shows you exactly where the engraving will be placed. If necessary, you can still adjust the position.
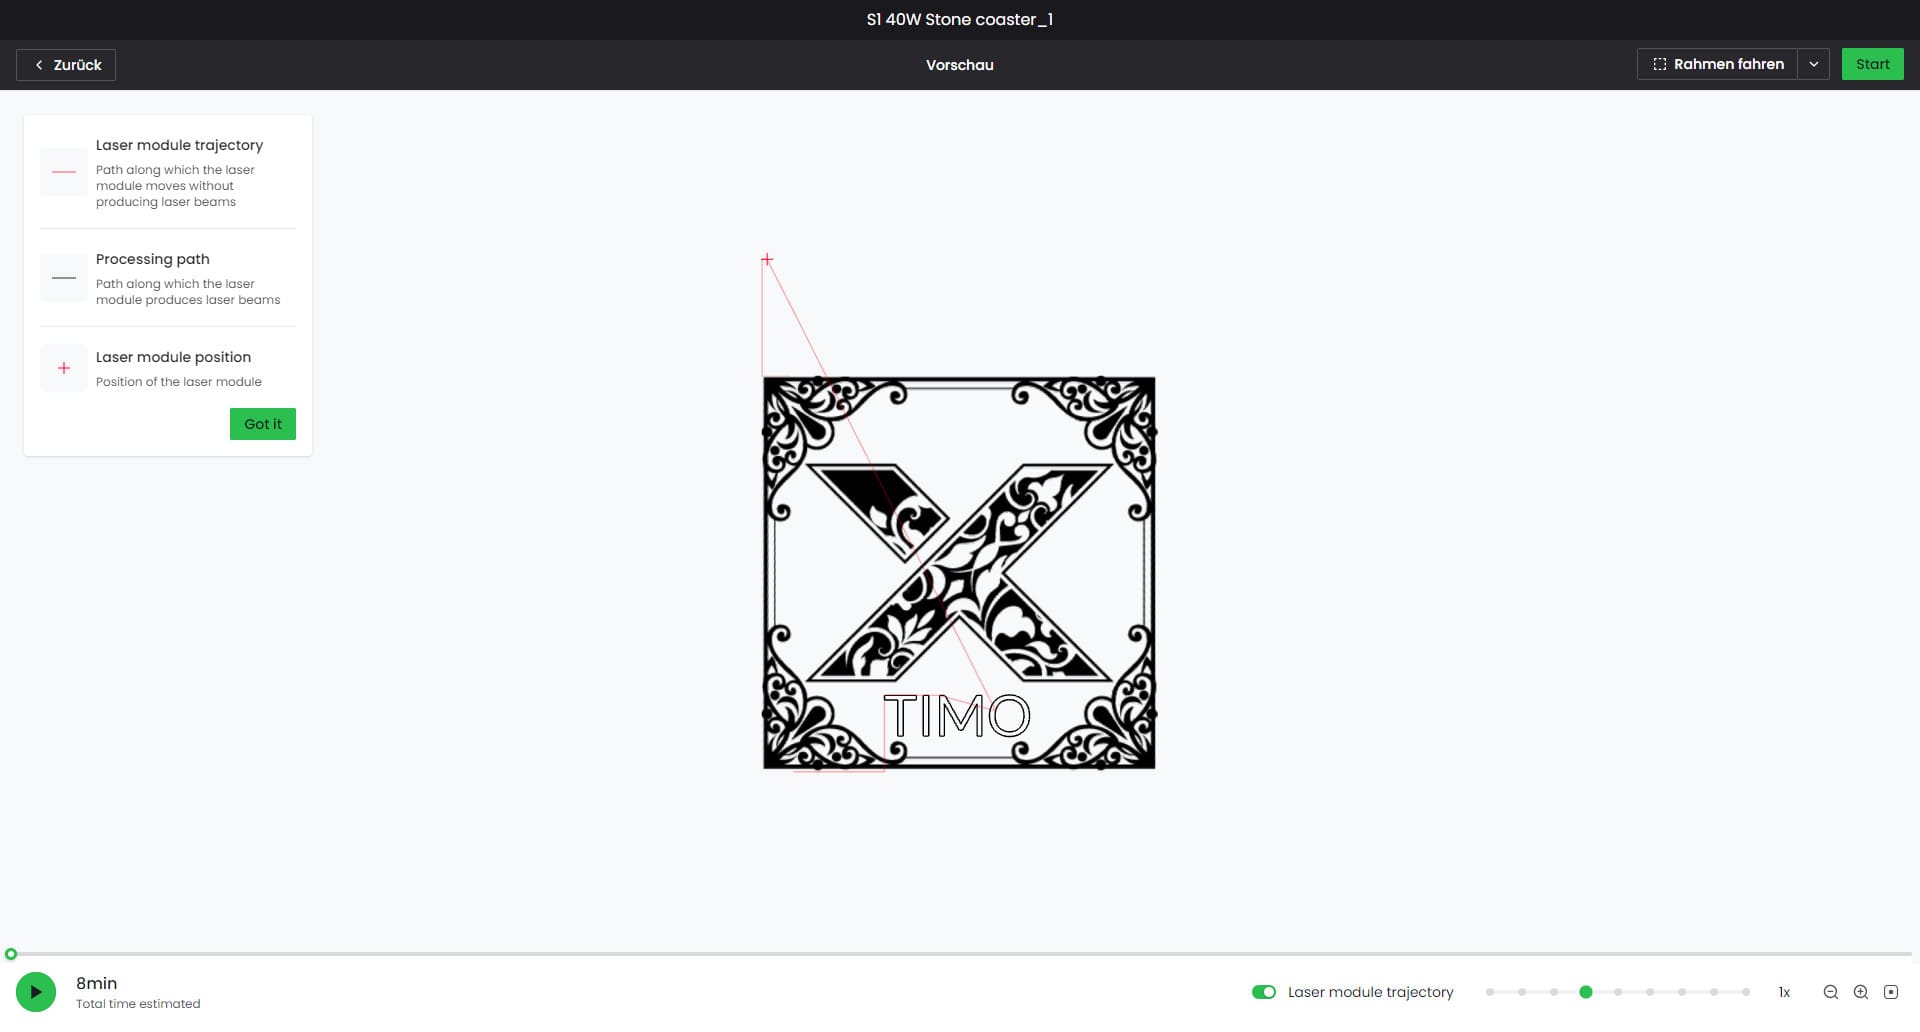
Once everything is aligned, select the desired settings for speed and power, which are already predefined for most materials. Then press start and the S1 gets going. Thanks to autofocus, it independently sets the optimal laser focus, regardless of whether the material is flat or curved.
Engraving and cutting
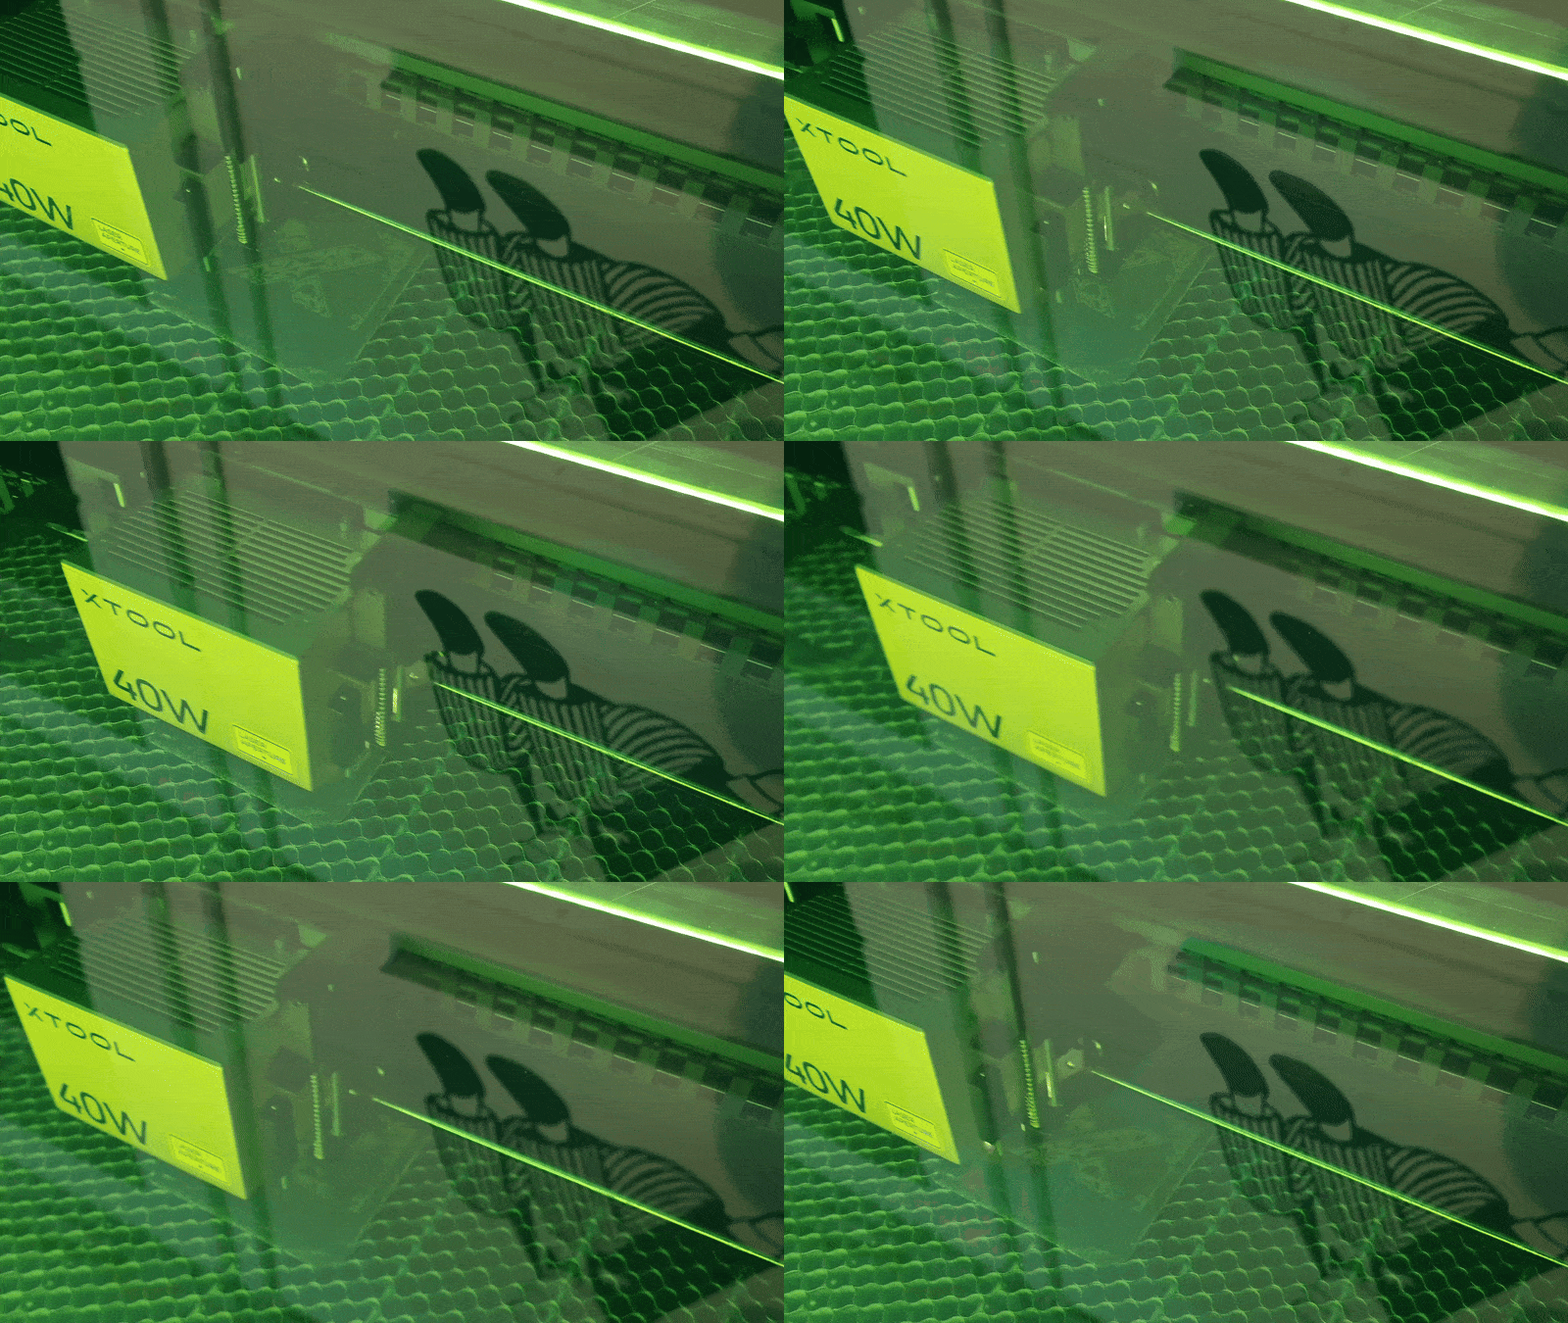
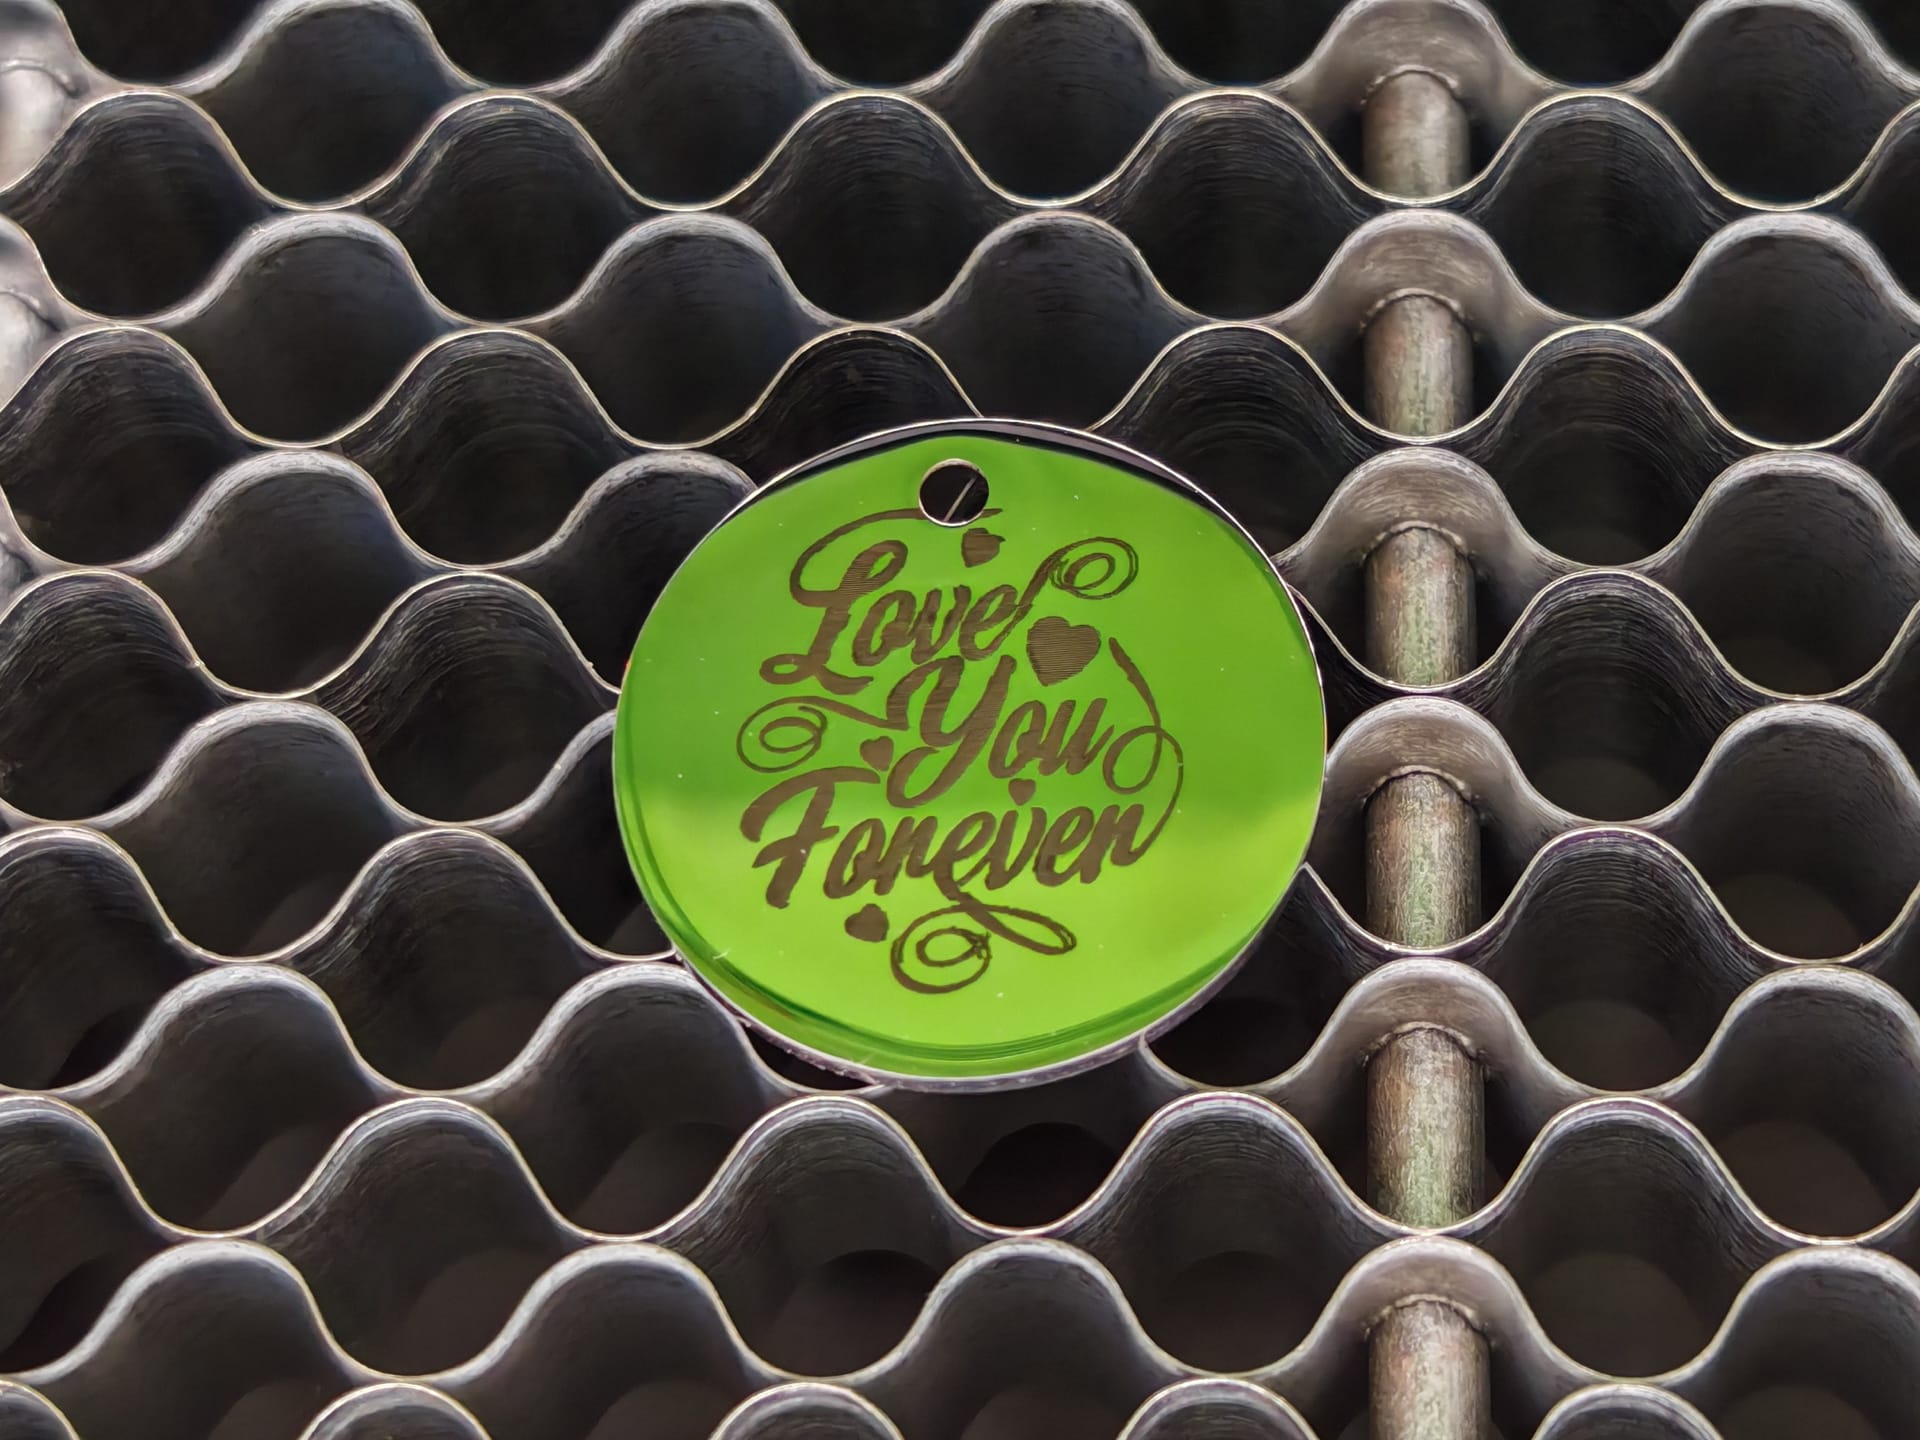
In our test, we engraved a slate slab and a stainless steel pendant. The fine laser focus of 0.08 x 0.10 mm resulted in exceptionally precise results. The engravings are razor-sharp, and even the finest details are clearly visible, whether on stone or metal. With speeds of up to 600 millimetres per second, the working pace is impressive.
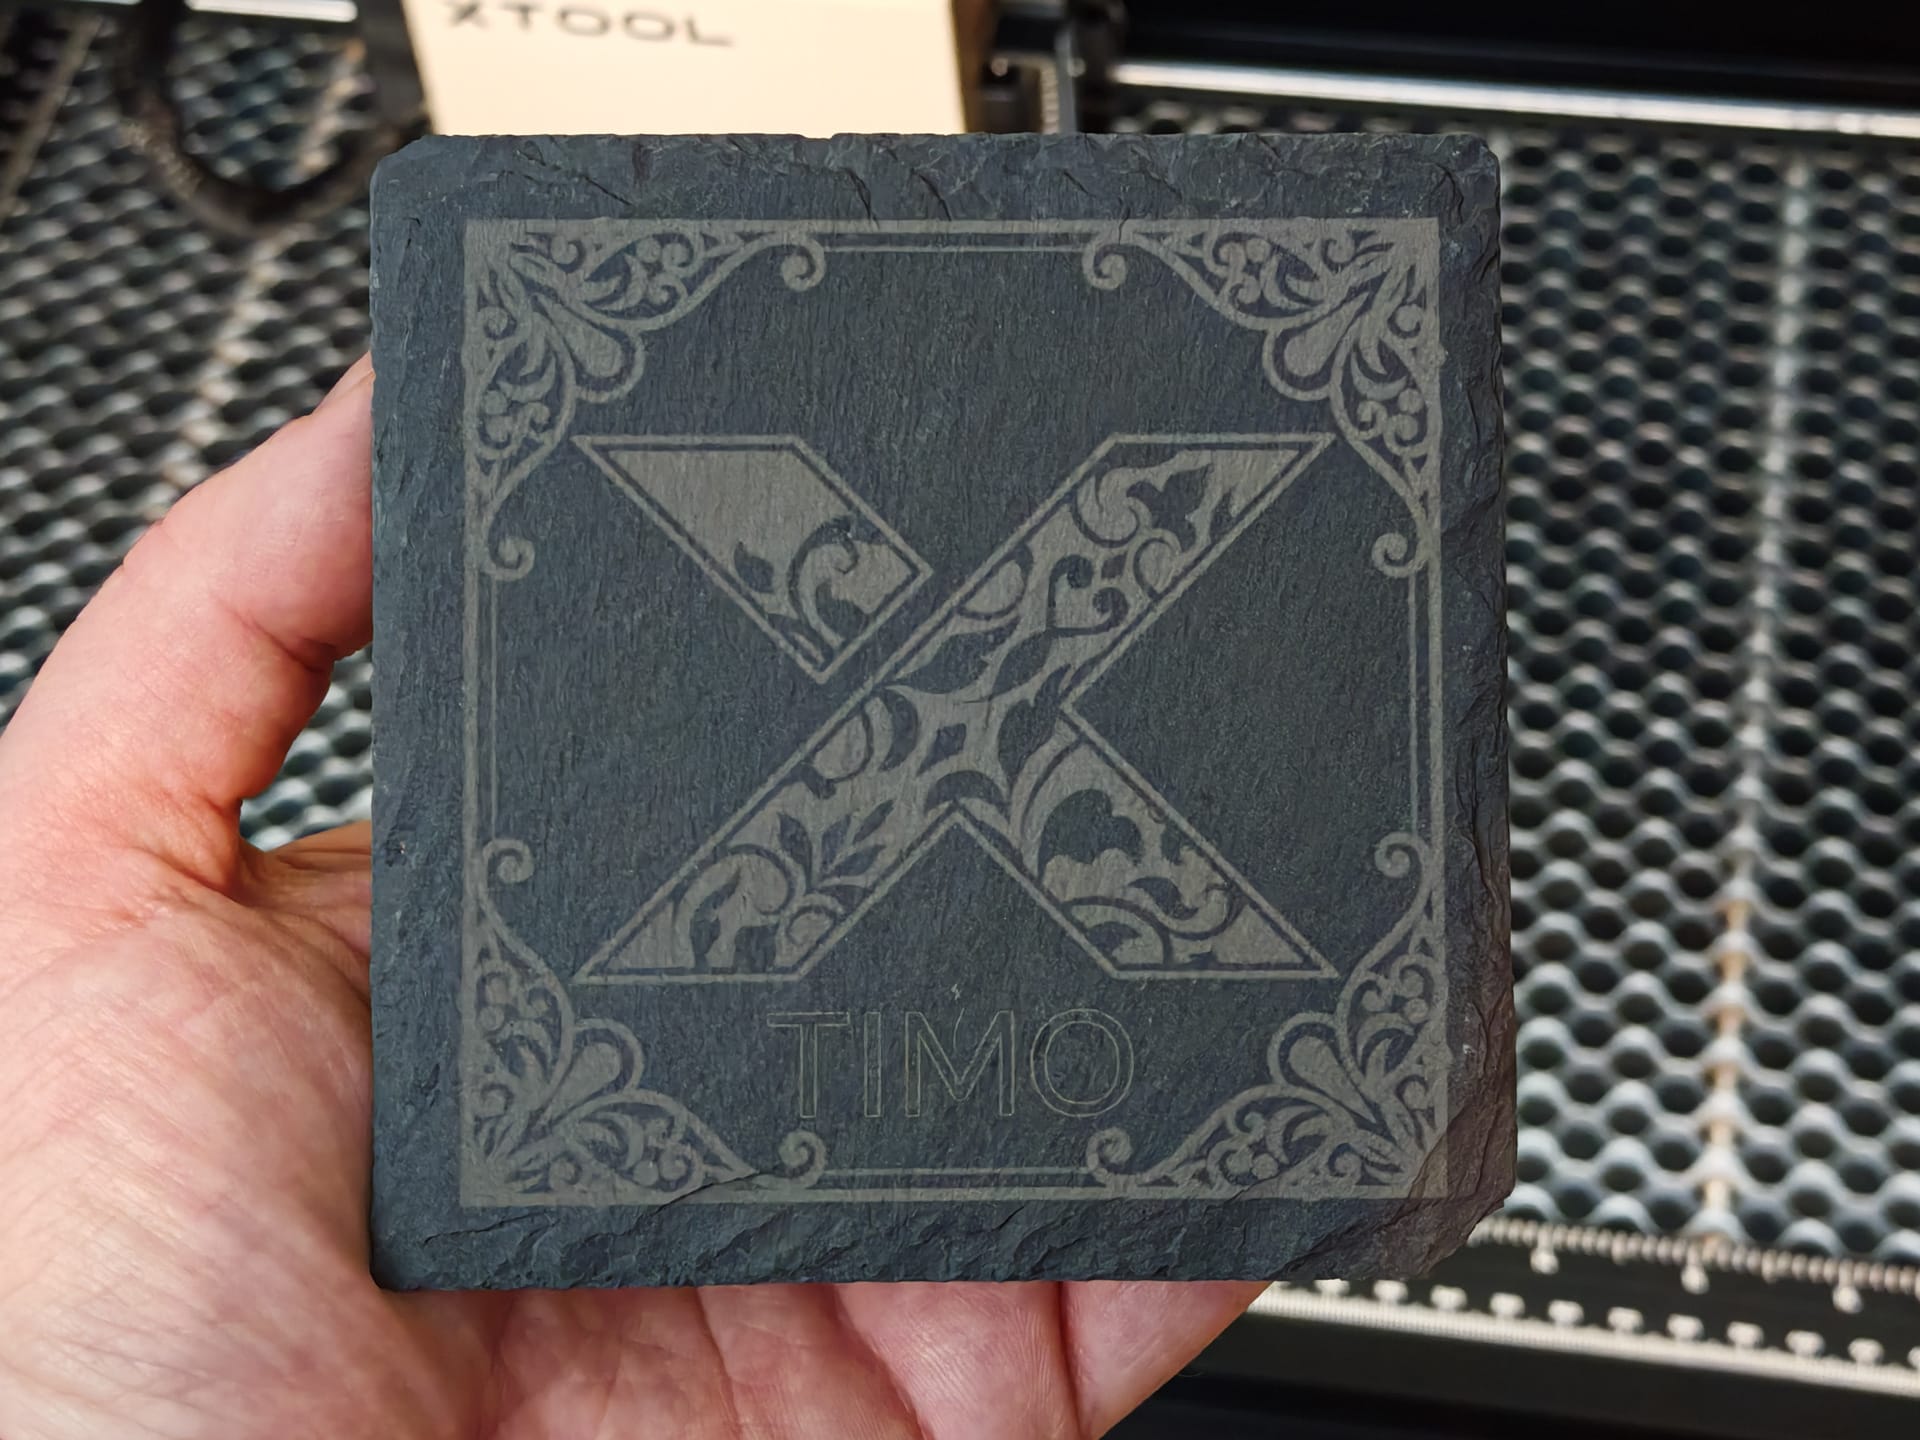
We also tried to cut a thin metal plate. Engraving on it is no problem, but the diode laser cannot cut through it, which was to be expected. It does cut into the material, but the high heat caused the metal to warp, and it does not achieve a complete cut-through.
Same applies to transparent acrylic. The S1 could not cut this either in testing. For that, you would need a CO2 laser like the xTool P2.
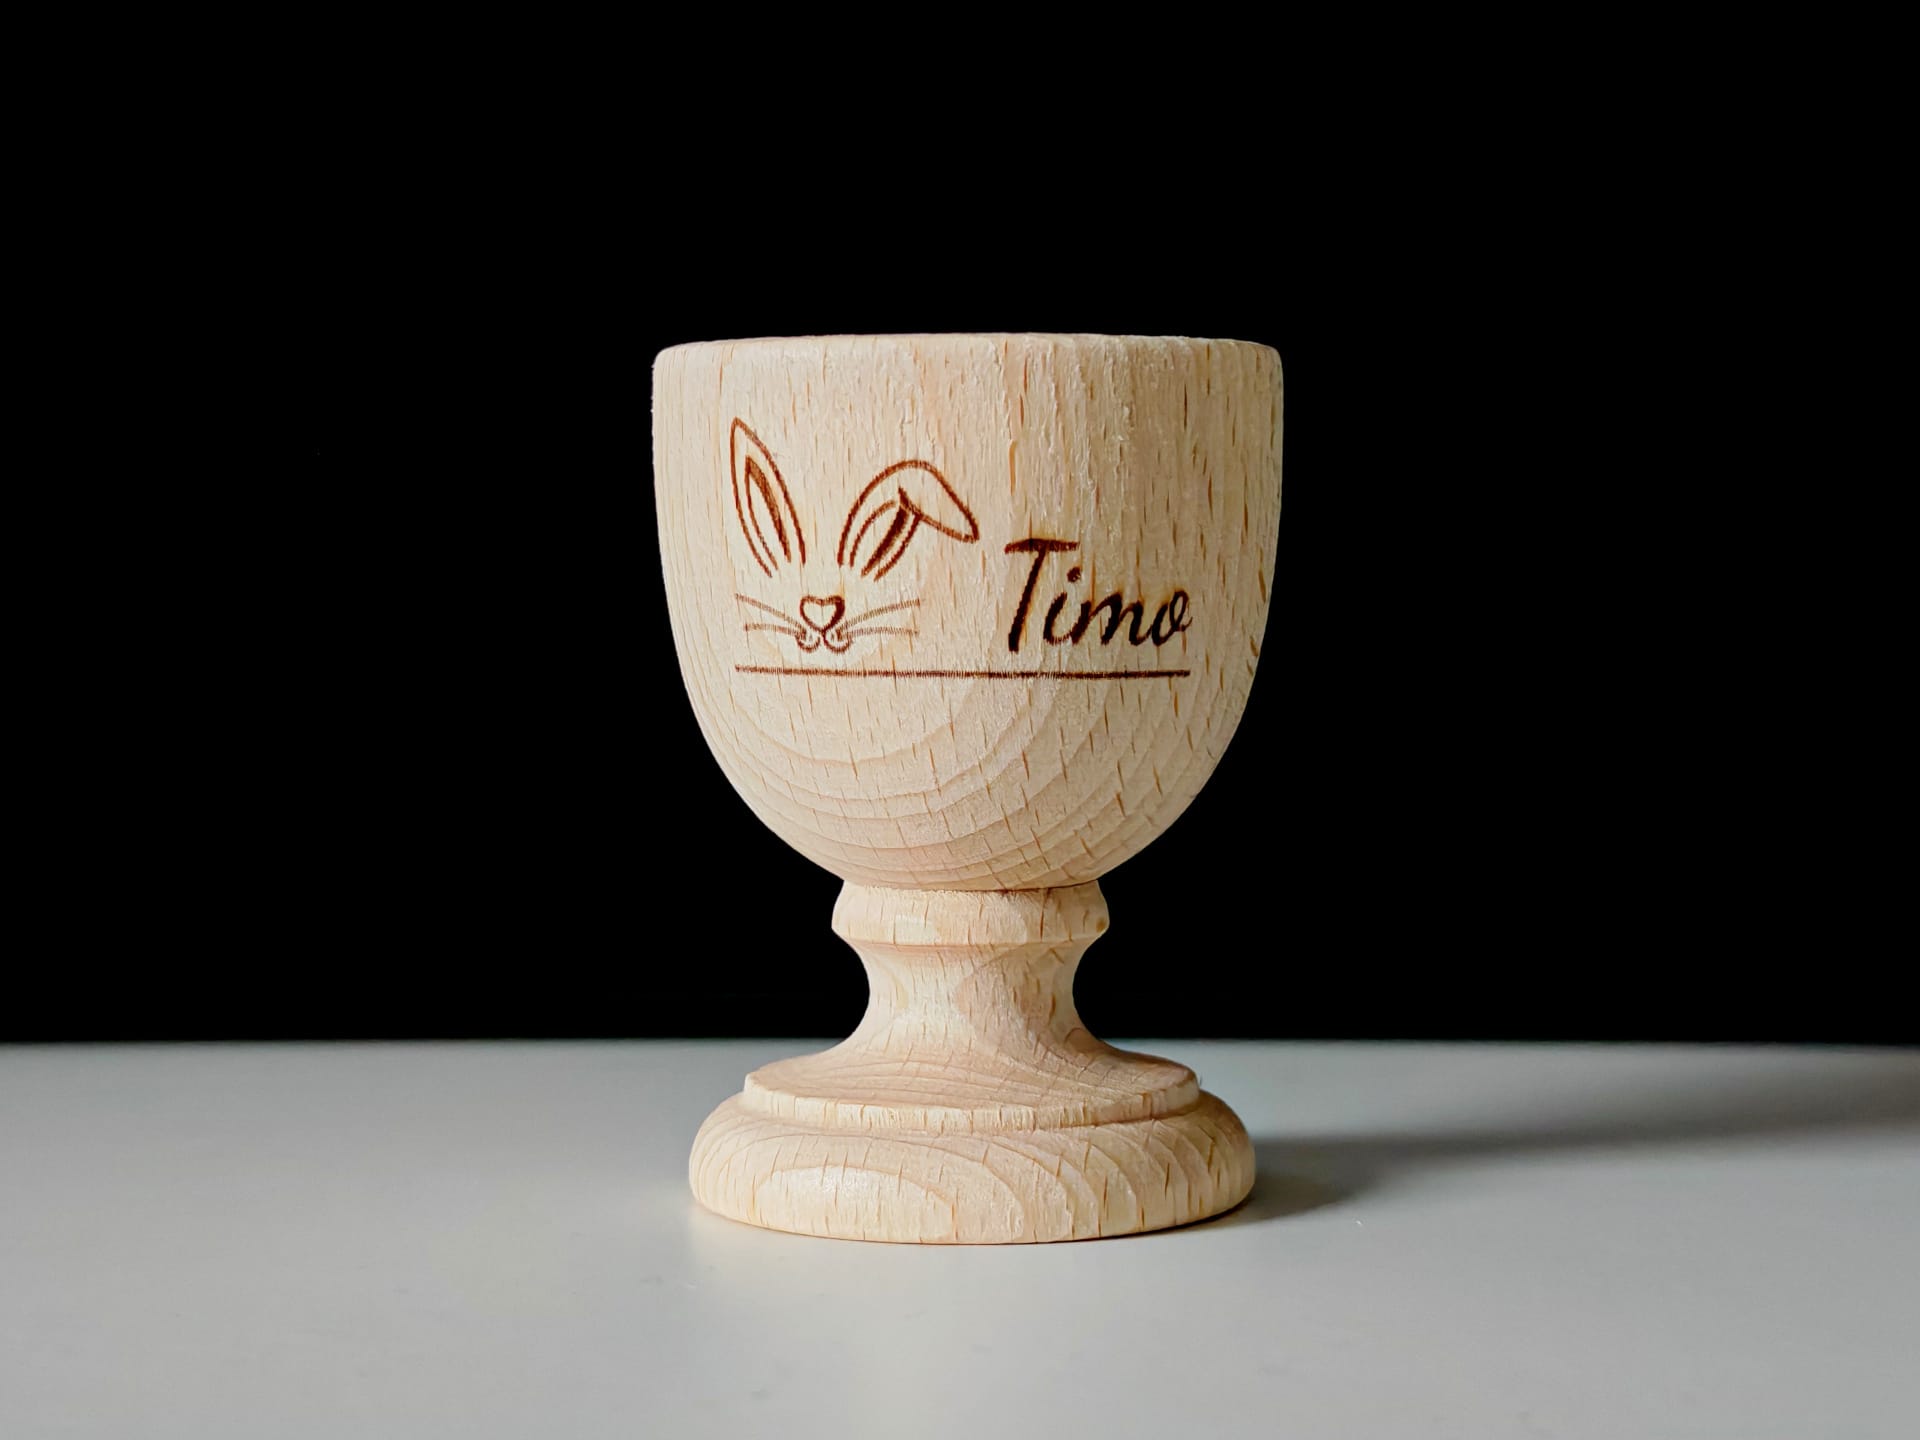
Wood, however, poses no problem. The 40-watt laser cuts through an 18-millimetre-thick poplar board in a single pass. However, one should experiment with the laser power and speed settings here. Otherwise, unsightly scorch marks may occur.
One advantage of the S1 is the replaceable laser module. In addition to the 40W module, there is also a weaker 20W module, as well as a 2W 1064 nm infrared laser head. The latter is primarily suitable for engraving metals, acrylic and plastic. However, we were unable to test this as we only had the 40W module on hand.
Here are a few additional details and tips:
- For optimal results, it is recommended to use the material settings in the software. Ideal parameters for power and speed are already preset for many common materials. Those who frequently work with the same material can also create their own presets to save time.
- When cutting thick materials such as wood or acrylic, several passes should be planned to achieve a clean result. The software allows the number of repetitions to be set.
- The 2W IR laser is recommended for intricate designs or small fonts, as it offers an even finer focus of 0.03 x 0.03 mm.
- When engraving photos or greyscale images, the best results are achieved with specially coated laser engraving material (anodised metal, etc.). But great results can also be achieved on wood and stone with the right settings.
Our verdict
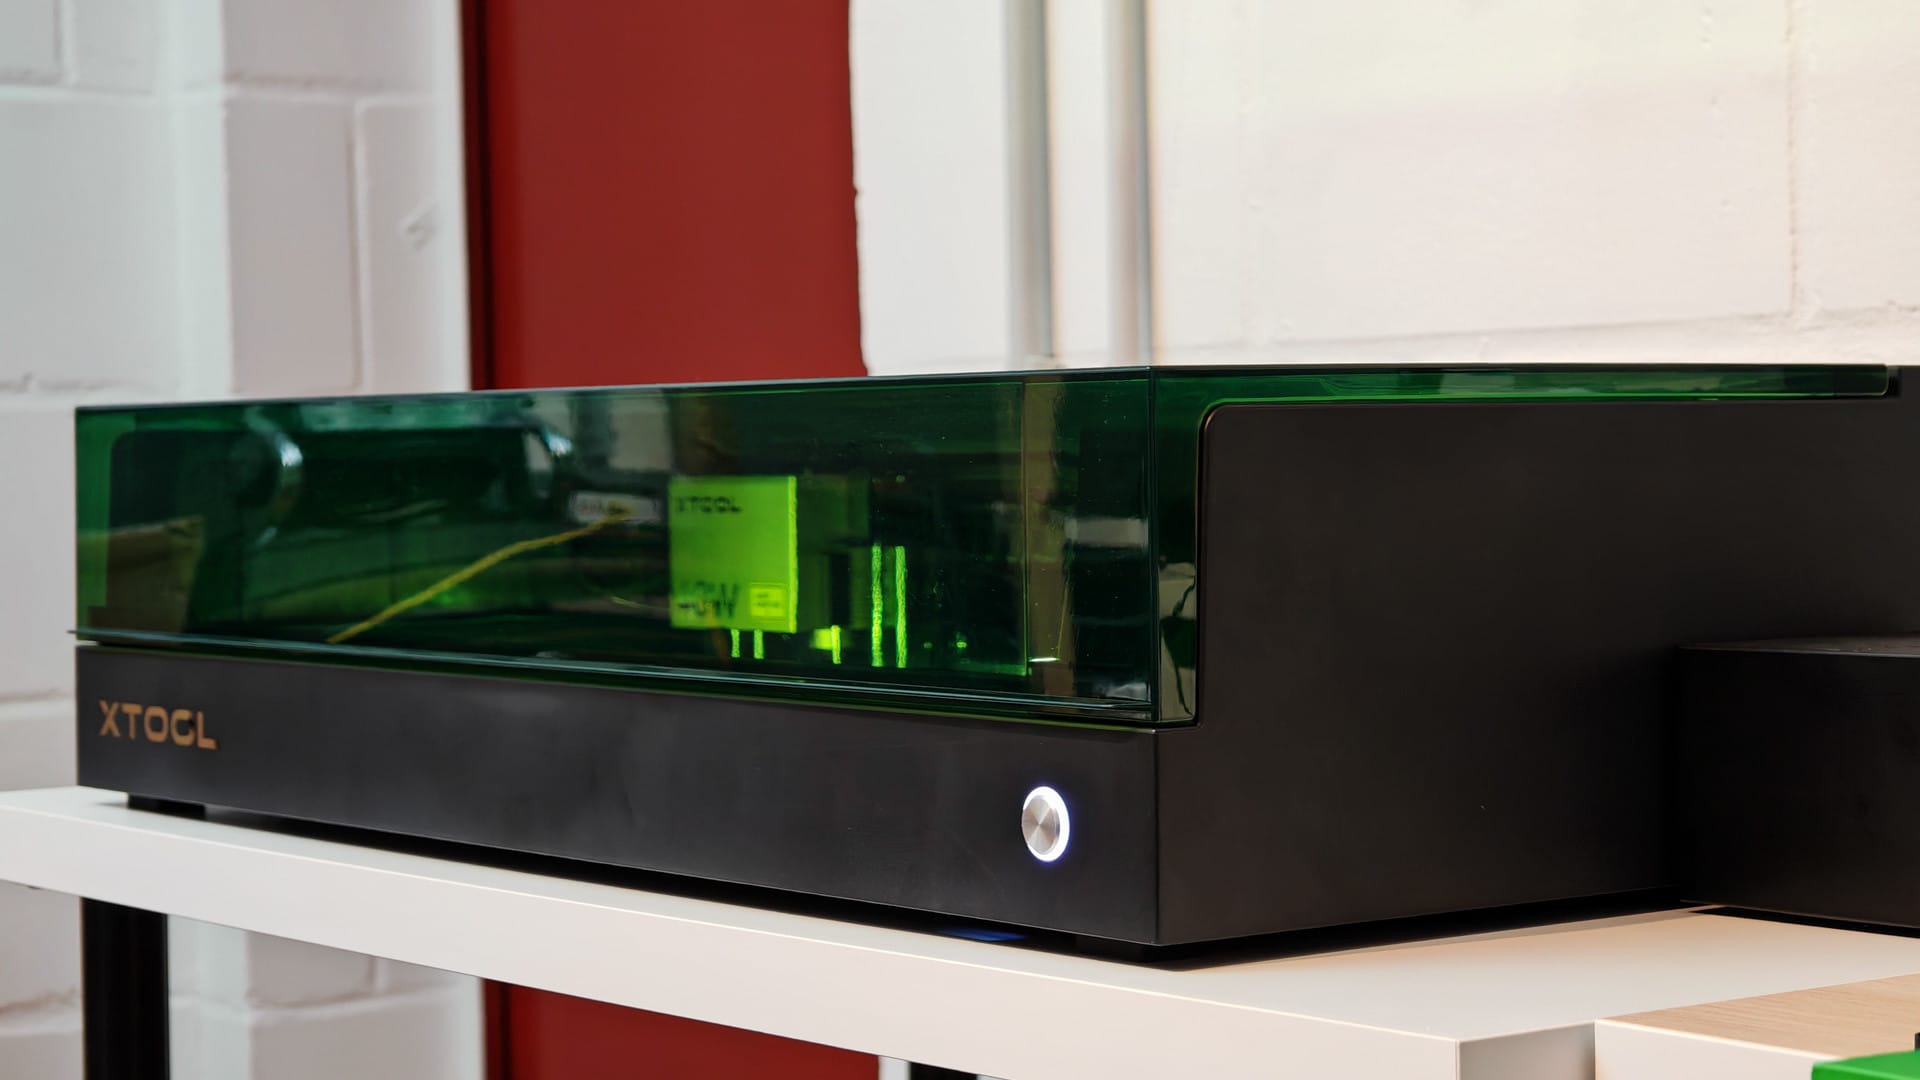
The xTool S1 is a Porsche among consumer laser engravers. Due to its straightforward design and user-friendly software, it is not only one of the most beginner-friendly devices, but its enclosed construction also makes it one of the safest laser engravers on the market.
The xTool S1 is also attractive for professionals. With its 40-watt laser module, the laser engraver offers enough power to meet most engraving and cutting requirements. It marks metals brilliantly and can even cut through thicker wood in a single pass. It reaches its limits when cutting metal and transparent acrylic. For this, a CO2 laser like the xTool P2 is a far better choice.
The high price of around €2,000, which is driven even higher by expensive accessories such as the exhaust air filter (approx. €700), should not be underestimated. However, the investment is worthwhile, as you get a well-rounded package here that is suitable not only for hobby users but also for small businesses or research.
Specifications
Technical specifications
- Laser power
- 40W
- Dot size
- 0.08 x 0.10mm
- Work area
- 498 x 319mm
Connectivity and software
- Operating systems
- Android, iOS, Windows 10 or higher, macOS
- Software compatibility
- XCS / LightBurn
- Supported file formats
- SVG, DXF, JPG, JPEG, PNG, BMP, TIF
- Connectivity
- USB / Wi-Fi
Physical features
- Weight
- 20kg
- Size without elevation plate
- 765 x 561 x 183mm
- Size with elevation plate
- 765 x 561 x 268mm
Certifications
- International
- IEC/EN60825
- USA
- FCC, FDA
- Canada
- IC
- Australia and New Zealand
- RCM, SAA
- United Kingdom
- UKCA
- Japan
- Telec, PSE
- European Union
- CE-RED, ROHS, EN60825, CE-MD
Price comparison
| Store | Price | Link |
|---|

Comments