Contents
Preface: Alfawise U10
Who or what is Alfawise?
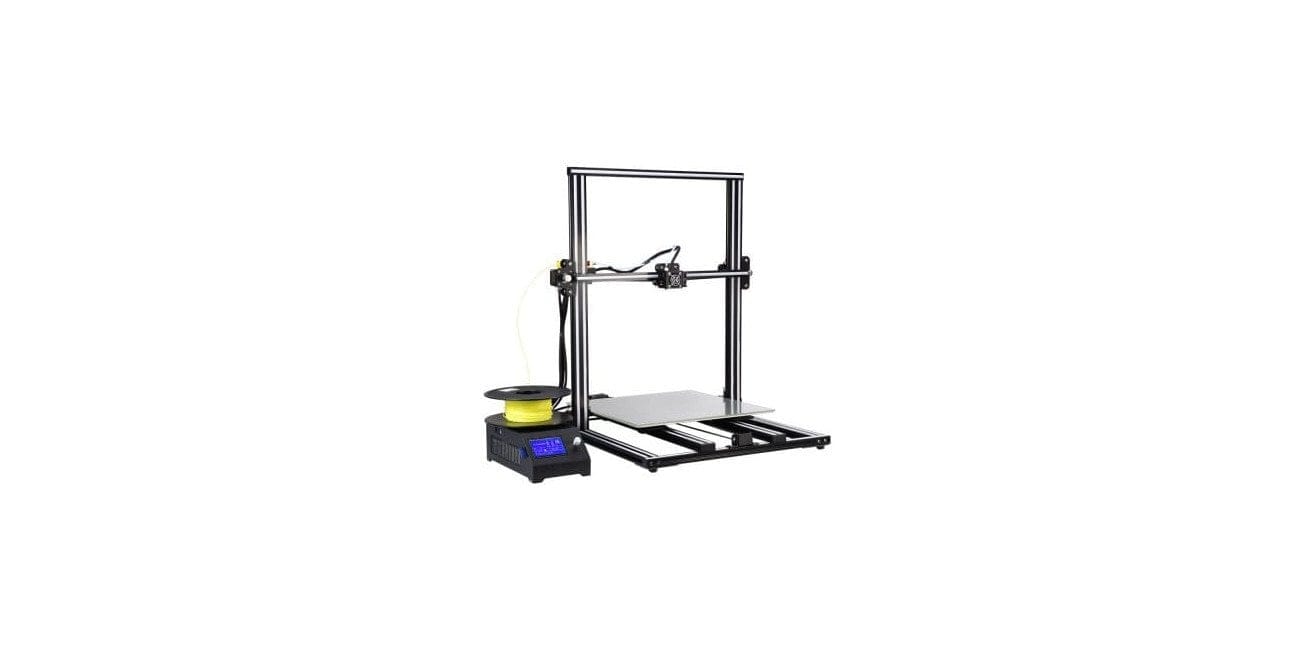
A few months ago, a 3D printer appeared exclusively at GearBest that looks similar in design to the Creality CR-10. The 3D printer marketed as the “Alfawise U10” promises, among other things, a huge print area and several improvements over competitor models.
Anyone familiar with "Alfawise" will likely wonder why a 3D printer is appearing under this brand name. The brand is primarily known for smart home appliances and consumer electronics. However, it remains to be noted that Alfawise is merely a GearBest own brand, under which a wide variety of OEM products are offered. The manufacturer is therefore not Alfawise, but an original equipment manufacturer active in its specific production field with relevant experience. It is quite possible that the Alfawise U10 actually comes from the production halls of the Creality CR-10!
What’s included
Not only is the Alfawise 3D printer quite large, but the packaging it is delivered in is also substantial. After unpacking the 17 kg package, you are first greeted by plenty of foam. To prevent transport damage, all individual parts, especially the sensitive housing frame and the print bed, are precisely fitted into the foam inserts. This means you do not need to worry about loose screws or parts flying around that could cause damage.
In addition to the three biggest parts of the kit – the frame, the print bed and the “control centre” containing the power supply and mainboard – the scope of delivery also includes all sorts of accessories. Here is a list:
- A scraper for cleaning the print bed or removing prints
- A roll of masking tape 4 cm wide for masking the printing surface
- A glass plate (already located on the print bed)
- Four pincers
- A cable pliers
- Two wrenches and five Allen keys in different sizes
- A Phillips screwdriver with a magnetic tip
- Six screws for attaching the two printer parts
- One roll of pink PLA filament measuring 10 meters in length
- A USB memory card reader compatible with various memory card sizes
- A 1 GB SD memory card with useful tutorials, test files and software
- A 1-metre long USB cable for connecting the 3D printer to a PC
- An English user manual

Assembling the Alfawise U10
The 3D printer is largely pre-assembled in two large parts, the Z- and X-axis frame part and the base plate including the print bed, when delivered. These only need to be plugged together and screwed tight, similar to the Anet E10 we previously tested. The connection cables are already connected to the control unit from the factory, so they only need to be inserted into the respective sockets of the connection parts. For the sake of simplicity, the connections are marked to match the corresponding mating part.

WARNING: The cable ends are merely tinned. For safety, you should fit the cable ends with cable lugs or ferrules.
An illustrated, English-language manual clearly guides you through the few assembly steps. Furthermore, the included SD memory card contains comprehensive installation instructions. The entire assembly, including cabling, takes about 20 minutes. For safety, you should check the strength of the pre-assembled parts. It was noticed after the first test print that some of the screw connections had been tightened half-heartedly.

Design and build quality
Aluminium frame
The Alfawise U10 stands rock solid when assembled. Due to the high weight of 15 kg and the massive T-aluminium profiles, the 3D printer achieves very good stability. To prevent vibrations, the base construction is additionally equipped with rubber feet.

Print bed
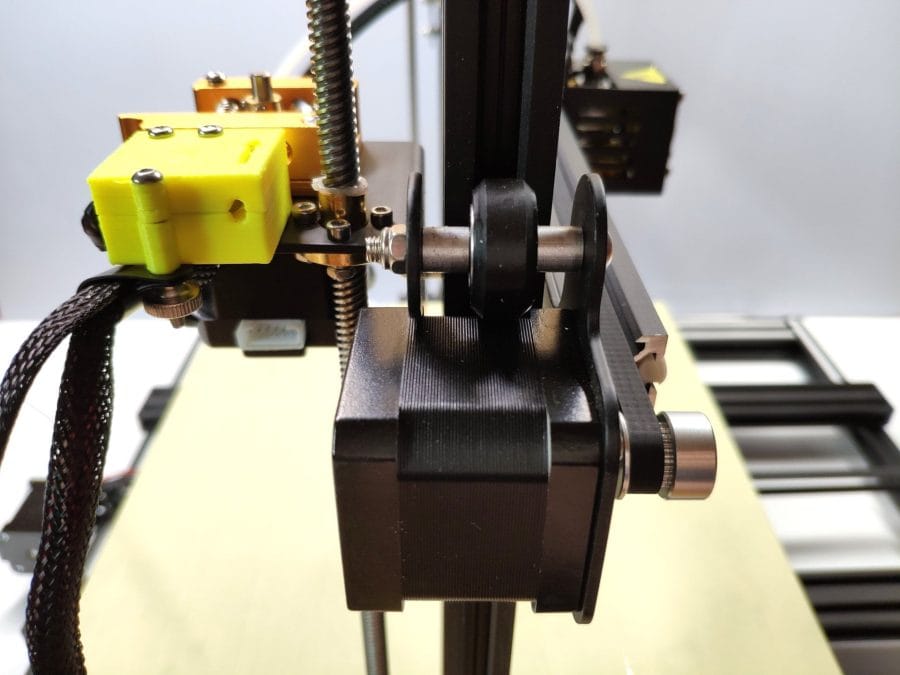
The print volume is an impressive 400 x 400 x 500 mm. The print bed is guided not by plain bearings, but by two aluminium rails with roller guidance on both sides. The timing belt is kept under tension with the help of a spring-loaded belt tensioner.
The print bed is heated and, according to the manufacturer, reaches a maximum temperature of 65°C. The temperature sensor is placed centrally and soldered to the heated bed. The same applies to the connecting cable to the control unit, which is also soldered directly to the hotbed. Strain relief for the cable is provided. The print bed can be levelled using adjustment wheels with spring tension located on the underside. A glass plate covered with masking tape is already attached to the heated bed from the factory. It is held in place by jaw clamps.

Bowden Extruder
The Alfawise U10 uses a Bowden-type extruder. Unlike a direct extruder, the stepper motor that drives the filament in a Bowden extruder is not located on the X-axis but is usually mounted separately on the printer. This relieves the X-axis, allowing for higher print speeds at the same time. A significant disadvantage of the Bowden setup is the greater distance between the extruder and the nozzle. This makes printing with soft filaments significantly more difficult and filament changes are not as easy to perform.
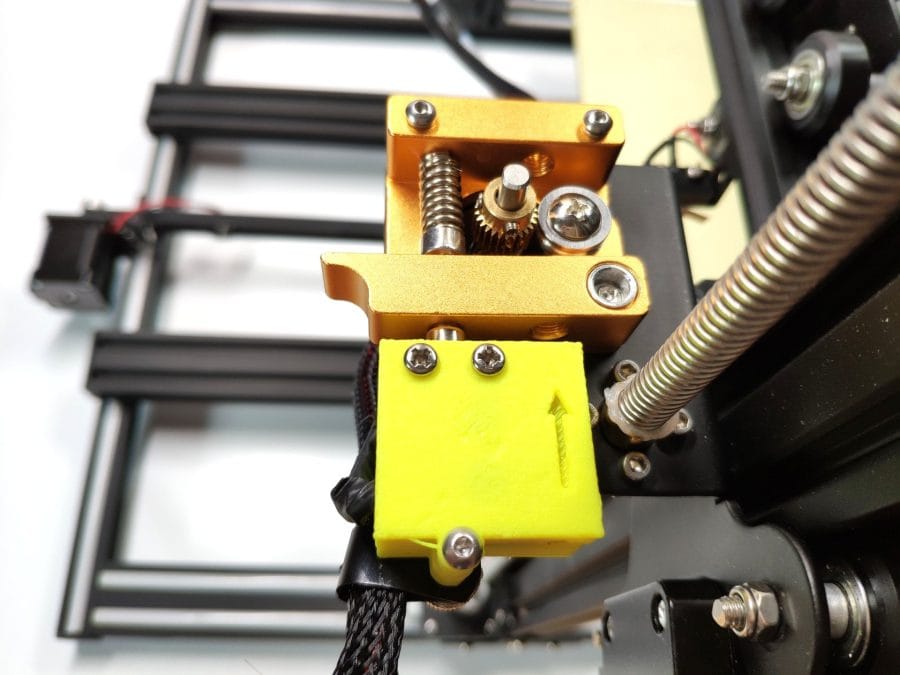
Speaking of filament changes: The Alfawise U10 is equipped with a filament sensor that stops printing once no more filament is being supplied. The housing surrounding the sensor is made of a 3D-printing material. A second Z-axis stepper motor, which is not present on, for example, the Creality CR-10, ensures (theoretically) greater stability on the X-axis
Hotend
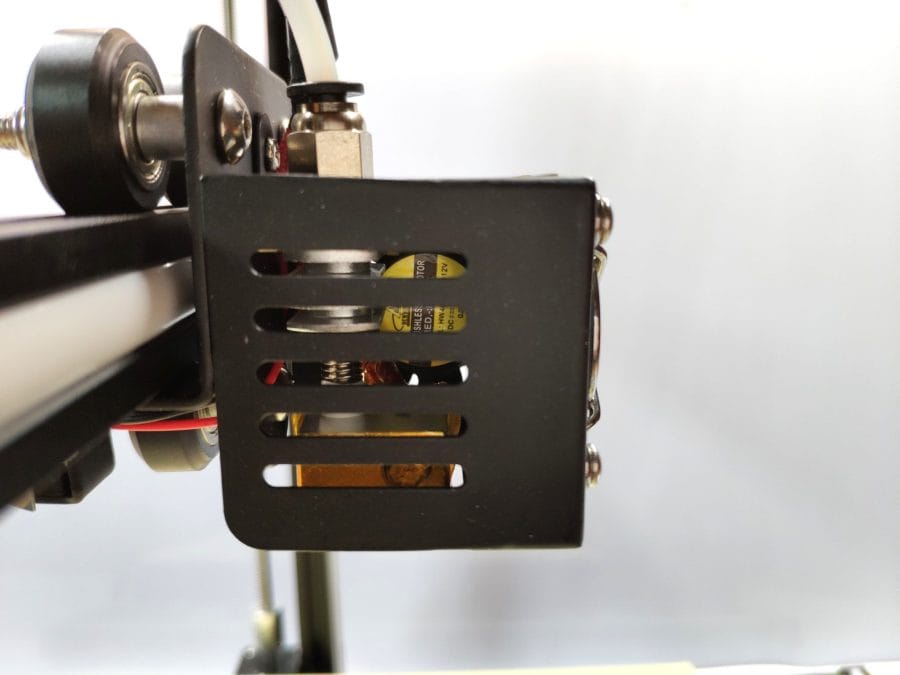
The printer comes with a 0.4 mm nozzle for 1.75 mm filament. The design of the cooling block has room for improvement. In particular, the object cooling is criticised here. Although there are two fans, the fan intended for object cooling does not blow directly onto the printed object but rather onto the heating block.
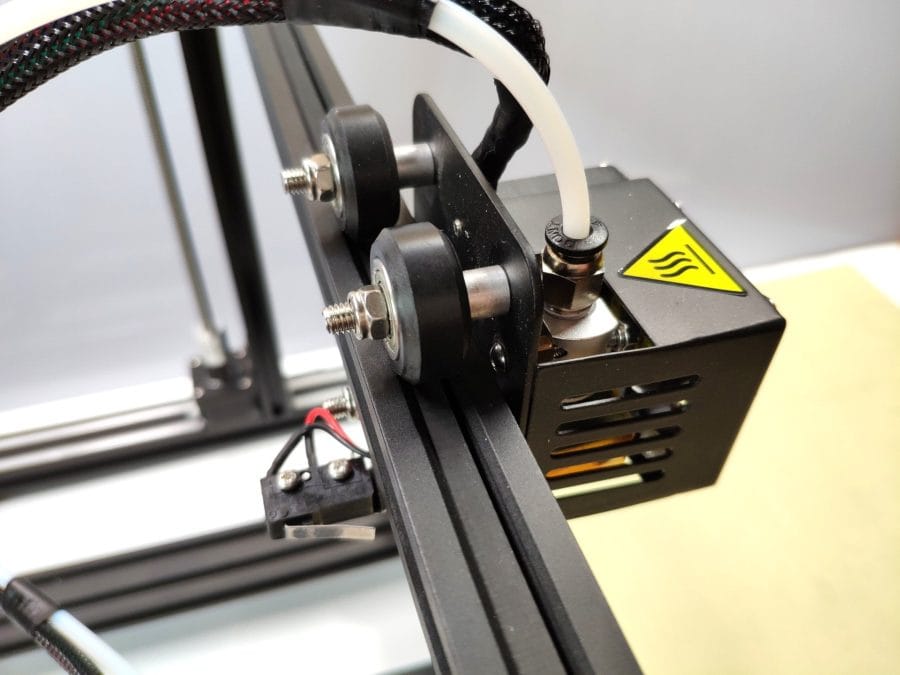
Modified versions of an Alfawise U10 fan duct can be downloaded from Thingiverse, so this criticism can be resolved without great difficulty.
Control unit
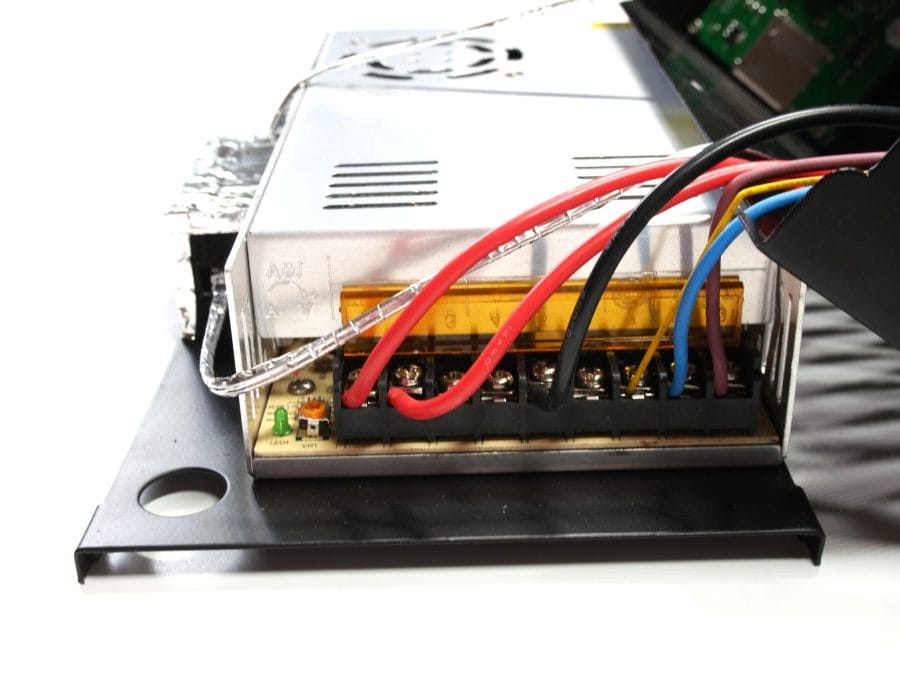
The motherboard, power supply and display are housed in a separate control unit. The cable management is convincing. All cables are sufficiently labelled from the factory and fitted with a flexible fabric sleeve.

The filament holder located on the top of the housing is interesting. Standardised spools click into the holder and are unrolled smoothly by the ball bearing construction. To communicate with the mainboard, a USB type B port and an SD memory card slot are located on the left side of the housing.

The board installed in the Alfawise U10 is a Ramps Plus2 BT7200, which the manufacturer installs in different revisions. The unit I tested has a V1.7.30 board installed. Other users report a V1.8.26 or even a V1.9 board.

The Ramps Plus2 offers versatile connectivity options and can be expanded with, among other things, an additional extruder (dual extrusion) or a 12V laser. The installed stepper motor drivers are labelled BT7221A. The display is a LCD12864_3DYMY. For power supply, an actively cooled 12V 30A power supply with IEC connector and rocker switch is used.

Here is a reminder that the cable ends are only tinned and should absolutely be fitted with cable lugs or ferrules. Also not included and recommended for protection is the installation of a (heating bed) or multiple (heating bed and hotend) MOSFETs.
Practical test of the Alfawise U10
Let's move on to the printing process. In the weeks-long practical test, the Alfawise U10 was already able to enjoy a roll of filament.
Getting started
First, the print bed was levelled. This process does not differ from other 3D printers. The adjustment knobs used to level the print bed are easily accessible and are held under good tension by the springs.

Once the 3D printer is correctly calibrated, nothing stands in the way of a first print. Pre-made GCODE files and an older version of Cura with a configuration file are located on the memory card.
Firmware and features
When starting the 3D printer, users are greeted by a modified Marlin 1.1.0 interface. The firmware has been modified to integrate filament management, which automatically stops the filament feed using the filament sensor. In testing, the filament management proved reliable. As soon as the filament runs out, printing is paused and the printer moves to its home position. Once the filament has been changed and the process confirmed, additional filament can be loaded ("Extrude more") at the touch of a button. Afterwards, the print job can automatically continue ("Resume print").
Another feature is the "Resume Printing Function", which is designed to allow the printing process to continue even in the event of a power cut. This function also proved reliable in testing and allowed the printing process to be resumed without errors.
The firmware is still not perfect. The file management is criticised. Storage cards are often not recognised at all, and the firmware does not allow access to subdirectories. Therefore, all GCODEs must be stored in the root directory. The firmware used by Alfawise is open source and stored on the supplied storage card, so it can be customised as desired.

Printing process and print quality
The first disadvantages of the large print bed become apparent during the warm-up phase. It takes an average of 10 minutes for the heated bed to reach a temperature of 50°C. The maximum temperature reached and the constant temperature were 60°C. That is the limit for the Alfawise U10's non-insulated heated bed. ABS prints, in particular, become significantly more difficult as a result.
After several print runs, only one issue became apparent. The Z-axis is guided too loosely. This causes vibrations that can affect the printing result. A modified axis guide with ball bearings provides a remedy. Suitable templates can be obtained via Thingiverse.

Apart from the rattling Z-axis, the print volume is average and comparable to that of a Creality CR-10. Those who prefer quieter operation should replace the fans with quieter models.
The “out of the box” print quality is impressive. However, without optimising the printer, offset layers may occur, caused by small vibrations triggered by loose screws. Here, a reminder that all screws and toothed belts should be checked for tightness before the first print. The recommended print speed is 50-60 mm/s. It is advisable to remove the masking tape right at the beginning and print directly on the glass surface. An ordinary glue stick or hairspray provides sufficient adhesion on the glass plate.
Do you have further questions about the Alfawise 3D printer? Put them in the comments or join the German Alfawise support group on Facebook!
Our verdict
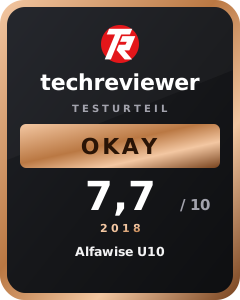
The Alfawise U10 is a well-executed Chinese 3D printer that could pose a real threat to the Creality CR-10S as its reputation grows. What speaks in favour of the Alfawise U10 is the particularly large build volume, which sets few limits for the user. Well executed are the dual Z-axis guide, the print bed guided on two aluminium rails, the filament run-out sensor and the control hub with the current Ramps Plus2 BT7200 board.
Criticism of the 3D printer includes the partly faulty Marlin firmware, the slowly heating bed, the lack of part cooling, and the vibrating Z-axis guides. The device also lacks protected cable ends and a MOSFET fuse.
Specifications
General
- Model
- Alfawise U10
- Type
- FDM printers
- Enclosure material
- Aluminium
- Print speed
- 10 - 150 mm/s
- XY accuracy
- 0.012 mm
- Z-axis accuracy
- 0.004 mm
- Size
- 58.20 x 69.70 x 75.50 cm
- Weight
- 15kg
- Nozzle
- Type
- Single
- Diameter
- 0.4 mm
- Temperature
- up to 260°C
- Layer height
- 0.5 - 0.3 mm
Print bed
- Build plate size
- 400 x 400 x 500 mm
- Heated bed
- Yes
Extruder
- Type
- Bowden
- Material
- 1.75 mm ABS, HIPS, PLA, etc.
Comments (1)
Hello, Alfawise U10 or perhaps the Creality CR-10S? Thanks!